Note: This DIY article is provided as a general guide only and is not intended to take the place of product-specific installation procedures; always follow applicable manufacturers’ instructions. Depending on your home’s age and condition, location within the home, and other potential factors, repairs and/or upgrades or other services may be necessary prior to the beginning and/or completion of your project that may involve the services of a home improvement professional. This article does not include advice pertaining to local building codes and/or any related inspections.
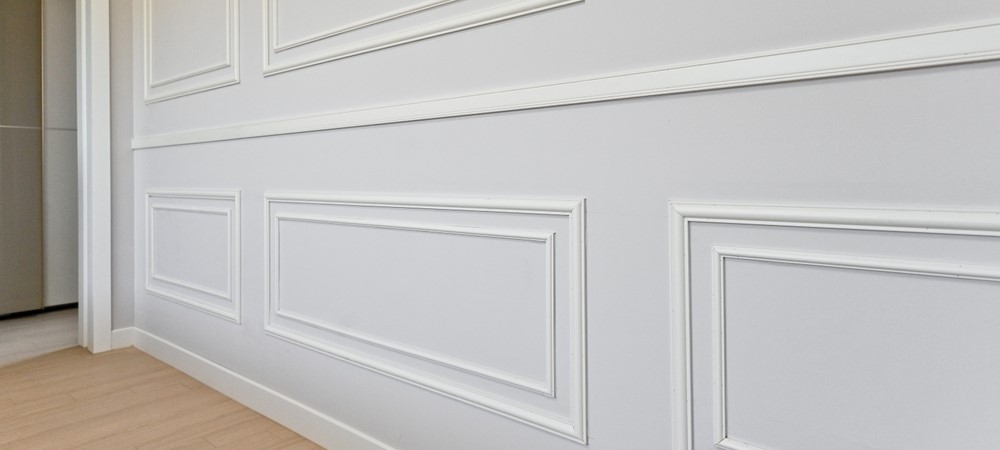
Learning how to install wainscoting can help you improve your home’s functionality and aesthetic appeal without breaking the bank. Our guide on how to do wainscoting details what you need to turn every room into an effortless masterpiece.
Supplies for installing wainscoting
Having the right supplies is the key to success when learning how to put up wainscoting. Here’s what you’ll need to give your home a stylish makeover with wainscoting panels.
- Pencil
- Tape measure
- Stud finder
- Caulk gun
- Paintable caulk such as GE Sealants’ Painter’s Pro Siliconized Acrylic Caulk
- Nail gun or hammer
- Nails
- Construction adhesive
- Wood filler
- Handsaw or circular saw
Your choice of caulk matters when learning how to do wainscoting. The best sealants create a permanent yet flexible bond that effortlessly accommodates joint movements from changing temperatures. Fully cured GE-branded caulk are paintable, crack-resistant seals that resist the growth of mold and mildew.
How to install wainscoting
Here’s how to install wainscoting panels step by step:
- Prepare the space by removing the base molding and painting the wall in the rooms where you wish to install wainscoting. It’s best to repair, paint, or apply wallpaper on the top part of the wall before hanging the wainscoting panels.
- Choose the desired height of the wainscoting and cut the boards appropriately. Test a few height variations to determine the best height. You may follow the traditional rule of thirds or opt for higher wainscoting that covers about two-thirds of your walls.
- Mark the placement area using a pencil and a level. Draw a straight line across the space to mark the height of the wainscoting panel from the baseboard.
- Cut the wainscoting panel to the proper height using a circular saw or handsaw.
- Test fit each piece of the wainscoting (without adhesive) as you cut the panels to size instead of cutting all the pieces at once. Ensure each piece fits perfectly before moving to the next one.

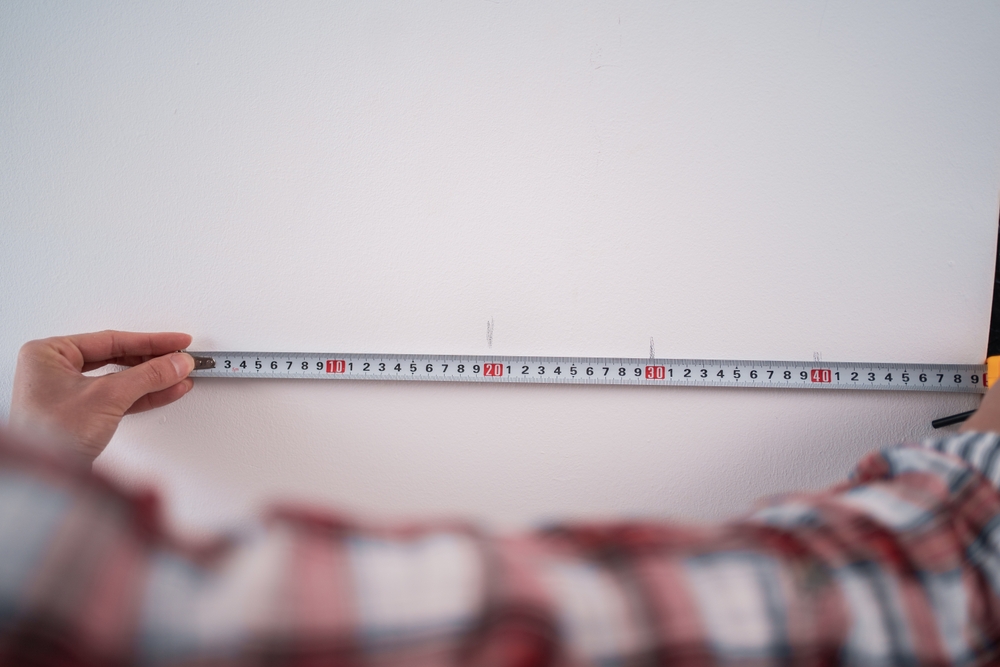
A workman using a tape measure on a wall. - Stain the boards (optional) if you didn’t get the wainscoting panels in your preferred color. It’s best to paint or stain the panels before installation.
- Use a stud finder to locate the studs in your walls. Mark the center of each stud with colored tape.
- Install the wainscoting by applying the construction adhesive in a zigzag pattern on the wall side of the first wainscoting panel and firmly press it into the wall. Hold the piece and nail it to the wall using the nail gun as the manufacturer recommends. Repeat the process for the remaining panels. Leave the glue to dry overnight before adding the molding and baseboards.
- Cut angled joints by using the miter box on the cap molding. Generously apply wood glue to the back of each panel and fit it into the wall over the wainscoting. Press it into place and nail it to the wall with the nail gun. Repeat the process for base molding.
- Caulk the seams by cutting the nozzle of the Painter’s Pro Siliconized Acrylic Caulk cartridge and pierce the inner foil seal. Load the cartridge into the caulk gun and apply the caulk to all the seams. Apply a continuous bead of caulk in the corners, between the panels, and all trim joints. For the best result, apply GE caulk when the temperature is above 40°F (5°C).
- Use a tooling kit to tool the bead and smooth out the joints for a clean, professional look. GE-branded caulks have a 15-minute tooling or open time.
- Dip a rag in warm water and use it to remove excess caulk from the wainscoting panels. GE branded caulks are easy to clean within 30 minutes of application.
- Leave the caulk to cure for at least 24 hours. Letting the caulk cure fully creates a durable yet flexible seal between the panels and the trims. Caulk cure times depend on various factors, including the weather, the size of the bead, and the specific product. Thin caulk beads — about 3/16” — can cure fully in 24 hours, while thicker applications may take 2 to 7 days.Leaving the caulk to cure fully is crucial to your wainscoting installation success. Our caulks, such as the Painter’s Pro Siliconized Acrylic Caulk, are paint-ready within an hour but may take 2 to 7 days to cure fully. Once fully cured, a caulk forms a flexible yet permanent bond that keeps your wainscoting in perfect shape for years. An improperly cured caulk seal will likely fail, and you may need to replace the sealant. Fully cured caulk sealant resists the growth of stain-causing mold and mildew to help your home retain its aesthetic appeal.
- Use the wood putty to fill the visible nail holes on the wainscoting panels. Leave the filler to dry and sand it down for a clean, smooth finish.
- Finish up by painting the seams and nail holes to match the wainscoting. You can paint the seams sealed with Painter’s Pro Siliconized Acrylic Caulk with latex paint after 30 minutes. Leave it to cure for 24 hours if you prefer using an oil-based paint.
FAQs
Here is a list of the most commonly asked questions.
What is the golden rule of wainscoting?
Wainscoting installation follows the one-third rule — the wainscoting panels should cover at least a third of your wall, starting from the base molding.
How do you attach wainscoting?
For the best results, attach wainscoting panels to the wall with a construction adhesive and fasten them to the studs in your walls using 1-inch nails.
What is the best finish for wainscoting?
The best finish for wainscoting is to seal the seams with an acrylic sealant, fill the nail holes with putty, and paint the panels with an oil-based paint.
Wainscoting panels add a touch of class and style to any room. Acrylic caulk sealants let you achieve the perfect look while protecting your walls.

