DIY done
right.
A simple solution for refreshing old grout.


†See Product Disclaimers page for important details
-

How To Use
How to Apply in 4 Easy Steps
- Ensure the grout line is clean, dry, and free from contaminants that could impair adhesion.
Where necessary, treat the existing grout with a mold remover to eradicate mold contamination. - Shake well. Remove the cap and depress the nib several times until the whitener begins to flow. Apply sparingly on the grout in an even coat. Re-apply after an hour if needed.Tip: Apply grout whitener vertically from the bottom of the tile joint to the top when appropriate.
- Remove excess grout whitener before it dries with a damp cloth.
- Clean applicator after use with water and replace the cap.
- Ensure the grout line is clean, dry, and free from contaminants that could impair adhesion.
-

Projects
Best used for quickly refreshing old grout in:


BATHROOMS:
• Shower walls, tub surrounds, and sink backsplashesKITCHENS:
• Countertops, backsplashes, and floor tilesHIGH TRAFFIC AREAS:
• Tiled floors in entryways and hallwaysLAUNDRY ROOMS:
• With moisture-prone flooring and wall tilesPROTECTED OUTDOOR SPACES:
• Patios or sunrooms where a clean, polished look is desired -

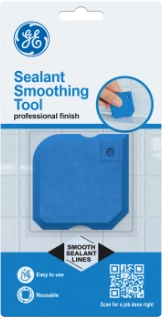
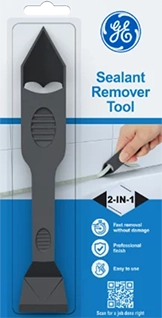
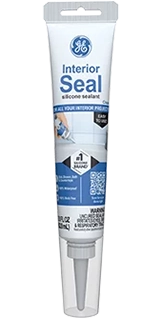
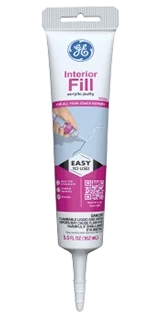
Explore More
Explore more trusted GE tools for the perfect DIY outcome:
-

WHY GE?
DIY Products
You Can Use.
Pro Results
You Can Trust.GE is America’s #1 Silicone Brand† for a reason: DIYers across the country trust our easy-to-use products for professional performance that protects their projects and keep them Sealed for Good™.
† Estimates of comparative U.S. sales based on analysis of available 2020 industry reports and retail sales data.
GE is a registered trademark of General Electric Company and is used under trademark license by Henkel. The use of the “®” symbol designates registered or unregistered trademarks of Henkel or its affiliated companies. Copyright 2025 Henkel. All rights reserved.