
Note: This DIY article is provided as a general guide only and is not intended to take the place of product-specific installation procedures; always follow applicable manufacturers’ instructions. Depending on your home’s age and condition, location within the home, and other potential factors, repairs and/or upgrades or other services may be necessary prior to the beginning and/or completion of your project that may involve the services of a home improvement professional. This article does not include advice pertaining to local building codes and/or any related inspections.
If the caulk around your tub is cracked, peeling, or showing signs of mold, it’s failed. Water is slipping behind the wall, soaking drywall, and feeding mold where you can’t see it. With a few tools and the right sealant, you can recaulk your bathtub and stop the damage before it spreads.
Why recaulking the bathtub is important
Once the caulk begins to break down, water finds its way into the smallest gaps and seeps behind the wall. From there, it soaks drywall, swells subflooring, and feeds mold in places like backer board joints or behind tile edges—places you won’t see until the damage shows in soft walls or warped floors.
Even light movement from daily use can split a brittle seal. When you replace old caulk, you’re not just cleaning up a seam—you’re protecting the structure around it.
Start with a dry surface, apply carefully, and let it cure. That’s how you stop mold from coming back.
How to know it’s time to replace old caulk
You don’t need to wait for visible damage to know your caulk is failing. Look for early signs where the tub meets the tile or wall:
- Cracked, flaking, or pulling caulk: the seal is starting to break down
- Discoloration at the edges: often a sign that moisture has lingered
- Shifting or brittle texture: press lightly along the bead; if it lifts or crumbles, it’s failed
Even a narrow split can open the door to moisture. This is a sign you need to recaulk the bathtub. Sealing the joint properly helps stop further damage.
Choosing the right sealant for a waterproof bathtub finish
In wet zones like bathrooms, sealants face constant moisture, movement, and mold pressure—most don’t last. Acrylic caulk shrinks, cracks, and fails under those conditions, even if it looks fine on day one. For a waterproof bathtub seal that holds, use 100% silicone:
- GE Supreme Silicone Kitchen & Bath is built for long-term durability. With Class 50 flexibility and 483% elongation, it flexes with your tub as it shifts, without pulling or cracking. It holds stronger under stress and protects against mold for up to 10 years. Ideal for recaulking bathtubs, corners, or areas with movement or wide joints.
- GE Advanced Silicone Kitchen & Bath delivers dependable performance for standard seams and smooth surfaces. It has Class 35 flexibility, a slightly softer finish that’s easier to smooth and is water-ready in 30 minutes. A solid choice when appearance and ease of application are the priority.
- GE Interior Seal Silicone Sealant (squeeze tube) gives you precision control for smaller resealing jobs, touch-ups, or tight spaces—same fast cure, same mold resistance.
Once you’ve chosen the right sealant, gather the rest of your tools.
What you’ll need to recaulk your bathtub
Before you cut or apply anything, set yourself up with the right tools. Clean removal and a steady bead help your seal last and look better.
Tools
- GE Sealant Remover Tool: Lifts old caulk without damaging tile or tub surfaces.
- Rubbing alcohol or a mold-resistant surface cleaner: Removes residue and helps the new sealant bond properly.
- Painter’s tape: Keeps your bead lines straight and makes cleanup easy.
- GE Sealant Smoothing Tool: Shapes a clean, even finish before the sealant skins over.
- Optional: GE 2-in-1 Cartridge Opener and Smoothing Tool: Opens tubes cleanly and doubles as a finishing tool.
Materials
- GE Supreme Silicone Kitchen & Bath or GE Advanced Silicone Kitchen & Bath: Choose based on joint movement and surface needs.
- Optional: GE Interior Seal Silicone (squeeze tube): For tight spaces, touch-ups, or when a full tube feels like overkill.

How to recaulk your bathtub like a pro
A clean, watertight seal starts with solid prep and a steady hand. Follow these steps to recaulk your bathtub the right way, for a clean finish that holds up to daily use.
- Remove the old caulk Use the GE Sealant Remover Tool to cut along the edges and lift the old bead completely. Don’t leave fragments—any leftover material can compromise the new seal. Once removed, wipe down the area with rubbing alcohol or a mold-resistant cleaner.
Let the surface dry fully before moving on. Moisture under fresh sealant ruins adhesion and invites mold later.
- Tape your lines Apply painter’s tape about 1/8 inch from each side of the joint. This keeps the new bead clean and even, especially if you’re sealing along tiles. Press the tape firmly so no sealant seeps underneath. It’s a small step that makes the final result look crisp.
- Apply the new sealant Use your selected GE silicone—whether it’s a cartridge or squeeze tube—to lay a steady, continuous bead along the joint. Keep even pressure and try not to stop mid-line. As soon as it’s applied, smooth the bead with a GE Sealant Smoothing Tool or a gloved fingertip. Shape it before the sealant starts to skin—within a few minutes.
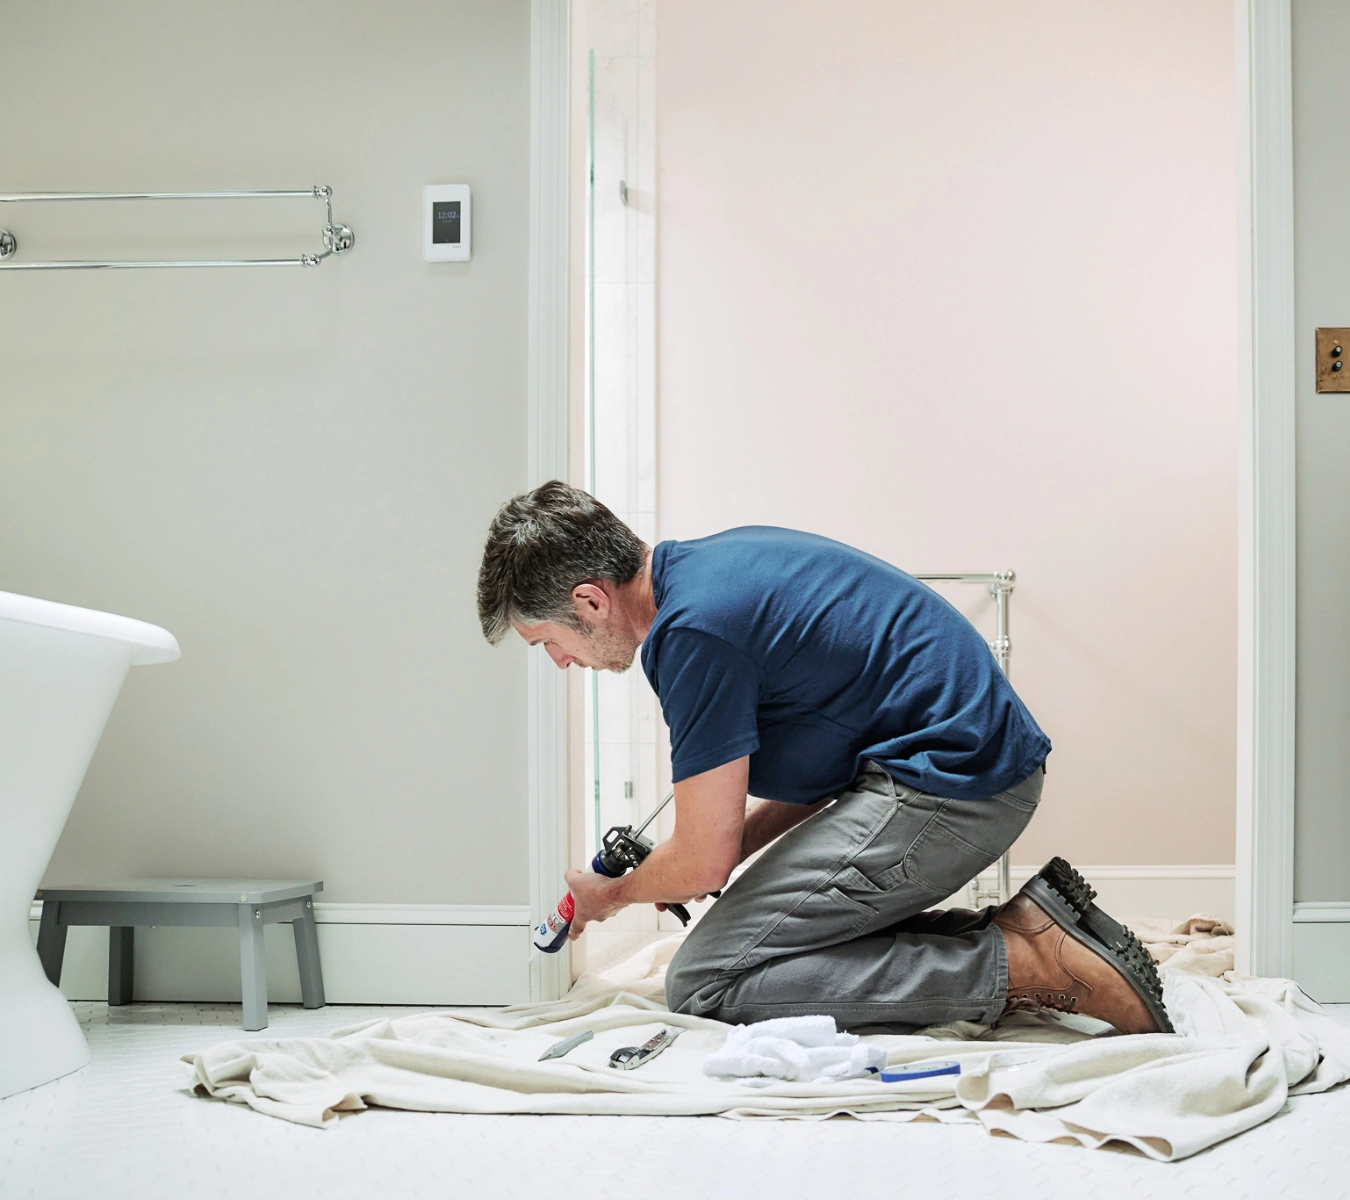
A man kneels on a drop cloth in a modern bathroom, not forgetting to seal the baseboard near a freestanding tub to protect the wall from moisture. - Let it cure GE silicone is water-ready in 30 minutes, but avoid touching or exposing the seal for 24 hours so it can fully cure into a waterproof barrier for your bathtub. Rushing this step is one of the most common DIY mistakes.
https://www.youtube.com/watch?v=0Hsk4t2U9mE&t=5s
Mold prevention tips for the bathroom that last
Even mold-resistant silicone benefits from a little upkeep. These quick habits help your seal hold longer and stop mold before it starts:
- Run the fan or open a window after showers to clear out moisture
- Wipe the sealant line dry, especially in corners and along the tub base where water collects
- Check the seal once a year for cracks or lifting that could let water in
Taking these steps goes a long way toward long-term performance and mold prevention in the bathroom.
Don’t make these common mistakes when replacing old caulk
Even with the right tools and sealant, small missteps can undo the job. Here’s what trips up most DIYers—and how to avoid it:
- Rushing surface prep: Any leftover grime or soap film can block adhesion.
- Cutting the nozzle unevenly: It throws off control and gives you a messy bead.
- Waiting too long to smooth the line: Once silicone starts to skin, it won’t shape cleanly.
- Using acrylic caulk for wet areas: If it’s not 100% silicone, it won’t last in a bathroom.
Recaulking around your bathtub? Use a 100% silicone sealant that flexes with movement, blocks mold, and delivers a waterproof finish. Find GE Supreme Silicone Kitchen & Bath or GE Advanced Silicone Kitchen & Bath at a retailer near you in the U.S. or Canada.


