

Note: This DIY article is provided as a general guide only and is not intended to take the place of product-specific installation procedures; always follow applicable manufacturers’ instructions. Depending on your home’s age and condition, location within the home, and other potential factors, repairs and/or upgrades or other services may be necessary prior to the beginning and/or completion of your project that may involve the services of a home improvement professional. This article does not include advice pertaining to local building codes and/or any related inspections.
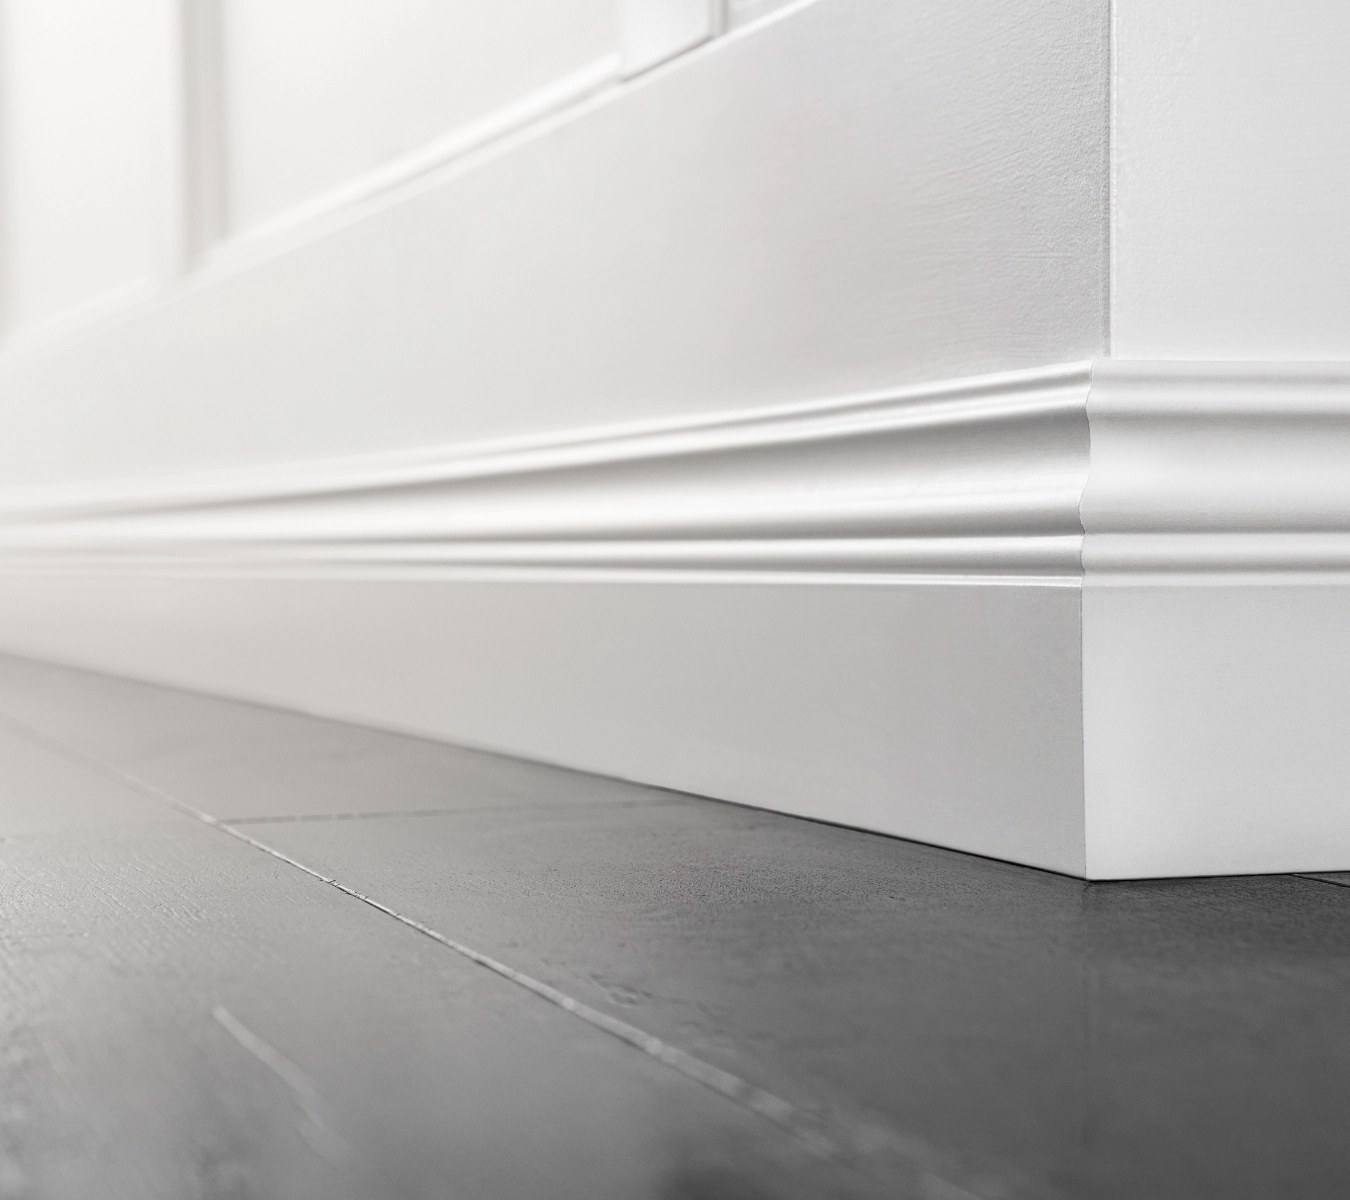
Trim, baseboards, and molding add polished detail to any room, but everyday wear and tear can leave them looking less than perfect over time. Whether dealing with nail holes from a recent project, small cracks from natural settling, or dings from bumps, you don’t need to replace your trim to restore its crisp appearance. To repair nail holes and more, all you need are the right tools and materials, and you’ll be able to fix these imperfections like a pro.
Acrylic putty is formulated specifically for filling surface imperfections like nail holes, dents, and small cracks in wood or painted surfaces. It dries hard and smooth, creating a paintable surface that blends seamlessly with your trim.
Why trim gets damaged
Trim is more vulnerable to damage than most other interior surfaces. It runs along high-traffic areas, making it easy to bump with furniture, vacuums, or shoes. Nail holes often get left behind after removing hooks or brackets, and temperature or humidity changes can cause cracks over time.
While these flaws are mostly cosmetic, they can detract from your home’s overall appearance and make a freshly painted room look unfinished. Fortunately, the right filler product can fix most minor trim issues with minimal effort, meaning you can easily repair dings in baseboards.
Caulk vs. putty: what’s the difference?
Before starting the repair process, it’s essential to understand the difference between caulk and putty and when to use each one.
- Caulk, or sealant, is ideal for filling gaps and cracks to seal around trims, baseboards, crown moldings, and wall cracks. It is made from acrylic and latex, which makes it paintable.
- Acrylic putty is formulated specifically for filling surface imperfections like nail holes, dents, and small cracks in wood or painted surfaces. It dries hard and smooth, creating a paintable surface that blends seamlessly with your trim.
In short, siliconized acrylic caulk can seal edges and joints, as shown in the video above. Meanwhile, a product like GE Interior Fill Acrylic Putty can patch holes and cracks in the trim itself. However, while it’s great for cosmetic repairs, our acrylic putty is not intended for large structural cracks or gaps between walls and trim.
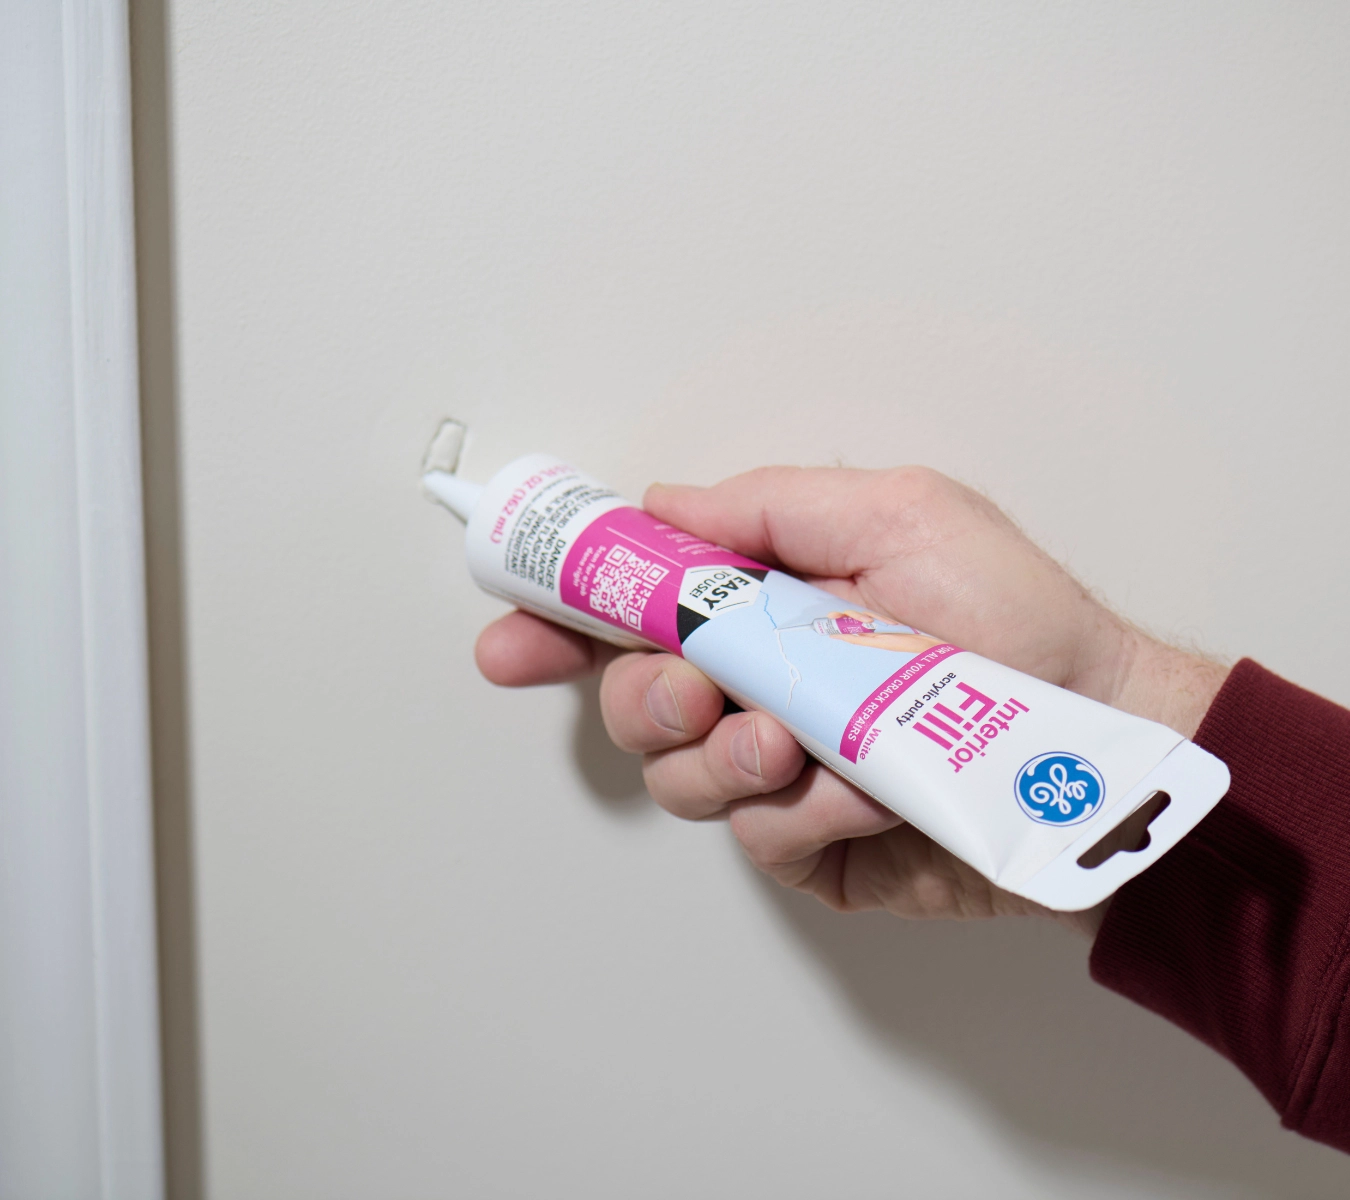
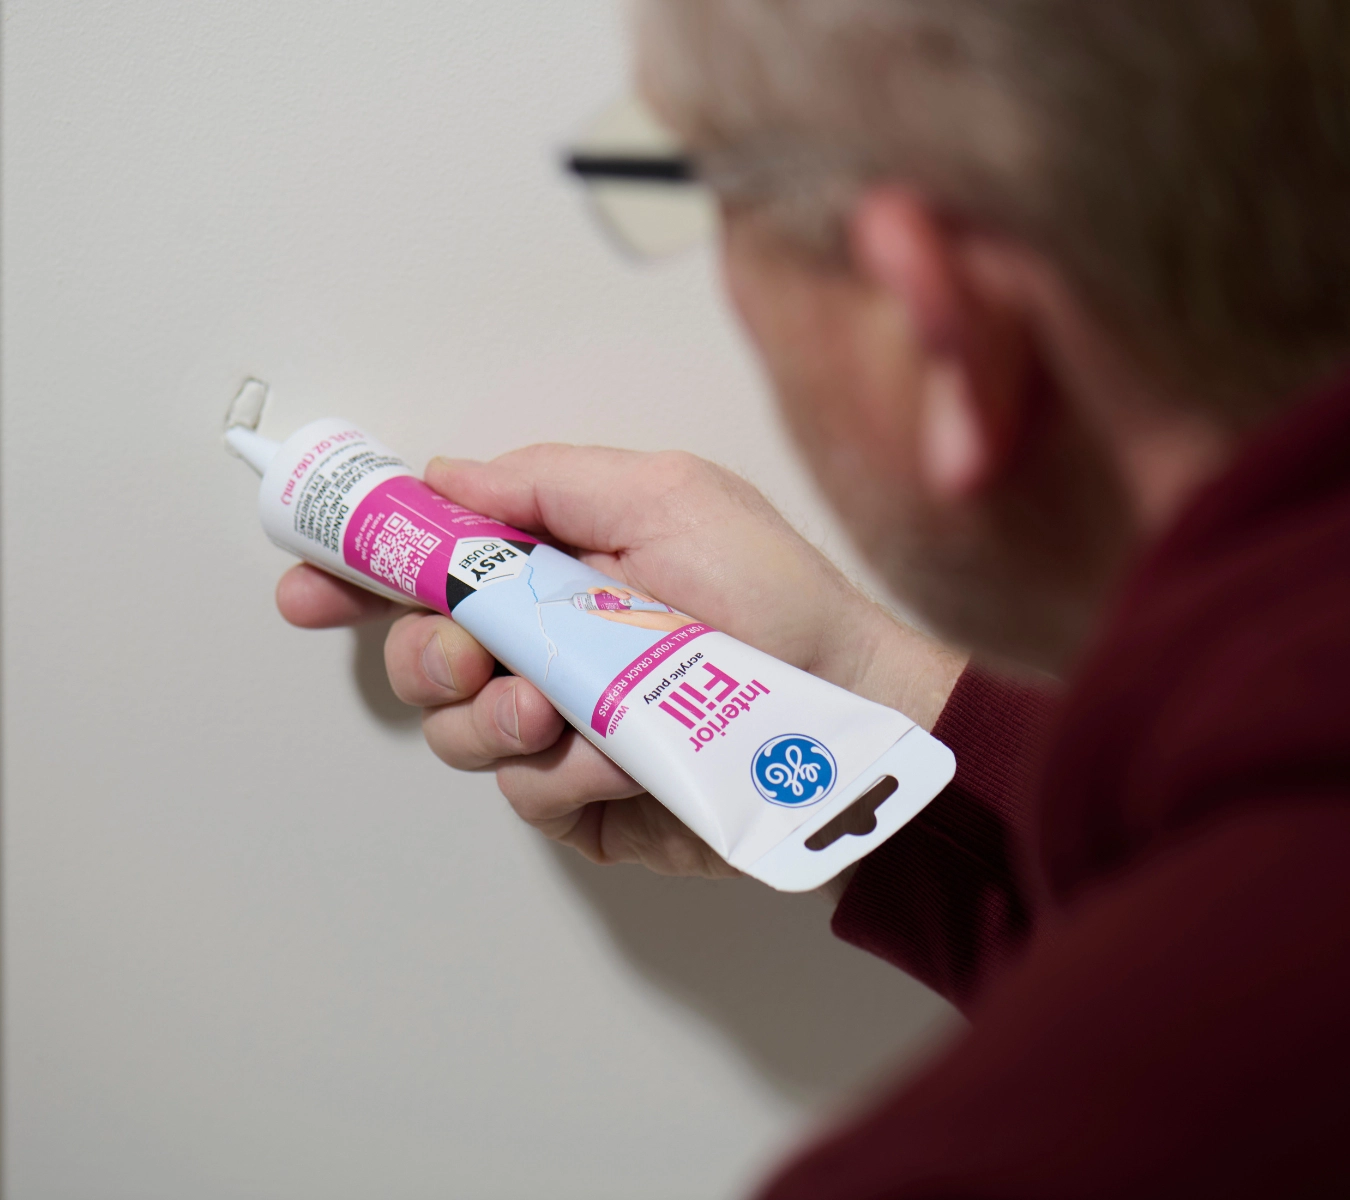
Why choose GE Interior Fill Acrylic Putty?
As you learn how to patch trim, you’ll discover the right product makes all the difference when it comes to quick, smooth repairs. GE Interior Fill Acrylic Putty is a DIY favorite because it:
- Fills nail holes, dents, and hairline cracks with ease
- Dries fast and is ready to paint in just 15 minutes
- Is paintable for a seamless finish
- Applies easily with just a putty knife
- Works on trim, baseboards, and drywall
Whether you’re prepping for paint or touching up an existing finish, GE Interior Fill Acrylic Putty efficiently gets the job done.
How to repair nail holes and trim damage
To simplify the process, we’ve created a step-by-step guide that starts with the products and tools you should have before beginning.
What you’ll need
To repair nail holes and trim damage, gather the following supplies:
- GE Interior Fill Acrylic Putty
- Putty knife
- Sandpaper (120 grit)
- Damp cloth or sponge
- Touch-up paint and brush
- Optional: painter’s tape for masking
1. Clean the area
Wipe down the damaged trim with a damp cloth to remove dust, dirt, or residue. Clean surfaces help the putty adhere properly.
2. Apply the putty
Squeeze a small amount of GE Interior Fill Acrylic Putty directly into the nail hole, ding, or crack. Use a putty knife to press the product into the damaged area, ensuring it fills the gap. It’s recommended to apply 1/8” (3mm) layers for deeper holes or cracks, allowing each layer to dry thoroughly before applying the next.
3. Smooth the surface
Use your putty knife to level the surface and remove any excess. Alternatively, you may use a damp cloth. A smooth application reduces the amount of sanding needed later.
4. Let it dry
Allow the putty to dry thoroughly. GE Interior Fill Acrylic Putty dries in about 15 minutes for a 1/16” to 1/8” (2-3mm) depth/width fill. Always check the product label for specific drying times based on temperature and humidity.
5. Sand lightly
Once dry, use 120-grit sandpaper to smooth the surface. Sand just enough to level the repair with the surrounding trim. Wipe away any dust with a clean, damp cloth.
Touch up with paint
Use matching trim paint to cover the repaired areas. GE Interior Fill Acrylic Putty is fully paintable and blends well when touched up properly. Use the same finish and application method as the original trim for best results.
How to patch trim: pro tips for seamless repairs
If you’re new to DIY projects like this, it can initially feel a little daunting. However, this is a simple process that anyone can take on in their home. Here are some additional tips to help you effortlessly fix nail holes in trim and repair dings in baseboards:
- Less is more: Apply a small amount of putty first. You can always add a second layer after drying if needed.
- Feather the edges: When sanding, blend the edges of the repair into the surrounding surface to avoid visible lines.
- Use painter’s tape: If you paint after patching, apply tape around the repair area to keep lines clean.
- Work in good lighting: It’s easier to see imperfections and apply evenly when working in natural daylight or under bright lighting.
Don’t let minor trim damage detract from your home’s polished appearance. Whether preparing for a fresh coat of paint or touching up worn areas, learning how to repair nail holes, dings, and cracks in trim can transform your space.
FAQ
Can I use this putty on painted trim?
Yes. GE Interior Fill Acrylic Putty adheres well to both painted and bare wood, making it ideal should you need to repair nail holes. Just be sure the area is clean and dry before getting started.
Do I need to prime the surface before painting?
Priming isn’t usually necessary if you’re doing a small patch with the same paint used previously. However, a quick coat of primer helps with uniform paint coverage for larger repairs or switching finishes.
What if the putty shrinks or settles after drying?
Apply a second coat after the first layer has dried and been sanded. This is common with deeper holes.
Can I use putty and caulk together?
Absolutely. Use putty for surface flaws and caulk for edges or seams to fully prep your trim before painting.
