Note: This DIY article is provided as a general guide only and is not intended to take the place of product-specific installation procedures; always follow applicable manufacturers’ instructions. Depending on your home’s age and condition, location within the home, and other potential factors, repairs and/or upgrades or other services may be necessary prior to the beginning and/or completion of your project that may involve the services of a home improvement professional. This article does not include advice pertaining to local building codes and/or any related inspections.
The holidays are right around the corner, and your kitchen is about to become the busiest room in the house. Before the cooking, baking, and hosting begin, a few simple sealing touch-ups can make the whole space feel brighter and more polished. With just a little time and a few affordable materials, you can refresh your kitchen on a budget and make it look guest-ready for the season.
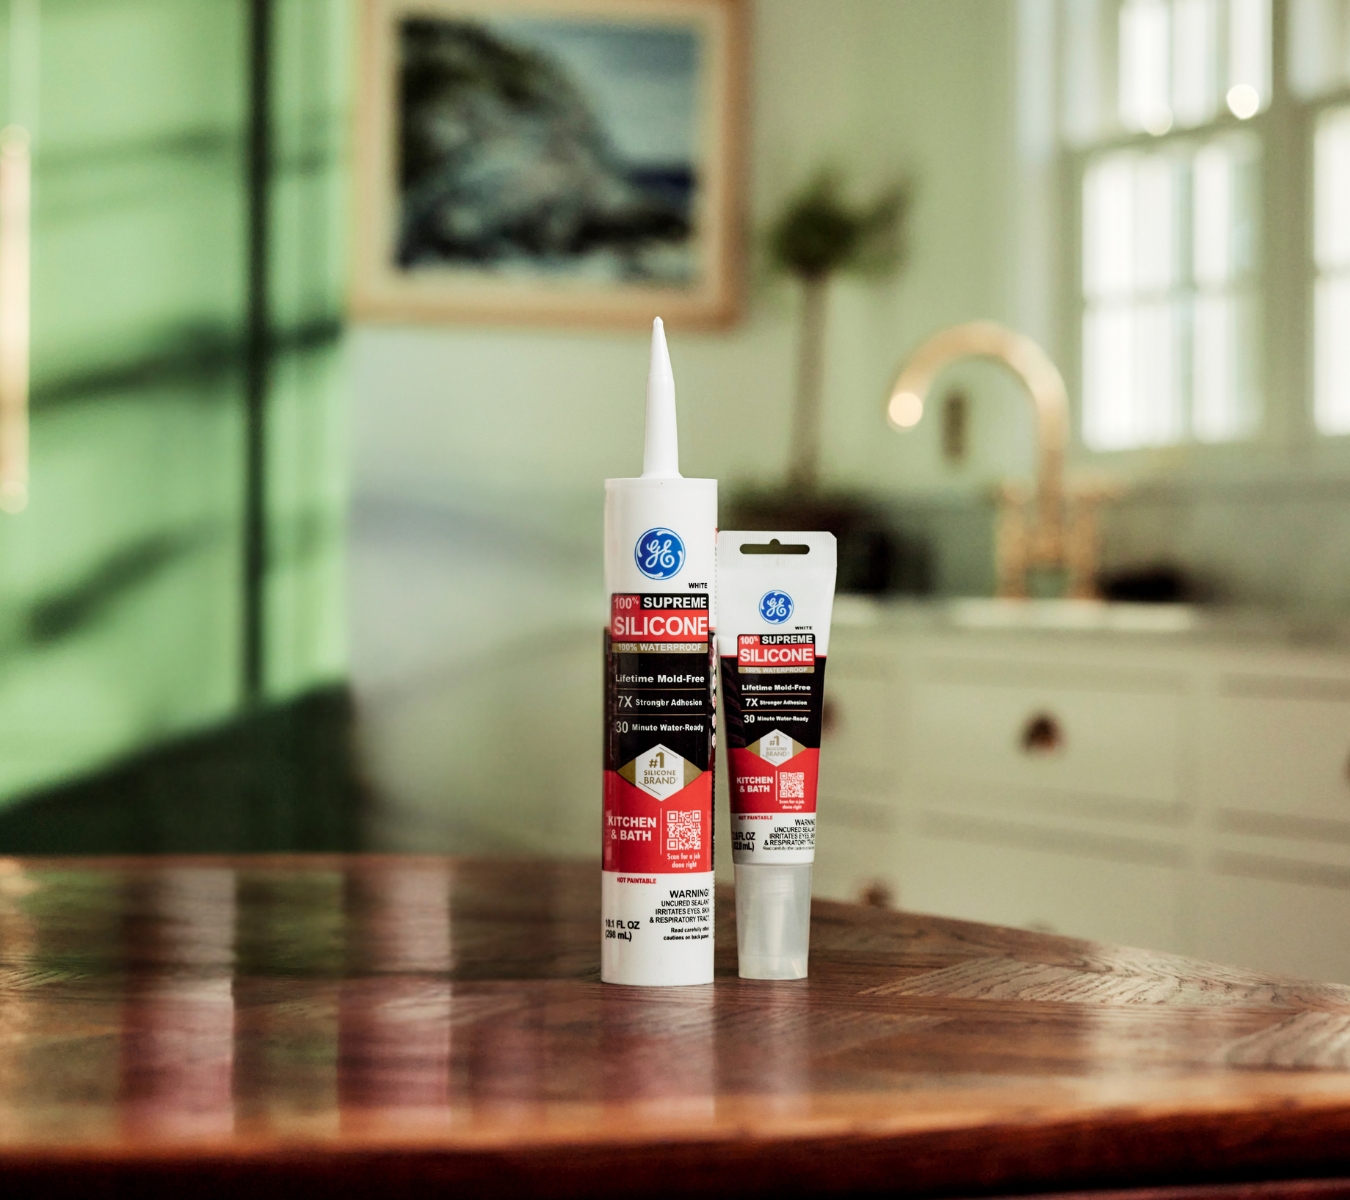
The right sealant can make all the difference between a kitchen that holds a freshly updated appearance and one that needs another round of repairs in a few months. For wet areas such as sinks, faucet bases, or tiled backsplashes, GE Supreme Silicone Kitchen & Bath Sealant is your best option.
Why sealing is the simplest way to refresh your kitchen on a budget
When your kitchen starts looking a little worn, resealing is one of the easiest and most cost-effective ways to give it a quick facelift. Over time, sealant around sinks, countertops, and backsplashes can discolor, crack, or peel, making even a clean kitchen rough around the edges. Replacing those old lines of caulk instantly brightens the space, giving surfaces a cleaner, newer appearance without the cost of replacement.
Fresh sealant also protects your kitchen from moisture damage, one of the leading causes of warping, mold, and countertop separation. By keeping water out of joints and gaps, you preserve your finishes and extend the life of your kitchen materials. Best of all, resealing is a simple DIY task that can be done in an afternoon with just a few tools and a tube of sealant. For homeowners preparing for the holiday season, sealing is typically a small project with a big payoff.
Where to reseal for the biggest visual payoff
If your goal is to make your kitchen look refreshed before guests arrive, start by resealing the areas that catch the most light and attention. The first place to check is around the sink, where moisture exposure and frequent cleaning often cause sealant to crack or discolor. A clean, bright bead here instantly makes the countertop look newer. Next, inspect the joint between the countertop and backsplash, a high-visibility spot where old caulk can collect grime or separate from the wall. Resealing this seam smooths the transition and gives your counters a seamless, finished look.
Don’t overlook edges along countertops and cabinetry, especially near corners or appliances where crumbs and grease tend to gather. A quick reseal makes these areas easier to clean and more polished. Finally, check around windowsills and under-sink plumbing connections for gaps or peeling sealant. Focusing on these key areas delivers the greatest visual return for your kitchen refreshing efforts.
Choosing the right sealant for kitchen refresh projects

The right sealant can make all the difference between a kitchen that holds a freshly updated appearance and one that needs another round of repairs in a few months. For wet areas such as sinks, faucet bases, or tiled backsplashes, GE Supreme Silicone Kitchen & Bath Sealant is your best option. This 100% silicone sealant creates a permanently waterproof barrier that stays flexible and resists mold, mildew, and cracking, even with daily cleaning. It’s ideal for areas that come into frequent contact with water and need long-term protection.
For areas where appearance matters most, like between countertops and backsplashes or along cabinet edges, GE Pro Seal Max Kitchen & Bath provides a paintable alternative to 100% silicone sealants. It offers the strong adhesion and durability of silicone while being paintable once cured, making it easy to blend with surrounding surfaces. Pro Seal Max also resists shrinking and maintains a smooth finish that keeps kitchens looking polished.
How to remove and replace old sealant
Your kitchen refresh begins with the proper removal of old sealant and surface preparation. Start by using either a putty knife or the GE Sealant Remover Tool to lift out old or cracked material. This tool helps scrape away hardened caulk without damaging nearby surfaces like tile, laminate, or metal. Once the old bead is gone, clean the area with a mild household cleaner to remove any soap scum, grease, or residue that could interfere with adhesion. Let the surface dry completely before applying new sealant.
Next, cut the nozzle of your sealant tube at a 45-degree angle to match the joint width. Then apply a smooth, continuous bead along the seam. Keep steady pressure to avoid gaps or air bubbles. Immediately tool the bead using an edged hand tool or the GE Sealant Smoothing Tool to press it into the joint and create a clean, professional finish. Wipe away any excess before it sets.

Allow the sealant to cure as directed, typically 24 hours for silicone, before exposing it to water or cleaning. With the right tools and a bit of patience, you can remove and replace old sealant in just a few hours for an overall cleaner, newer-looking kitchen.
Finishing touches for a refreshed holiday kitchen
Once your new sealant is cured and the joints look smooth, a few finishing touches can make your kitchen truly shine for the holidays. Start by giving countertops, backsplash tiles, and fixtures a thorough polish to highlight the fresh, clean sealant lines. Replace worn dish towels, add a new soap dispenser, or switch out cabinet hardware for small but noticeable upgrades. You can also brighten the space with under-cabinet lighting or a few festive accents to create a warm, inviting feel for guests.
Keeping up with sealant maintenance is another easy way to extend the life of your kitchen surfaces. Wipe joints regularly and check them once or twice a year for signs of wear or discoloration. Touching up these areas as needed keeps your kitchen looking crisp and prevents moisture damage down the road. These few simple details can turn your everyday kitchen into a refreshed, holiday-ready space.
To get GE Sealants’ products for your home improvement project, visit these fine retailers in the U.S. or Canada.


