
Note: This DIY article is provided as a general guide only and is not intended to take the place of product-specific installation procedures; always follow applicable manufacturers’ instructions. Depending on your home’s age and condition, location within the home, and other potential factors, repairs and/or upgrades or other services may be necessary prior to the beginning and/or completion of your project that may involve the services of a home improvement professional. This article does not include advice pertaining to local building codes and/or any related inspections.
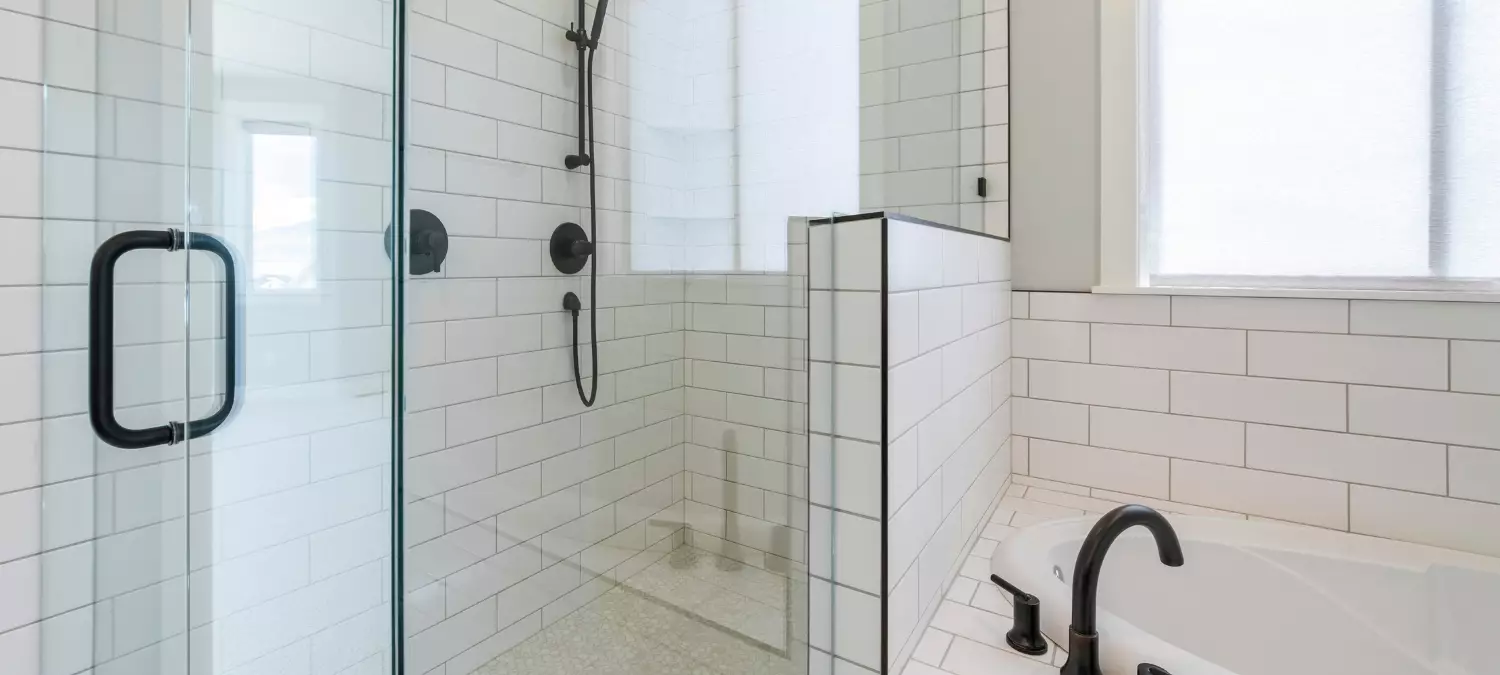
Dirty grout can make an otherwise clean kitchen or bathroom look older than it really is. If you want to clean your tile grout without regrouting, a grout whitener pen can be an easy way to brighten the lines and improve the overall look of the tile. This guide explains how to prep the surface, apply GE’s Grout Whitener Pen more cleanly, and maintain the results so grout whitening lasts longer.
Before you apply a grout whitener pen, make sure the grout is clean, dry, and free of anything that could interfere with the finish. Dirt, soap residue, grease, and lingering moisture can all affect how evenly the product goes on. If there is visible mold or mildew, deal with that first rather than trying to cover it up.
Why grout lines start to look dirty so quickly
Grout lines start to look dirty quickly because grout holds onto more moisture and residue than the surrounding tile. In kitchens and bathrooms, everyday splashing, soap film, cooking residue, and general surface grime can settle into the grout over time, especially in narrow joints that are harder to wipe clean.
Once that buildup starts to collect, the grout can darken or discolor even when the tile still looks fairly clean. In many cases, the problem is cosmetic at first, but it still makes the whole tiled area look older and less cared for. That is why grout whitening can make such a noticeable difference with relatively little effort.
Where a grout whitener pen works best
A grout whitener pen works best on narrow grout lines that need a cosmetic refresh rather than a full repair. In kitchens, that often means backsplashes and sink areas where splashing and surface buildup leave the grout looking dull or stained.
In bathrooms, it is especially useful on tile walls, tub surrounds, and shower walls where discoloration tends to show up quickly. Laundry rooms and other tiled utility spaces can also benefit when the grout has started to look older than the tile itself. In general, a grout whitener pen is most useful where the grout is still intact but no longer looks clean or bright.
What to do before you apply the pen
Before you apply a grout whitener pen, make sure the grout is clean, dry, and free of anything that could interfere with the finish. Dirt, soap residue, grease, and lingering moisture can all affect how evenly the product goes on. If there is visible mold or mildew, deal with that first rather than trying to cover it up. A whitening pen is meant to refresh the appearance of intact grout, rather than solve an active mold problem underneath it.
It also helps to work in smaller sections instead of trying to cover the whole area at once. That gives you time to keep the application even and wipe away any excess from the tile before it dries. Good prep takes a little longer up front, but it’s usually worthwhile in the long run.
Step-by-step: how to whiten tile grout with a grout whitener pen
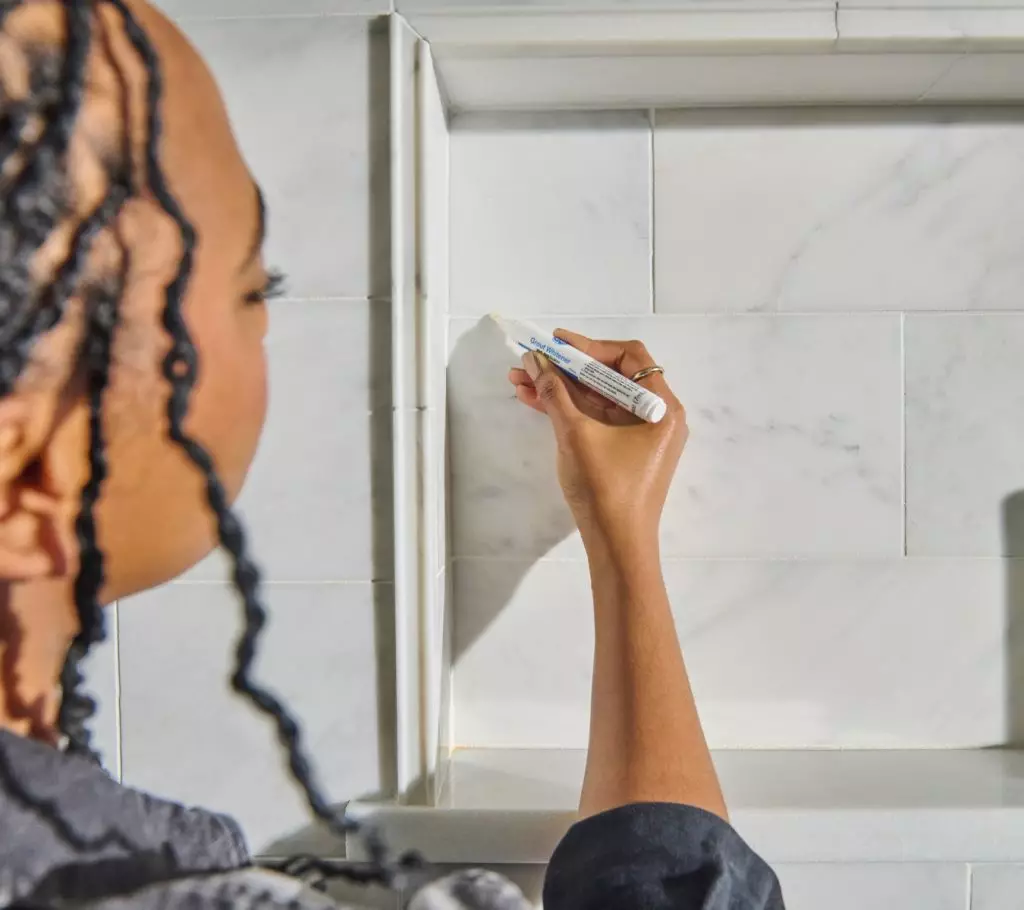
Start by uncapping the pen and depressing the nib until the product begins to flow. Take a moment to make sure the tip is fully activated before moving across the grout line. When you begin applying, use the pen sparingly and work in an even coat rather than flooding the joint with too much product at once.
If you are working on a wall application, it often helps to move vertically so you can follow the grout line more cleanly and keep the coverage controlled. As you go, wipe away any excess from the tile surface before it dries. This is one of the easiest ways to keep the finished result looking neat.
After the first coat, let the product dry and check the coverage. If the grout still looks uneven or needs more brightening, you can reapply after an hour.
How to maintain brighter grout lines after application
Once the grout looks brighter, a few simple habits can help it stay that way. Wipe up splashing and standing moisture before it has time to settle into the grout lines again, especially around sinks, backsplashes, showers, and tub edges. Clean tiled areas regularly with non-abrasive methods so surface buildup does not dull the grout too quickly.
It also helps to address stains early instead of waiting for heavy discoloration to build over time. In bathrooms, keep wet areas ventilated as much as possible so surfaces dry faster between uses. Small maintenance habits usually do more to preserve the look than another full refresh too soon.
Why this is a useful kitchen and bathroom refresh
A grout whitener pen is a useful kitchen and bathroom refresh because it improves the look of tiled surfaces quickly without turning the job into a full repair project. When the grout is intact but stained or dull, brightening the lines can make the whole area look cleaner and more defined.
It is best understood as a fast cosmetic update, not a substitute for replacing failed grout. For many DIYers, that makes it a practical way to improve the look of a backsplash, shower wall, or tub surround with less mess and less time.
GE products that fit the job
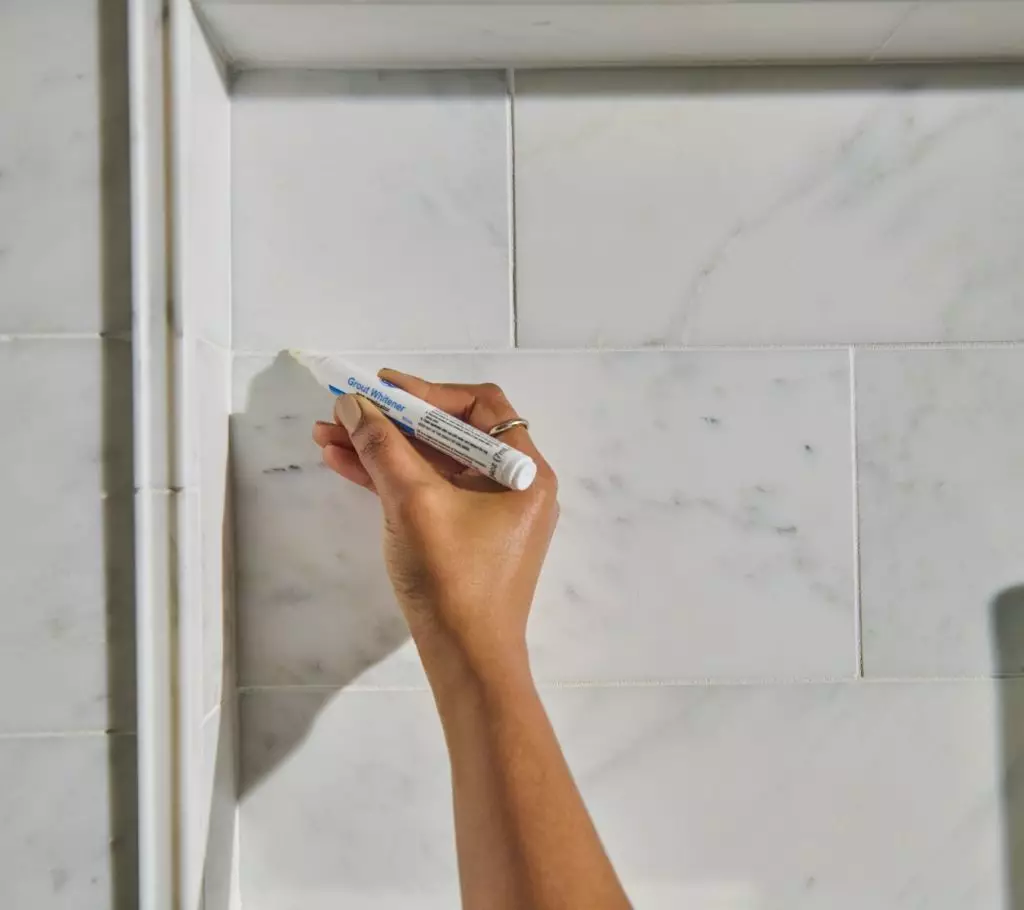
For a grout refresh, GE’s Grout Whitener Pen is the superior choice, though there are alternative grout whitening products. If the project also reveals failing sealant nearby, it can make sense to address those wet-area joints at the same time. GE Supreme Silicone Kitchen & Bath is a strong option where long-term flexibility and water resistance matter most, while GE Advanced Silicone Kitchen & Bath is another reliable choice for sealing around sinks, tubs, and backsplashes. To apply either sealant neatly and with ease, use GE’s Sealant Smoothing Tool.
To get GE Sealants’ products for your home improvement project, visit these fine retailers in the U.S. or Canada.
