

Whether it is a standalone project or part of a complete renovation, installing a new sink in your kitchen can give it a fresh look. One of the most popular types of kitchen sinks is a drop-in sink. Learning how to install a drop-in sink can save you time and money on your kitchen upgrade.
In this guide, we will walk you through the steps required to install a drop-in sink like a professional.
What size sink do you need?
Before you purchase your new drop-in sink, you need to make sure you buy one that will fit. If the new sink is simply replacing the old one, buy a sink with the same dimensions and it should easily fit in the same space.
If you are installing new countertops or want to increase the size of your sink, carefully measure the space where the drop-in sink will go. Pay attention to the width of your cabinet, as this will determine the maximum size of your new sink.
As the saying goes, “Measure twice, cut once.” Make sure you carefully measure your countertop space to ensure you purchase a new drop-in sink that will work with your space.
Do you need to call a professional?
While many sink installations are simply a matter of removing the old one and putting in the new one, some installations require more extensive plumbing work, especially if it is part of a kitchen remodel and the plumbing is moving. If you are not confident in your plumbing capabilities, you should consult or hire a professional plumber before you start.
Remove the existing sink
When replacing an existing drop-in sink, you will need to remove the old sink first. Follow these steps to get started:
- Turn off the power breakers for any electricity near the sink.
- Turn off the water lines that connect to the sink.
- Turn on the faucet to release any water in the line and disconnect the water lines.
- If you have a garbage disposal, loosen the mounting bracket and twist the disposal off.
- Look under the sink for mounting clips. You should be able to loosen and slide out these clips.
- If there is any sealant around the edge of the sink, carefully use a utility knife to cut through the sealant.
- Carefully push upward on the bottom of the sink to lift it out of the hole. You may need a second person to help with this step.
Gather your tools and materials
Before you start the installation, gather all the necessary tools and materials to ensure a smooth sink installation process. Here’s a list of what you’ll need:
- New drop-in sink
- Faucet
- Plumber’s putty or silicone sealant
- Adjustable wrench
- Screwdriver
- Bucket
- Towels or rags
- Tape measure
- Pliers
- Safety goggles
Learn how to install a drop-in sink in 11 steps
Follow these steps to install your new drop-in sink like a professional.
-
Prepare the area
Start by clearing out the space where you’ll be installing the sink. Remove any items from the cabinets below and clear the countertop. Ensure that the area is clean and free of debris.
-
Measure and mark
Measure the dimensions of your sink and the cutout area on your countertop. Many new sinks come with a paper template for easier measuring and marking. Use a tape measure to ensure accuracy. Once you have the measurements, mark the outline of the sink cutout on the countertop using a pencil or marker.
-
Cut the countertop (if necessary)
If your countertop does not already have a cutout for the sink, you’ll need to cut one. Use a jigsaw or a similar cutting tool to carefully cut along the marked outline. Take your time and follow the manufacturer’s instructions for cutting the countertop.
-
Apply plumber’s putty or caulk
Next, apply a thin bead of the plumber’s putty or silicone caulk along the underside of the sink’s rim. This will create a watertight seal between the sink and the countertop. Be sure to apply the putty or caulk evenly around the entire perimeter of the sink.
-
Position the sink
Carefully lower the sink into the cutout on the countertop, ensuring that it fits snugly. Double-check the alignment and adjust if necessary. Once the sink is in position, press down firmly to secure it in place.
-
Install the faucet
Install the faucet according to the manufacturer’s instructions. This typically involves attaching the faucet to the sink using nuts and bolts provided with the faucet. Use an adjustable wrench to tighten the connections securely. Most sinks either have pre-drilled holes or pop-out areas for the faucet and any additional parts and accessories, like a soap dispenser or sprayer nozzle.
-
Connect the water supply lines
Next, connect the water supply lines to the faucet. Most faucets will have hot and cold water supply lines that need to be connected to the corresponding shut-off valves under the sink. Use pliers to tighten the connections, but be careful not to over-tighten and damage the fittings.
-
Secure the sink
Once the sink is in position and the faucet is installed, it’s time to secure the sink to the countertop. Underneath the sink, use a screwdriver to tighten the clips or brackets provided with the sink. These will help hold the sink in place and prevent it from shifting or moving.
-
Check for leaks
Before using the sink, it’s important to check for leaks. Turn on the water supply and let the faucet run for a few minutes. Check underneath the sink for any signs of water leaks or drips. If you notice any leaks, tighten the connections as needed until they are secure.
-
Seal the edges
Finally, seal the edges of the sink with a bead of silicone sealant. This will create a waterproof seal and prevent water from seeping into the countertop. Use a caulking gun to apply the sealant for sinks evenly around the perimeter, then smooth it out with your finger or a caulk finishing tool.
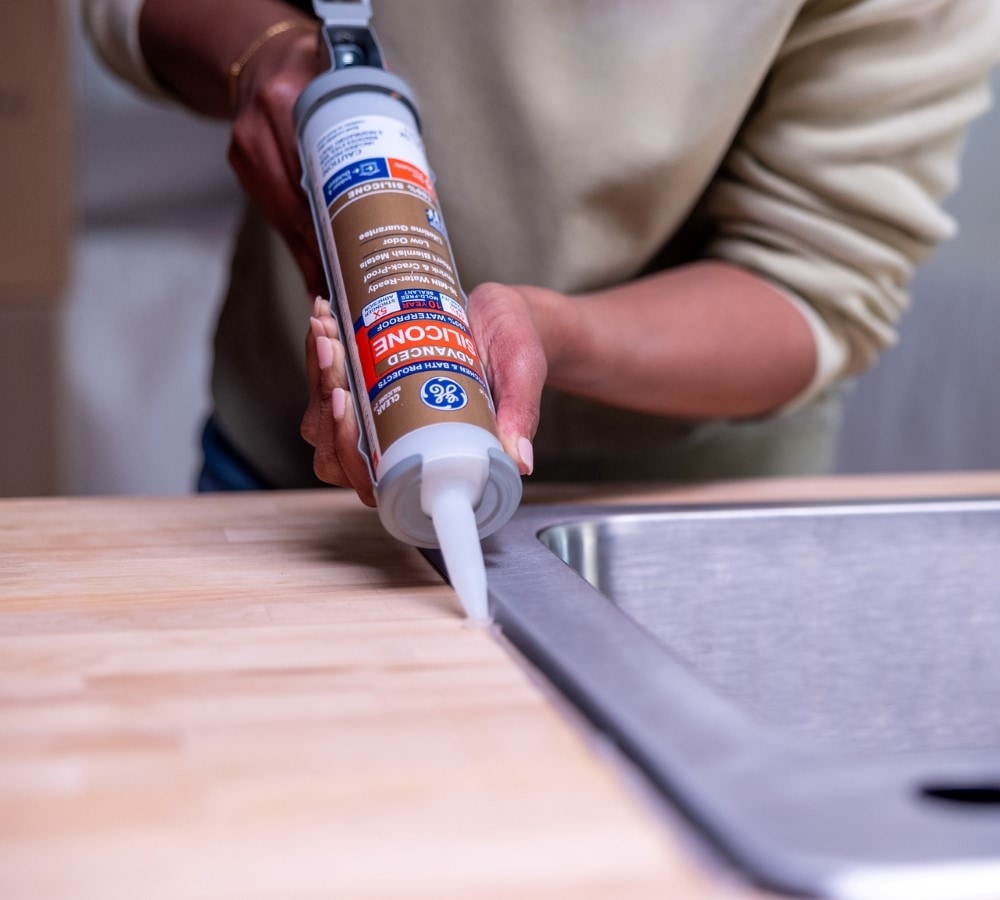
Use silicone sealant to give your new sink a waterproof seal. -
Clean up
Once the installation is complete and everything is secure, clean up any excess putty, caulk, or debris from the area. Wipe down the sink and countertop with a damp cloth to remove any fingerprints or smudges.

GE sealants ensure a waterproof seal for your new drop-in sink
You don’t want to have to redo your new sink installation because of leaks. By using a GE silicone sealant, you will get a 100% waterproof seal.
Check out the lineup of GE sealants and find them at any of these retailers near you.

