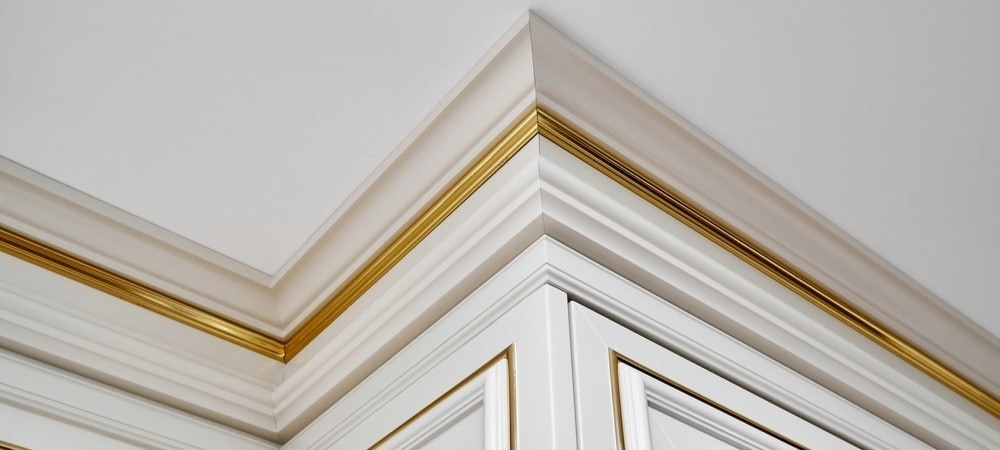
Crown molding is the perfect finishing touch to any room, adding elegance and sophistication to your home’s interior. However, achieving a flawless finish requires more than just installing the molding itself. Proper caulking is essential to fill in gaps and cracks providing a seamless transition between the molding and the wall or ceiling.
In this guide, we’ll delve into the art of caulking crown molding, offering tips and tricks to help you achieve smooth professional-looking results.
Note: This DIY article is provided as a general guide only and is not intended to take the place of product-specific installation procedures; always follow applicable manufacturers’ instructions. Depending on your home’s age and condition, location within the home, and other potential factors, repairs and/or upgrades or other services may be necessary prior to the beginning and/or completion of your project that may involve the services of a home improvement professional. This article does not include advice pertaining to local building codes and/or any related inspections.
Why are there gaps in crown molding?
Even with a new installation, there might be gaps between the crown molding and the wall or ceiling. This can happen for a couple of reasons:
- Construction Materials: Even with the most accurate measuring and building, there will inevitably be some imperfections in the angle of a wall or ceiling. When these surfaces come together, the slight differences can lead to gaps when you install crown molding.
- Temperature Changes: Building materials are affected by temperature. As temperatures decrease the walls and ceiling can shrink away from your crown molding. This can cause significant gaps in the winter.
By filling these gaps with a high-quality caulk or sealant, you can get a smoother, better finish to your crown molding.
Crown molding adds the finishing touch to a room. Seal any gaps with high-quality caulking for a smooth, professional look.
Use these 10 tips for caulking crown molding
Get a professional-looking finish on your crown molding with these tips.
-
Choose the right caulk
Selecting the right caulk is the first step toward achieving a successful caulking job. For crown molding, it’s essential to use a paintable, flexible caulk that adheres well to both wood and painted surfaces. Silicone-based or acrylic-latex caulks are excellent choices for this purpose. Make sure to read the label carefully to ensure compatibility with the materials you’re workin
-
Prepare the surface
Before you begin caulking, it’s crucial to prepare the surface properly. Clean the area around the crown molding to remove any dust, dirt, or debris that could interfere with adhesion. Use a mild detergent solution and a clean cloth to wipe down the surfaces. Allow the area to dry completely before proceeding.
-
Use the right tools
Having the right tools can make all the difference when caulking crown molding. Invest in a high-quality caulking gun to ensure smooth and consistent application of the caulk. Additionally, have a damp rag or sponge nearby to clean up any excess caulk and smooth out the bead.
-
Cut the caulk tube tip at an angle
Before loading the caulk into the gun, cut the tip of the caulk tube at a 45-degree angle. This will create a smaller opening, allowing for a more precise application of the caulk. Start with a smaller opening and trim more if necessary, depending on the size of the gap you’re filling. You also need to pierce the seal in the tube. Many caulking guns have an attached tool for this purpose.
-
Apply caulk in small sections
Instead of trying to caulk the entire length of the crown molding at once, work in small sections. Apply a bead of caulk along one section of molding, then smooth it out with your finger or a caulk finishing tool before moving on to the next section. This will help you achieve a more uniform finish and prevent the caulk from drying out before you can smooth it.
Tip: For smoother caulking lines, apply painter’s tape to either side of the joint to create a straight edge. Then, apply the caulk in the remaining space. Peel the tape up before the caulk dries.
-
Use backer rod for large gaps
For larger gaps between the crown molding and the wall or ceiling, consider using a backer rod before caulking. Backer rods are flexible foam strips that help provide support and fill in larger gaps, ensuring a more durable and long-lasting seal. Without backer rods, the caulk can collapse into larger gaps causing a misshapen, unsightly line.
-
Practice proper technique
Achieving a smooth and professional-looking caulk bead requires proper technique. Hold the caulking gun at a consistent angle (usually around 45 degrees) and apply steady pressure to the trigger as you move along the length of the molding. Keep a steady hand and maintain a consistent speed to ensure an even bead of caulk.
-
Smooth out the caulk
After applying the caulk, use a damp rag or sponge to smooth out the bead and remove any excess caulk. Wetting your finger can also help smooth out the caulk and create a clean, finished look. Be sure to wipe away any excess caulk before it dries to avoid unsightly drips or smudges.
-
Allow sufficient drying time
Once you’ve finished caulking, allow the caulk to dry completely before painting or applying any additional finishes. The drying time will vary depending on the type of caulk you’re using and the environmental conditions, so be sure to check the label for specific instructions. Rushing this step can result in a subpar finish and compromise the integrity of the caulk seal.
-
Paint over the caulk
If necessary, paint over the caulk to match the color of the molding and achieve a seamless finish. Use a high-quality paintbrush or roller to apply a thin, even coat of paint over the caulked areas. Be sure to allow the paint to dry completely before inspecting the results.
Get the professional results you need with GE sealants
Caulking crown molding may seem like a daunting task, but with the right tools, techniques, and attention to detail, you can achieve professional-looking results that enhance the beauty and value of your home. By following these tips and taking your time to do the job right, you can ensure a flawless finish that will stand the test of time. So, roll up your sleeves, grab your caulking gun, and get ready to transform your space with the timeless elegance of crown molding.
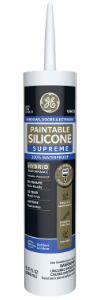
To get the professional results you need, choose a high-quality caulk or sealant from GE.
Shop GE sealants at any of these retailers.


