Note: This DIY article is provided as a general guide only and is not intended to take the place of product-specific installation procedures; always follow applicable manufacturers’ instructions. Depending on your home’s age and condition, location within the home, and other potential factors, repairs and/or upgrades or other services may be necessary prior to the beginning and/or completion of your project that may involve the services of a home improvement professional. This article does not include advice pertaining to local building codes and/or any related inspections.
If you’ve noticed peeling, cracked, or discolored caulk around your tub, you know how quickly it can turn into an eyesore and a source of leaks and water damage. Luckily, you don’t have to call a professional for help because with these expert tips on caulking a bathtub, you can take care of it yourself. Whether you’re wondering about the best caulk for a bathtub or how to ensure a smooth bead, these insights will help you get a clean, durable finish that holds up against moisture and daily use.
Caulking isn’t just cosmetic. It’s a barrier that keeps water out of the cracks between your tub, walls, and flooring. Caulk prevents mold growth, tile damage, and expensive repairs when done right.
Why bathtub caulking matters
Caulking isn’t just cosmetic. It’s a barrier that keeps water out of the cracks between your tub, walls, and flooring. Caulk prevents mold growth, tile damage, and expensive repairs when done right. However, even the smallest gaps can let water in when neglected or poorly applied, leading to long-term issues.
Choosing the best caulk for a bathtub
Not all caulks are created equal. The type of sealant you choose will make or break your project. Below are a few things the pros recommend so you know what to look for while shopping:
- Opt for 100% silicone: Silicone sealant is fully waterproof, flexible, and mold-resistant, making it the gold standard for tubs and showers. Acrylic caulks, while paintable, don’t hold up in constantly wet or humid environments.
- Look for a mildew-resistant formula: Many bathroom caulks contain built-in antimicrobial properties, slowing down mold growth and keeping your sealant fresh.
- Choose a color that blends in: White and clear are common choices, but silicone sealant is often available in colors to match your grout or bathroom fixtures. A seamless look can elevate the finish of your space.
- Pick a quality brand: Cheaper caulks often shrink or crack faster. Investing in a top-performing product ensures your effort lasts.
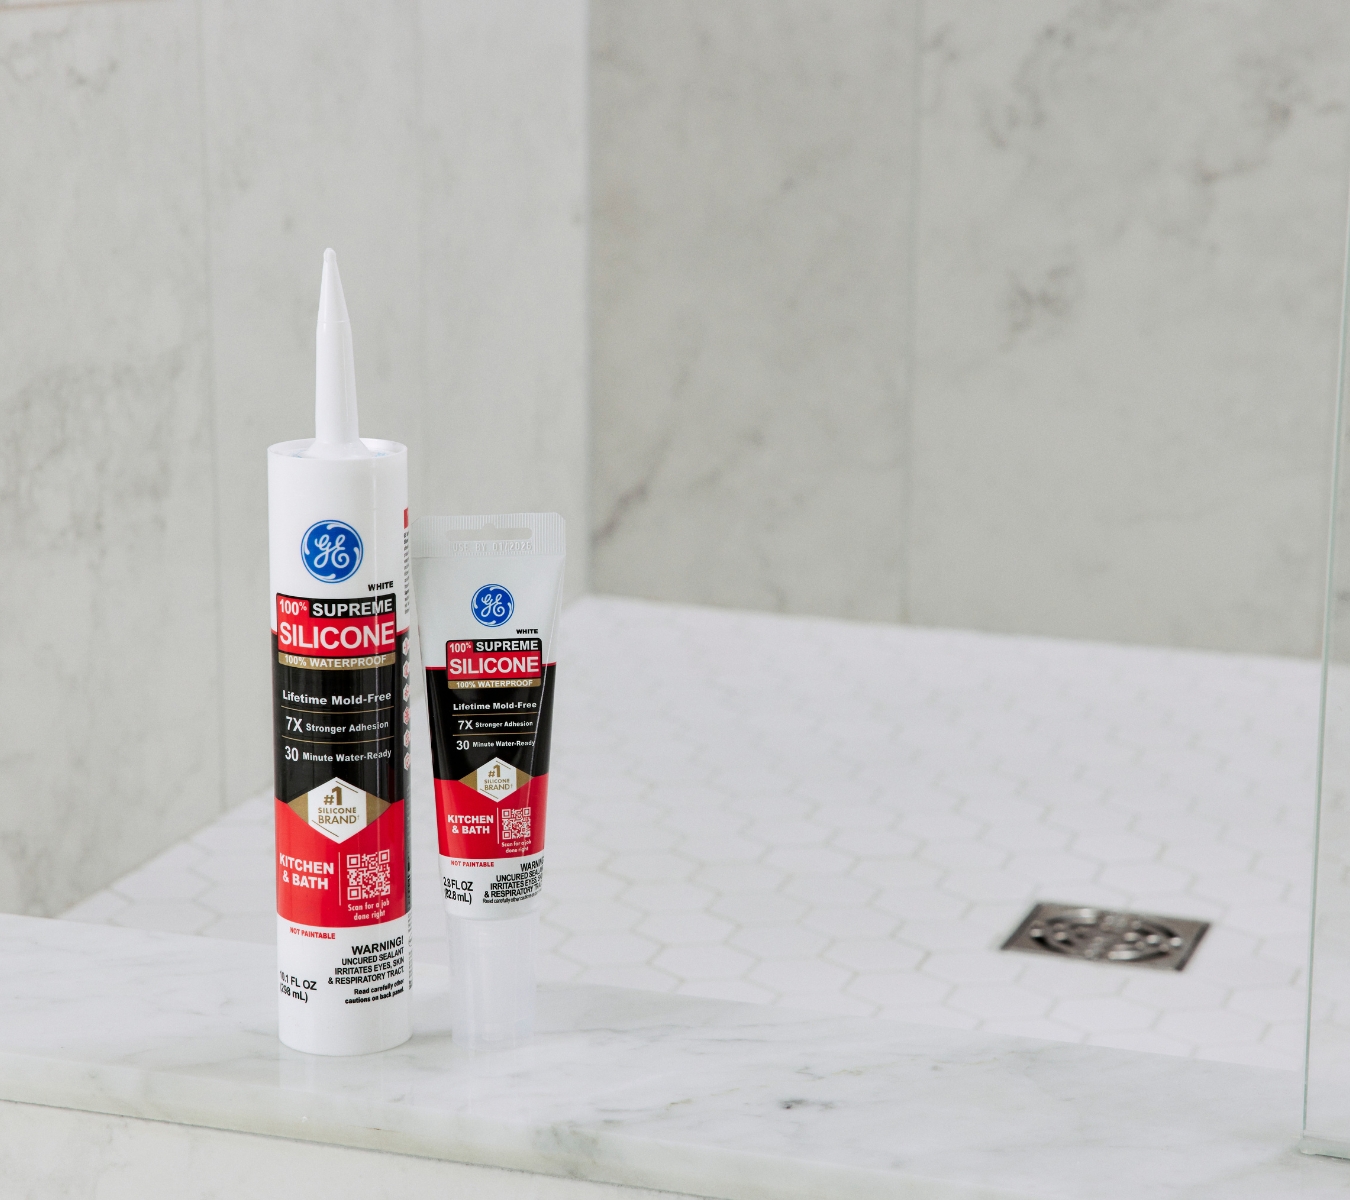
When choosing a silicone sealant, always check the label for “bathroom” or “kitchen and bath” to ensure the product is rated for wet environments. We recommend using GE Supreme Silicone Kitchen & Bath Sealant. It is 100% silicone and waterproof and comes in three colors (white, clear, and almond), so you can choose the one that best suits your bathroom.
The secret to a clean, professional finish when caulking a bathtub
Resealing your bathtub doesn’t have to be daunting. You want to take extra care to prevent uneven beads or messy smears. Luckily, a few techniques will deliver a sleek, professional look:
- Prep is everything: Make sure the area is completely dry and free from soap scum, dirt, and dust. Sealant won’t adhere well to dirty or damp surfaces.
- Use painter’s tape: Apply strips along each side of the joint to create a guide for your bead. This helps keep lines sharp.
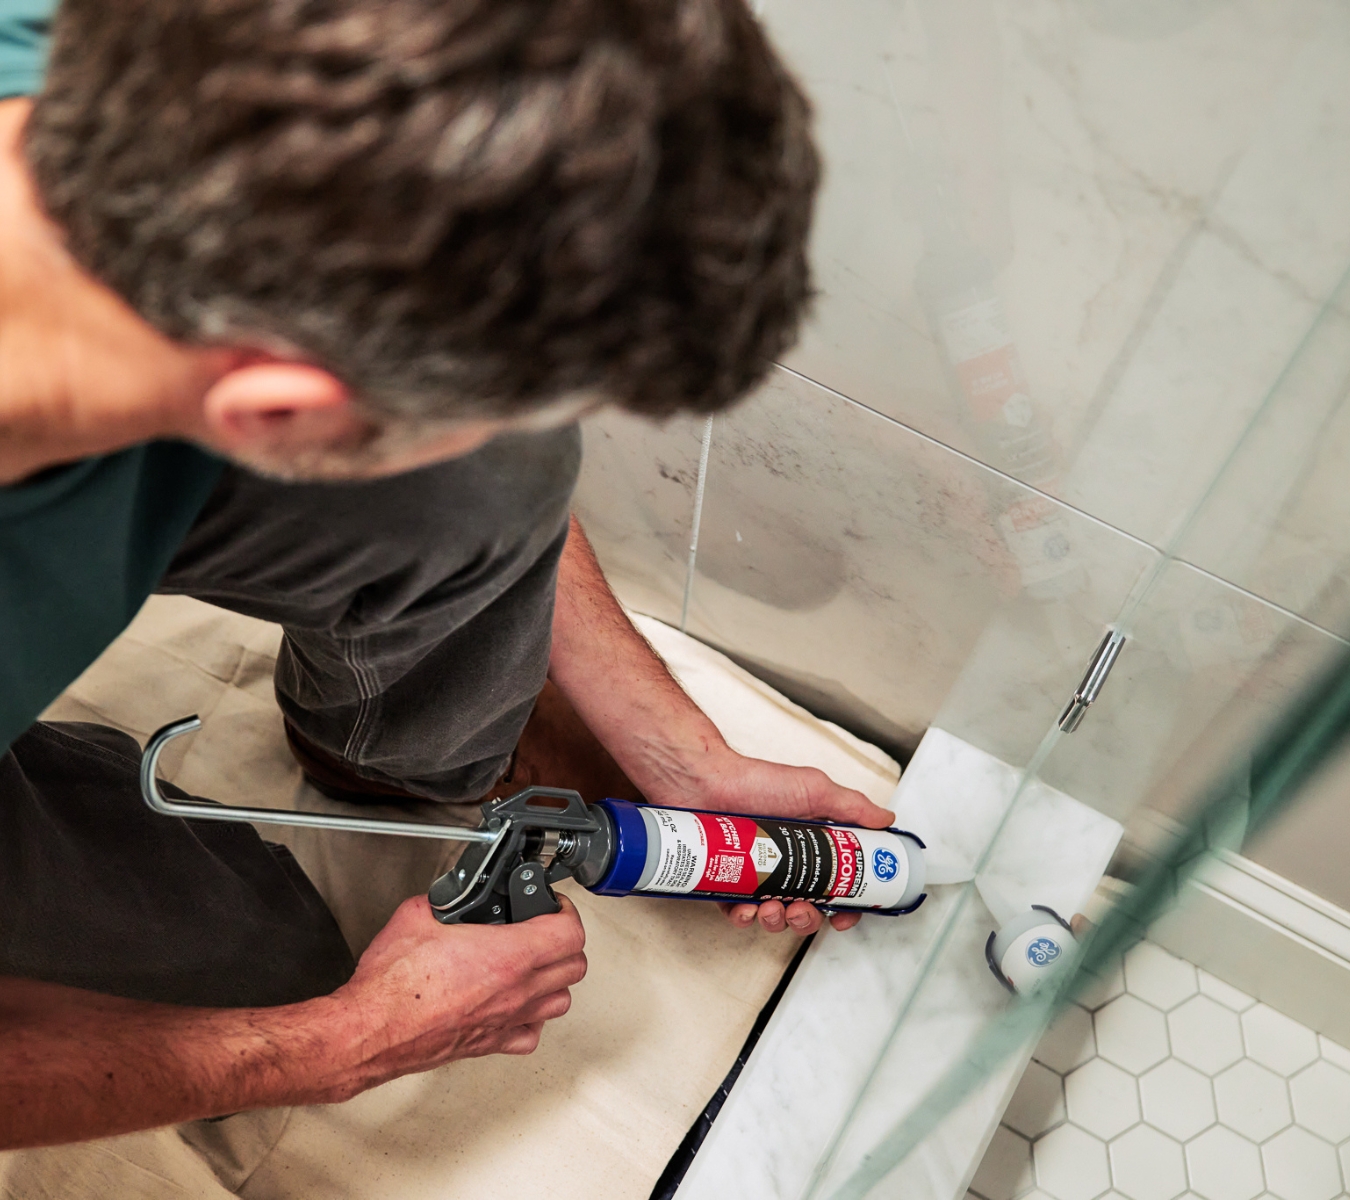
- Steady application: One pass of sealant is best for professional-looking results. To achieve this, cut the silicone sealant’s tip at a 45-degree angle and use a caulking gun to apply steady pressure for an even bead.
- Smooth it out immediately: While a gloved finger does the trick, a Sealant Smoothing Tool creates a uniform finish without dragging or leaving gaps.
- Remove tape immediately: Peel it off while the caulk is still wet to avoid jagged edges.
This little extra effort makes the difference between a job that’s good enough and one that’s flawless.
How often should you replace bathtub caulk?
Caulk doesn’t last forever. Even the best caulk for a bathtub will eventually deteriorate due to water exposure and cleaning products. Most professionals recommend inspecting your caulk at least once a year and replacing it every five years. Should you notice any of the following, replace it sooner:
- Cracks, gaps, or peeling edges
- Mold or mildew stains that won’t scrub away
- Caulk pulling away from the tub or tile
Staying on top of this maintenance keeps your bathroom sealed, fresh, and damage-free.

How do you remove caulk from a bathtub?
If you notice issues with your caulking, you’ll need to replace it. Removal and cleaning are essential steps because old caulk can leave residue that prevents new caulk from sticking. Removing old caulk efficiently requires a few steps to keep in mind.
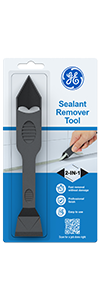
- Use the right tools: A Sealant Remover Tool helps lift out old lines without scratching your tub or tile. Use the pointed end of the tool for removal.
- Clean thoroughly: After removing, use the flat end of the tool to scrape away any residue. Then, wipe the area with rubbing alcohol or a mild cleanser.
- Dry completely: Don’t apply new caulk to damp surfaces. Wait for the surface to dry before getting started for the best adhesion.
Yes, it takes a little time, but skipping this step is the fastest way to end up redoing the job later.
Keeping bathtub sealant clean
Once you’ve achieved that crisp, fresh bead of caulk, you’ll want to keep it looking that way. Caulk can become discolored over time if not cared for properly. Here are a few tips that will help you maintain it:
- Ventilate the bathroom: Good airflow reduces moisture buildup, which helps prevent mold.
- Wipe down regularly: After showers, quickly towel-dry the caulk line to limit soap scum.
- Avoid harsh scrubbing: Use gentle, non-abrasive cleansers because harsh chemicals can damage the seal over time.
- Spot clean mold early: If you notice small spots, clean with a solution of water and vinegar before they spread.
Think of it like preventative care. Just a few seconds of maintenance will extend the lifespan of your sealant.

How to caulk a bathtub: extra expert tips for a leak-free seal
A few additional tips are needed to get a professional result when caulking a bathtub:
- Work in small sections: Sealant dries quickly. Tackle one seam at a time to avoid rushing.
- Mind the corners: These are the trickiest spots. Overlap beads slightly where seams meet for full coverage.
- Don’t rush drying time: Check the product label for the manufacturer’s recommendation. While the sealant is curing, keep the area dry.
- Properly store leftover caulk: Seal the tube tightly and store it upright in a cool, dry place for future touch-ups.
FAQ
What’s the best caulk for a bathtub?
A 100% silicone sealant is the best option for tubs because it’s waterproof, flexible, and mold-resistant. Look for a product labeled explicitly for bathrooms, such as the GE Supreme Silicone Kitchen & Bath Sealant.
How do you remove caulk from a bathtub without damaging the surface?
Use the GE Sealant Remover Tool to peel away old caulk and scrape off residue. Avoid using metal scrapers, which can scratch the tub or tile.
How often should bathtub caulk be replaced?
Most caulk should be replaced every five years, but it should be inspected annually. Replace it sooner if you see cracks, gaps, or mold stains that won’t go away with cleaning.
Can you apply silicone sealant over old caulk?
No, it’s not recommended. New sealant won’t adhere properly to old, deteriorating lines. Always remove the old caulk first for the best results when caulking a bathtub.
Are you looking for the best caulk for a bathtub? Find a store near you in the U.S. or Canada that carries GE products.


