
Note: This DIY article is provided as a general guide only and is not intended to take the place of product-specific installation procedures; always follow applicable manufacturers’ instructions. Depending on your home’s age and condition, location within the home, and other potential factors, repairs and/or upgrades or other services may be necessary prior to the beginning and/or completion of your project that may involve the services of a home improvement professional. This article does not include advice pertaining to local building codes and/or any related inspections.
Painting your kitchen is a great way to refresh the space, but don’t forget sealant to protect surfaces and leave a clean finish. Knowing when and where to apply kitchen sealant—before or after painting—can make a big difference in both appearance and durability. This guide covers the key steps for sealing properly during your kitchen painting project.
Why you should apply sealant when painting your kitchen
In kitchen painting projects, sealant does more than just add a clean appearance—it plays an important role in protecting your surfaces. Kitchens are high-moisture environments, and water can easily seep into gaps where countertops meet walls, around sinks, or along backsplashes. Without proper sealing, moisture can lead to peeling paint, warped materials, or even mold growth.
Applying a high-quality silicone sealant helps create a flexible, waterproof barrier in vulnerable areas. It also gives painted edges a crisp, finished look, especially where trim or tile meets the wall. For areas that require regular cleaning or exposure to splashes, using a kitchen-grade silicone sealant ensures lasting protection that won’t crack or shrink.
Paint or seal first? It depends.
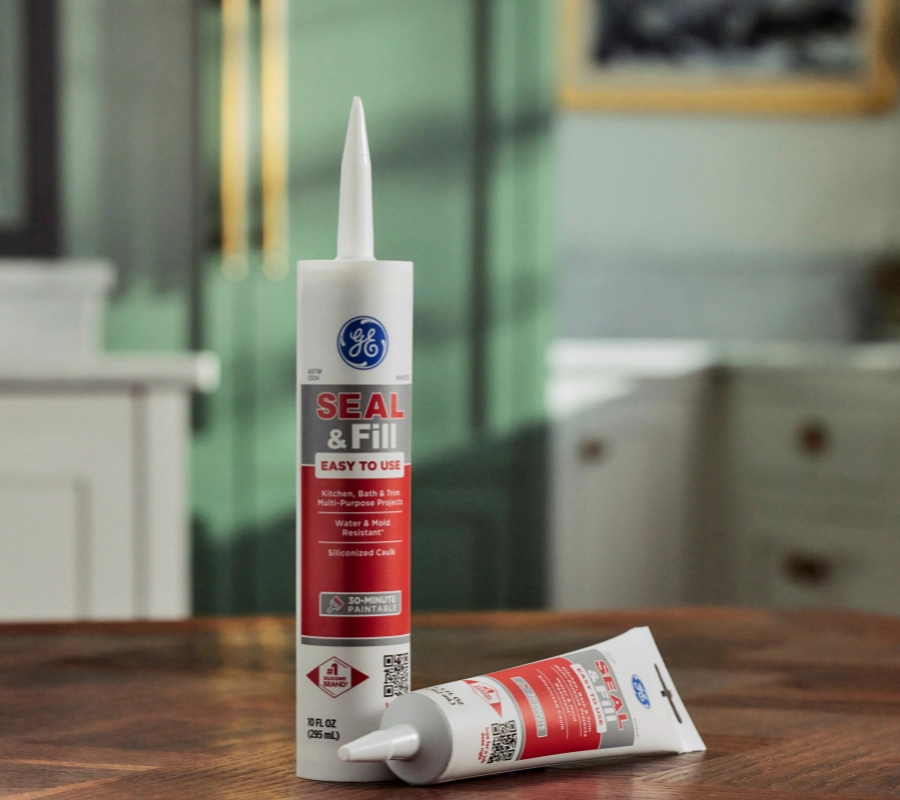
If you’re using Seal & Fill Multi-Purpose Kitchen & Bath Caulk, you can apply it before painting for a seamless finish. For non-paintable options like GE Advanced Silicone Kitchen & Bath Sealant, paint first, then seal. Always check the label to avoid adhesion issues. For a clean look, choose a sealant color that matches your paint or trim, or use clear for minimal visual impact.
When to seal and when to paint
One of the most common questions about kitchen painting is whether to seal before or after applying paint. The answer depends on the type of sealant you plan to use. If you’re working with a paintable silicone, such as Seal & Fill Multi-Purpose Kitchen & Bath Caulk, you can apply the sealant first, allow it to fully cure, and then paint over it for a seamless look. This is ideal for areas where you want both moisture protection and a uniform paint finish.
However, if you’re using a non-paintable silicone sealant, such as GE Advanced Silicone Kitchen & Bath, you should complete all painting first, allow the paint to completely dry, and then apply the sealant. Unmodified silicone does not take paint well and applying paint over it will result in poor adhesion and peeling. For best visual results, choose a sealant color that blends with your paint or trim, or use a clear formula when working with multiple finishes.
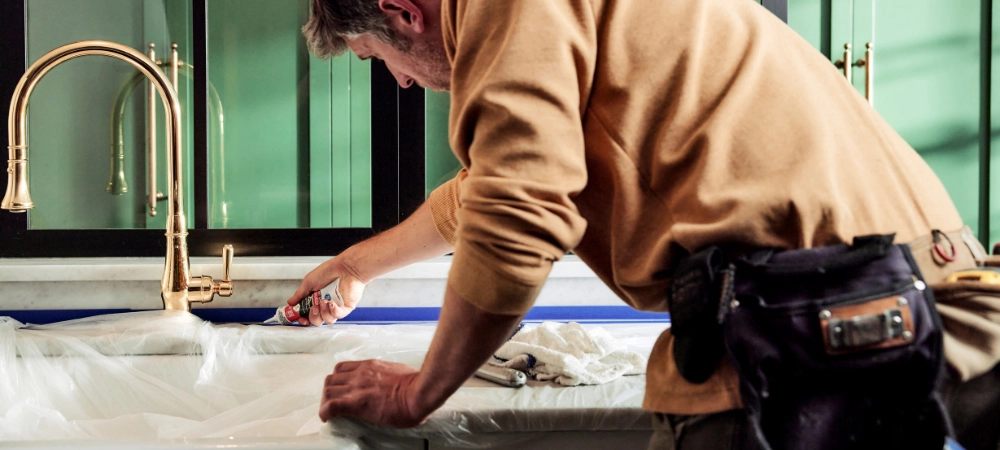
To get clean lines when sealing after painting, apply painter’s tape along both sides of the joint before applying sealant. Smooth the bead with GE’s Smoothing Tool or a gloved finger and remove the tape immediately for a crisp, finished edge. Planning ahead ensures your sealant performs well and your paint job looks professional.
Where to seal in your kitchen
Knowing where to apply sealant is key to protecting your newly painted kitchen from moisture damage and daily wear. Focus on areas where water, steam, or food particles are likely to collect—these are the points most vulnerable to damage if left unsealed.
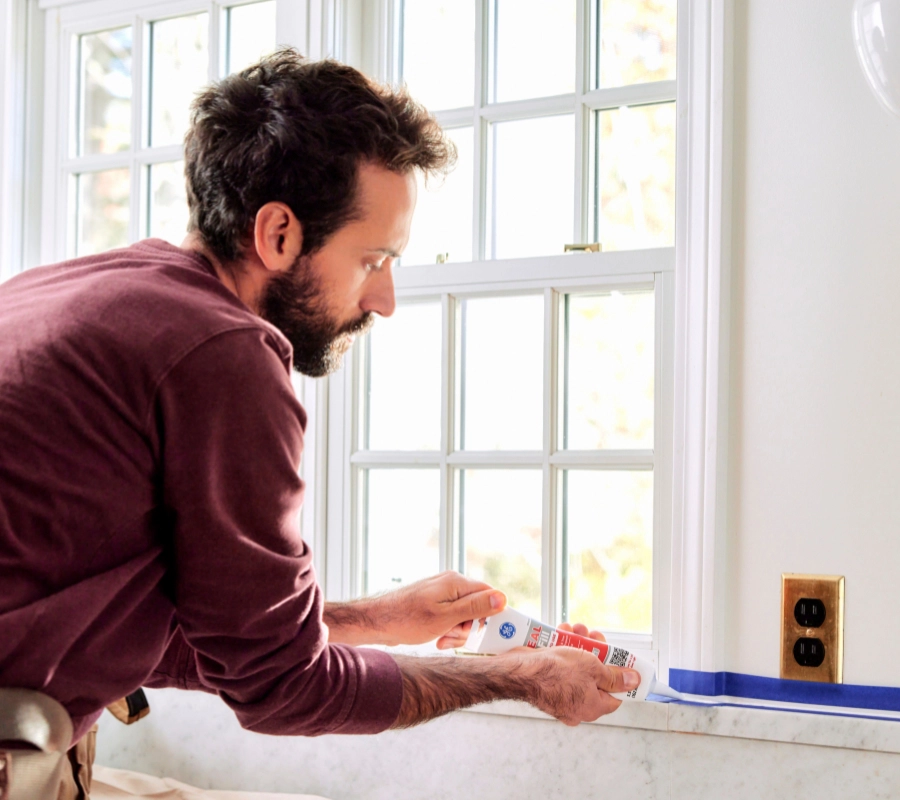
Common spots that require silicone kitchen sealant include the joint where countertops meet the wall, especially behind sinks or stoves. Backsplashes should also be sealed at their edges to prevent water from seeping behind tiles or panels. Around sinks and faucet bases, a waterproof seal is essential to stop drips from entering cabinets or damaging countertops. Don’t forget corners, trim edges, and any joints where different materials meet, such as tile and drywall.
Kitchen painting tips
Painting a kitchen requires more planning than other rooms due to high moisture, frequent cleaning, and the variety of surface types involved. To get the best results, start by thoroughly cleaning all surfaces to remove grease, food residue, and dust—especially around cabinets, baseboards, and backsplash areas. A degreasing cleaner or a mix of warm water and dish soap works well for this step.
Read this article to learn more about sealing backsplashes.
Next, repair any dings, cracks, or holes with a patching compound. Lightly sand the surfaces to promote paint adhesion and wipe away dust with a damp cloth. Use painter’s tape to mask off edges, trim, and surfaces you plan to seal later.
Choose a high-quality paint with a semi-gloss or satin finish, which is easier to clean and holds up better in kitchens. Flat or matte finishes tend to absorb moisture and stain more easily. For surfaces near the stove or sink, consider a paint labeled mildew-resistant or kitchen-specific.
Apply primer to any repaired or previously unpainted areas, then follow with two coats of paint for even coverage. Let the paint dry completely before applying any sealant unless you’re using a paintable silicone sealant, which allows you to reverse the order if needed.
How to remove and replace old sealant
Before applying new sealant in your kitchen, it’s important to remove any old, cracked, or peeling material. Applying new sealant over damaged or loose areas can prevent proper adhesion and reduce the effectiveness of the seal.
Once you’ve applied the new sealant, a few simple finishing steps can make a big difference in the final appearance. A smooth, even bead not only looks more professional but also helps create a stronger, more effective seal.
Start by using a tool specifically designed for the job—like the GE Sealant Remover Tool—which helps lift away old silicone without damaging surrounding surfaces. Work slowly and carefully to remove all traces of the previous sealant, especially in corners or uneven areas. Once removed, clean the surface thoroughly with soap and water to eliminate residue, grease, or dust. Rinse and dry the area completely—sealant won’t bond properly to damp or dirty surfaces.

Finally, allow the sealant to cure fully according to product instructions—typically 24 hours—before exposing it to water or regular use. With proper finishing, your kitchen will look polished and stay protected from daily wear.
To get GE Sealants’ products for your home improvement project, visit these fine retailers in the U.S. or Canada.

