Whether you’re sealing around a tub, shower, or sink, a flawless finish isn’t just a nice touch; it’s the mark of true craftsmanship. For pros in the trade, mastering the art of applying bathroom sealant cleanly and efficiently is key to delivering top-tier results that stand the test of time. In this guide, we’ll share how to apply silicone sealant in the bathroom with a polished, professional look, covering everything from prep to finish.
When it comes to bathroom caulking, silicone sealant is the gold standard. It’s flexible, waterproof, mold-resistant, and built to last in high-moisture environments.
Why silicone sealant is the pro’s choice in the bathroom
When it comes to bathroom caulking, silicone sealant is the gold standard. It’s flexible, waterproof, mold-resistant, and built to last in high-moisture environments. Unlike acrylic caulk, it won’t crack or shrink, making it ideal for areas exposed to constant water and steam.
For pros, silicone sealant in the bathroom is a must-have because they know it’ll deliver the best results. But while the material itself is powerful, its application can be tricky. It’s less forgiving than acrylic caulks and requires a more refined technique to avoid mess and ensure clean lines.
How to get a smooth, pro finish with silicone sealant in the bathroom
To apply silicone sealant cleanly, we’ve outlined everything in a step-by-step guide so it’s easy to follow. This will ensure you have the best bathroom caulk every time.
1. Remove old caulk
Before you even touch a tube of silicone sealant, it’s crucial to prep the surface. That means removing old caulk that has cracked or degraded over time.
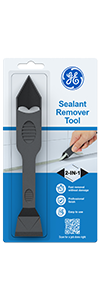
Use a high-quality caulk removal tool to lift away old sealant without damaging tile, tubs, or countertops. This will ensure you’re left with a clean space to work when it’s time to apply new sealant. Our Sealant Remover Tool features a sharp, pointed end for precise removal, even in the tightest corners. Its flat end will help scrape away stubborn residue.
Once the old sealant is gone, clean the surface with a mild cleaner to remove soap scum, mold, and dirt. A clean surface ensures proper adhesion and long-lasting results.
2. Choose the proper sealant for the job
Not all sealants are created equal. For bathroom applications, you want a premium product designed to resist mold and mildew while providing long-term flexibility.
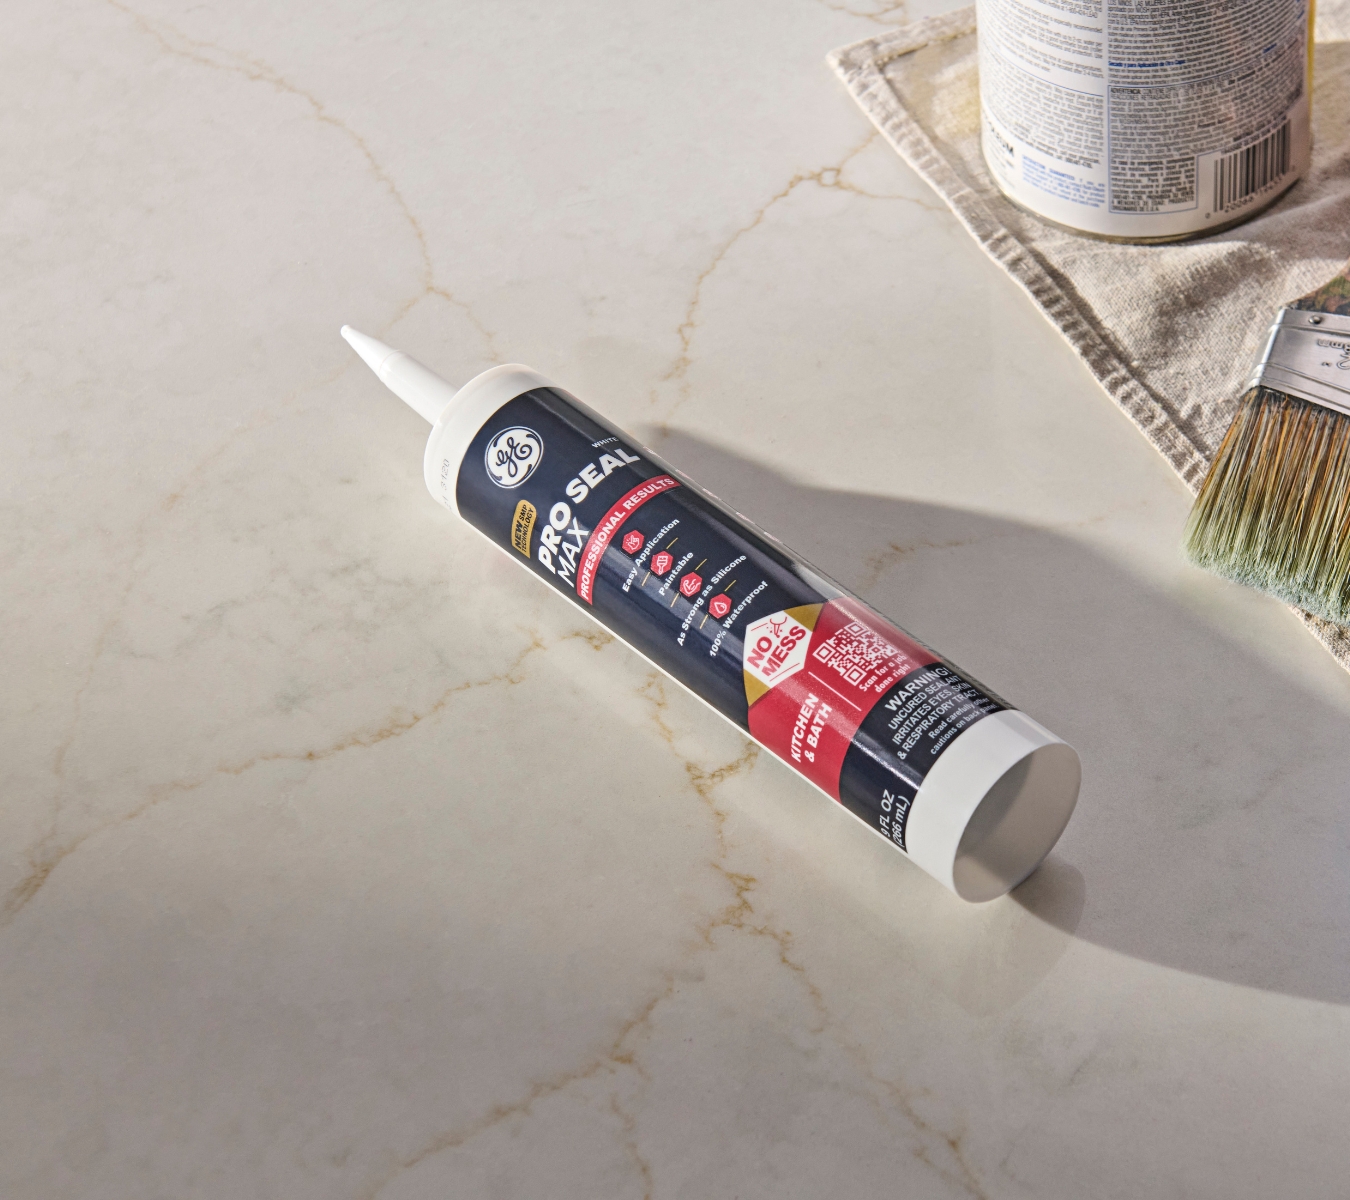
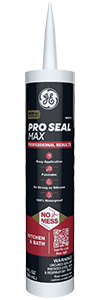
Our Pro Seal Max Kitchen & Bath is a hybrid formula and a top choice among professionals. It delivers the strength and flexibility of silicone with excellent adhesion on various surfaces, including ceramic, porcelain, and glass. Plus, it resists cracking, shrinking, and discoloration over time, even in high-humidity environments. It’s also paintable, should you need to match it to its surroundings.
Alternatively, if you’d like a 100% silicone sealant, try our Supreme Silicone Kitchen & Bath Sealant. It’s waterproof, as well as shrink- and crack-proof. Since it offers lifetime mold-free product protection, it’s a great choice for moisture-prone areas like the bathroom. Because this sealant isn’t paintable, it also comes in three shades (white, clear, and almond) to help match your bathroom décor.
Whether you’re sealing around a shower, tub, or sink, these products offer the durability and performance that professionals can rely on.
3. Tape the area for clean lines
Masking off the edges where you plan to apply silicone sealant helps ensure razor-sharp lines and prevents the product from smearing across tile or other surfaces.
Apply painter’s tape about 1/8” from the joint on both sides. This will give you a clear boundary and keep excess caulk off finished surfaces.
4. Cut the nozzle properly
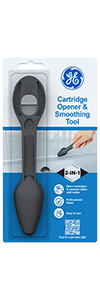
This is where precision begins. Using our Cartridge Opener and Smoothing Tool, cut the nozzle of your sealant to the desired bead size. Don’t cut too large a hole. A narrow bead offers more control and a cleaner finish.
5. Apply silicone sealant smoothly
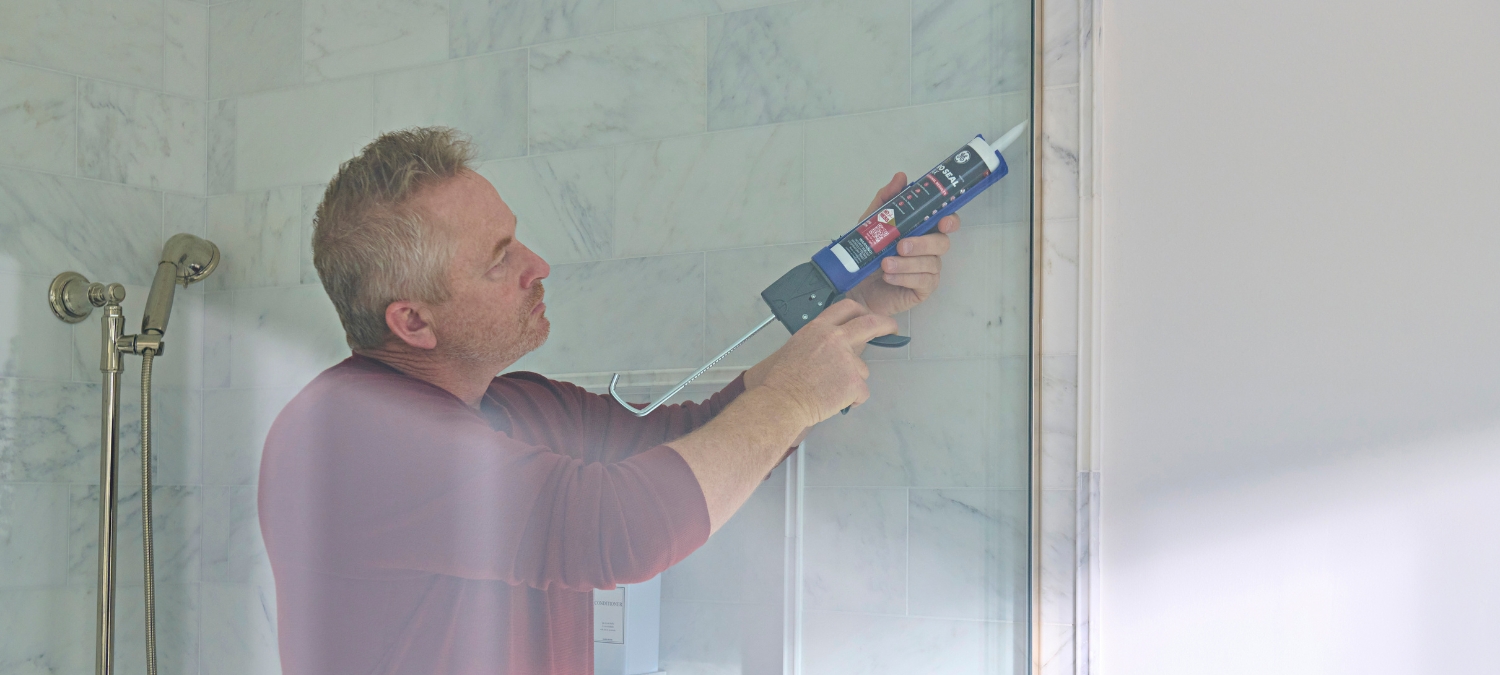
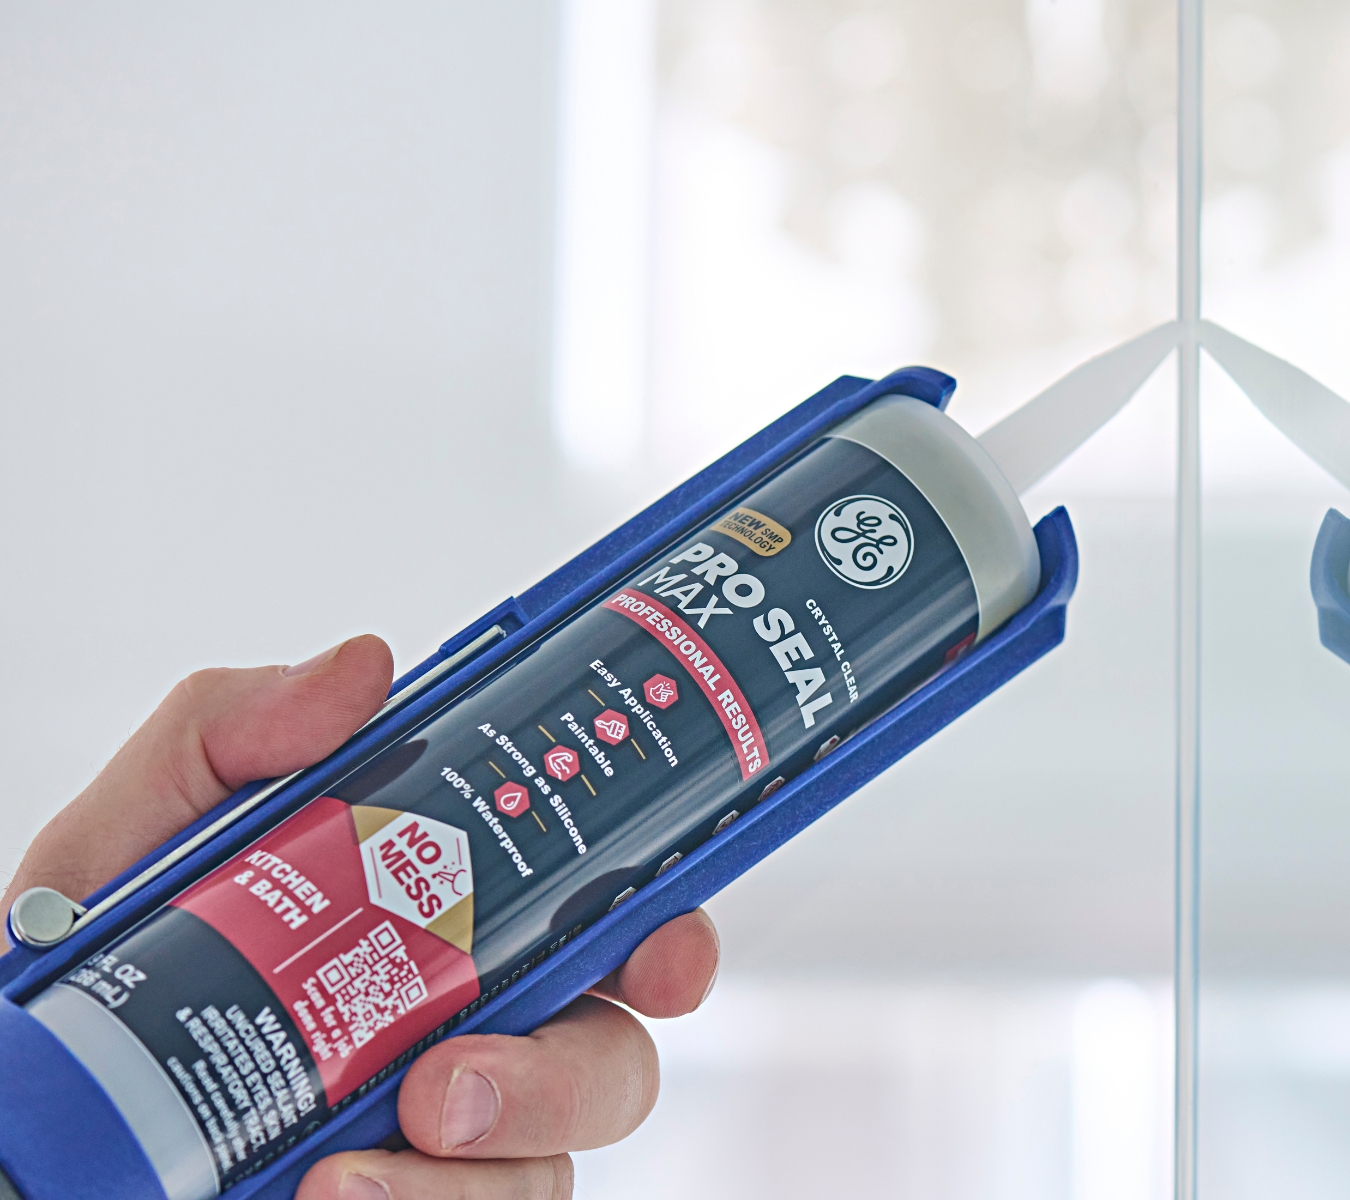
Hold your caulking gun at an angle. Apply steady pressure as you move along the joint. Try to maintain a continuous bead, working in short sections if needed. The goal is to fill the joint without over-applying fully.
6. Smooth the bead with the right tool
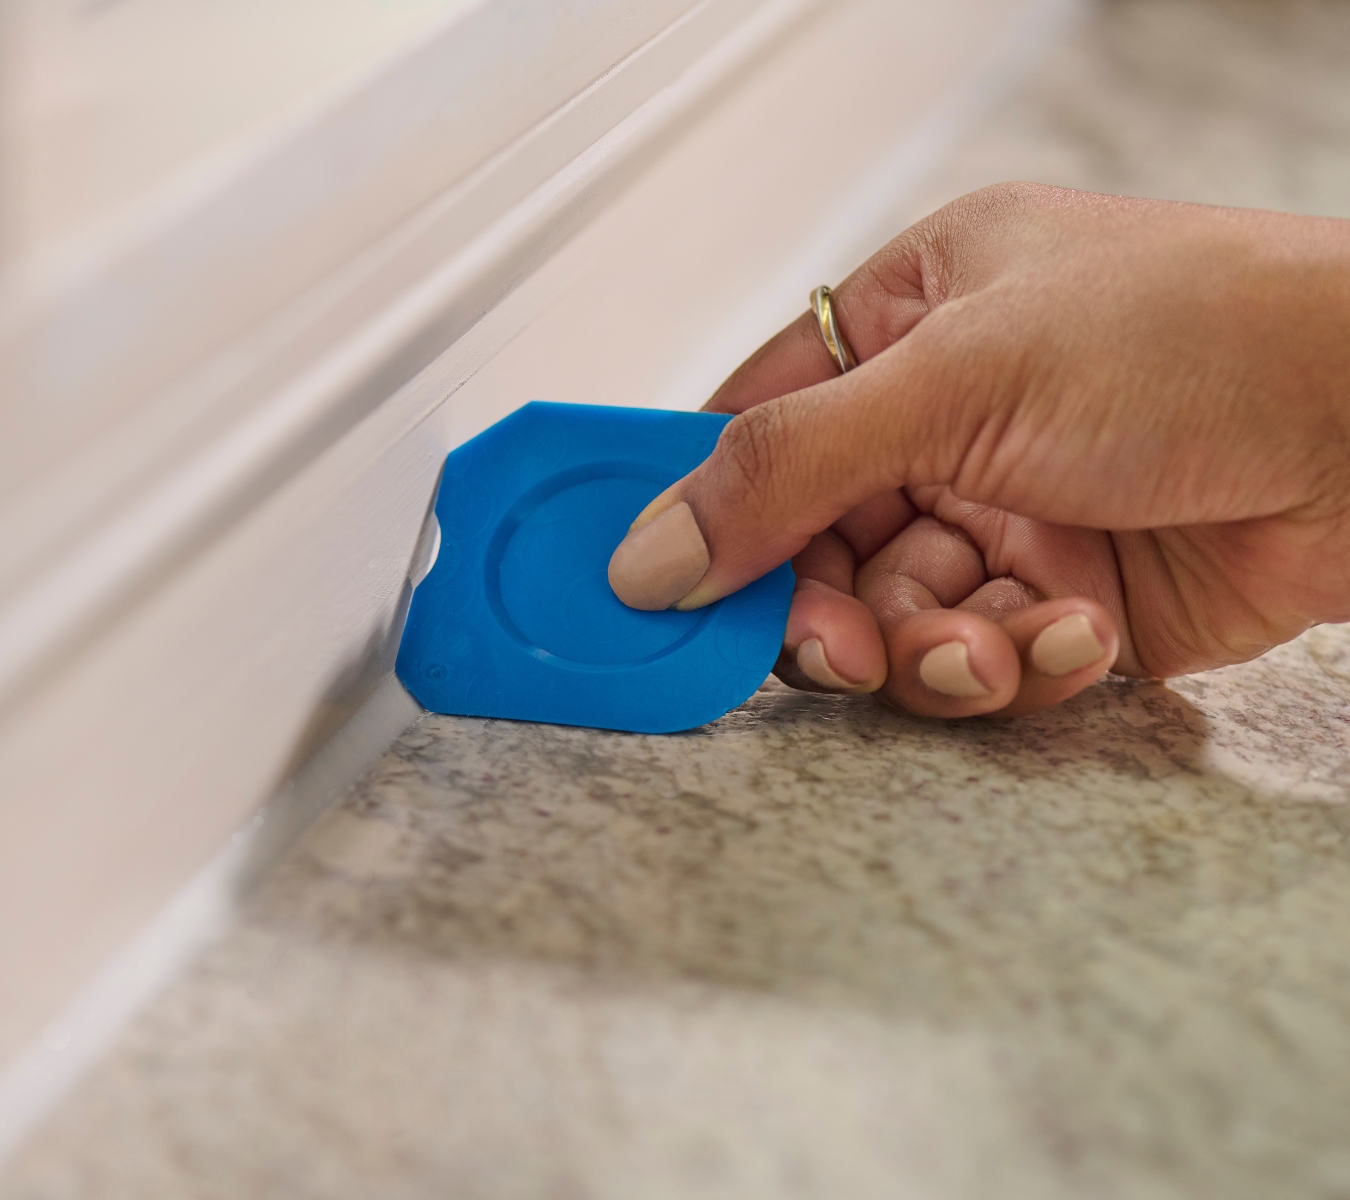
Here’s where the magic happens. Use our Sealant Smoothing Tool to create that perfect finish. Our tool is designed for professional results. It glides smoothly along the bead, removing excess product and pressing the sealant into the joint for a watertight, polished finish.
Hold the tool at a slight angle and apply light, consistent pressure. Wipe off any buildup on the tool with a cloth as you go to prevent smearing.
Smoothing the bead improves its appearance, ensures proper adhesion, removes air bubbles, and helps the sealant cure correctly.
7. Remove tape immediately
Once the bead is smoothed, remove the painter’s tape while the silicone is still wet. Pull the tape away at an angle to avoid disturbing the fresh sealant. If any sealant lifts with the tape, you can carefully smooth it with your tool or a gloved finger.
8. Respect curing times
Silicone sealant doesn’t set instantly. Drying times can vary based on the room’s humidity, temperature, and product type. Pro Seal Max Kitchen & Bath is water-ready immediately, but not all products are the same.
Be sure to check the product label and avoid exposing the sealant to water or movement until ready. Don’t rush this step. Otherwise, it can compromise the seal and lead to callbacks, which every professional wants to avoid.
Bathroom caulking tips for a professional finish every time
Achieving a polished finish with silicone sealant in the bathroom requires more than just the right tools. It’s the technique that separates good from great. Here are some additional tips to help you seal like a pro:
- Ventilate the space during and after application: Proper airflow is key when applying silicone sealant. It speeds up the curing process, reduces odors, and ensures the product sets evenly. If working in a small, enclosed bathroom, use a portable fan or open windows and doors to improve air circulation.
- Plan your start and stop points: Before applying silicone sealant, map out your route to maintain continuous motion along long runs without awkward stops. Stopping mid-bead often leads to uneven flow or texture changes that will be noticeable after curing.
- Don’t overwork the bead: It’s tempting to keep smoothing until it looks perfect, but this can lead to pulling the sealant out of the joint or creating an uneven finish. One consistent pass with our Smoothing Tool is usually enough.
- Label and date your opened tubes: Partially used silicone sealant tubes can dry out or degrade over time. Label them with the date opened, reseal tightly, and store in a dry area, preferably with the nozzle removed, and replace with plastic wrap or a plug to keep the air out.
These techniques ensure your sealant jobs not only meet but exceed expectations. Every perfect line and clean corner reinforces your reputation for quality work and long-term reliability.
Looking for the best bathroom caulk for your next project? Find a store near you in the U.S. or Canada that carries GE products.

