

Note: This DIY article is provided as a general guide only and is not intended to take the place of product-specific installation procedures; always follow applicable manufacturers’ instructions. Depending on your home’s age and condition, location within the home, and other potential factors, repairs and/or upgrades or other services may be necessary prior to the beginning and/or completion of your project that may involve the services of a home improvement professional. This article does not include advice pertaining to local building codes and/or any related inspections.
If you have been wondering how to recaulk a toilet, the good news is that this is a small bathroom project with a big visual payoff. Fresh caulk around the toilet base helps create a cleaner finished look and can keep water and grime from collecting in the gap below. With the right prep and a steady hand, you can get neat, professional-looking results.
Toilet caulking does not last forever, and knowing when to replace it can prevent bigger issues later. One of the most obvious signs is visible cracking, peeling, or shrinking along the bead. As caulk ages, it tends to pull away from the floor or the toilet base, creating gaps where water and debris can collect.
Should you caulk around a toilet?
In most cases, yes, you should caulk around a toilet. A proper bead of caulk at the base helps seal the gap where the toilet meets the floor, preventing water, dirt, and debris from collecting underneath. This both improves the overall appearance of your bathroom and helps reduce odors.
Caulking also adds a small amount of stability, helping limit minor movement that can stress the toilet’s connection over time. Some professionals leave a small gap at the back of the base so that any hidden leaks become visible rather than trapped. If you are learning how to recaulk around a toilet, the key is applying a clean, consistent seal while allowing for easy maintenance down the line.
Signs it’s time to replace toilet caulking
Toilet caulking does not last forever, and knowing when to replace it can prevent bigger issues later. One of the most obvious signs is visible cracking, peeling, or shrinking along the bead. As caulk ages, it tends to pull away from the floor or the toilet base, creating gaps where water and debris can collect.
Discoloration is another indicator. Yellowing, dark spots, or mold buildup often mean the seal has broken down and is no longer protecting the joint. You may also notice persistent odors around the base of the toilet, which can point to trapped moisture or buildup beneath the fixture. If the toilet feels slightly loose or you can see gaps forming, it is a good time to inspect the caulk and replace it if needed.
Where to apply caulk around a toilet
When learning how to recaulk around a toilet, the key is knowing exactly where the seal belongs. Caulk should be applied along the base of the toilet where it meets the floor, creating a continuous bead around the front and sides. This seals the joint, prevents debris buildup, and gives the installation a clean, finished appearance. Avoid applying caulk between the tank and bowl or around internal components. Focus only on the floor-to-base joint to ensure proper sealing and easy maintenance.
Tools and materials you’ll need
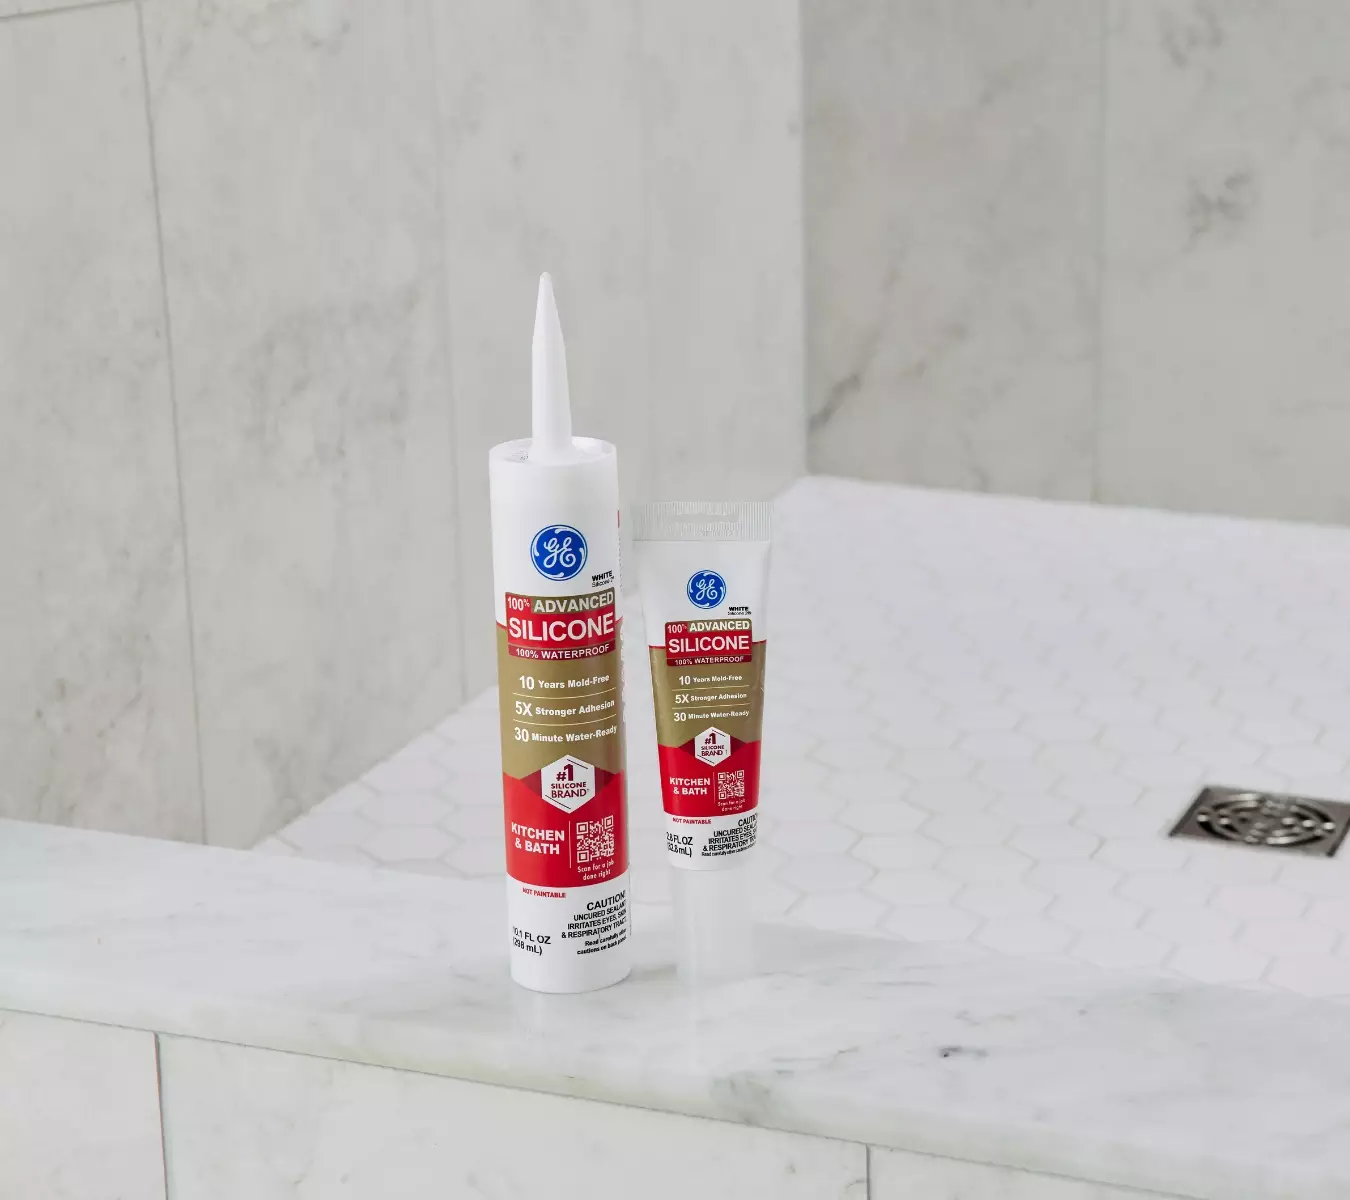
Before you start, gather everything in one place so the project goes smoothly from removal to cleanup. The main item you’ll need is a silicone sealant designed for bathroom use, like GE Advanced Silicone Kitchen & Bath Sealant. For projects where you need added durability and long-term performance, GE Supreme Silicone Kitchen & Bath Sealant is another strong option, offering extended resistance to mold and mildew in frequently used bathrooms.
You’ll also want GE’s Sealant Remover Tool or a utility knife to remove the old bead, paper towels or clean cloths for wiping the area, and a bathroom-safe cleaner or rubbing alcohol to prep the surface. Painter’s tape is optional, but it can help guide a neater line if you want a more controlled finish. Having these basics ready before you begin makes the actual recaulk job much quicker and much less messy.
Step-by-step: how to recaulk a toilet
Once you have your tools ready, the process of recaulking a toilet is straightforward and can usually be completed in under an hour.
-
Remove the old caulk

A homeowner removes old sealant with GE’s Sealant Remover Tool. Start by cutting along both edges of the existing bead with GE’s Sealant Remover Tool or a utility knife. Then use it to lift and remove the old caulk completely. Take your time, as leftover material can prevent the new seal from bonding properly.
-
Clean and dry the area
Wipe the joint thoroughly to remove dust, residue, and moisture. A clean, dry surface is essential for good adhesion. Let the area sit for a few minutes to ensure no moisture remains.
-
Prep the area (optional)
If you want a crisp, straight line, apply painter’s tape along both sides of the joint. This helps guide the bead and keeps excess sealant off the floor and toilet base.
-
Apply the new caulk
Cut the tip of the sealant tube at a slight angle and apply a steady, continuous bead along the base of the toilet. Move slowly and maintain even pressure to avoid gaps or uneven spots.
-
Smooth the bead
Use a smoothing tool or your finger to press the caulk into the joint and create a clean, uniform finish. Wipe away excess sealant as you go.
Tips for a clean, professional finish
Work slowly and maintain steady pressure on the sealant tube to keep the bead consistent from start to finish. Focus on one section at a time so the caulk stays workable while you smooth it. A single, light pass with a smoothing tool is usually enough to shape the bead without pulling material out of the joint. Keep a damp cloth nearby to wipe excess sealant immediately and prevent buildup along the edges.
Common mistakes to avoid
One of the most common mistakes is applying new caulk over old material, which prevents proper adhesion. Skipping surface prep or working on a damp area can also lead to early failure. Avoid applying too much sealant, as thick beads are harder to control and finish cleanly. Finally, do not rush the curing process, as using the toilet too soon can disrupt the seal before it fully sets.
To get GE Sealants’ products for your home improvement project, visit these fine retailers in the U.S. or Canada.


