

Stepping into a clean, refreshing shower is a great way to start or end your day. However, when unsightly mold starts creeping into and staining the caulk around your shower, it can quickly turn your oasis into a nightmare. Mold not only looks unpleasant, but it can also pose health risks if left unattended.
Fortunately, removing mold and replacing the shower caulk is a manageable task with our 100% waterproof and mold and mildew-resistant silicone sealants and hybrid caulks. In this comprehensive guide, we’ll teach you how to remove mold from shower caulking areas before applying a fresh bead of new caulk.
Disclaimer: Note: This DIY article is provided as a general guide only and is not intended to take the place of product-specific installation procedures; always follow applicable manufacturers’ instructions. Depending on your home’s age and condition, location within the home, and other potential factors, repairs and/or upgrades or other services may be necessary prior to the beginning and/or completion of your project that may involve the services of a home improvement professional. This article does not include advice pertaining to local building codes and/or any related inspections.
Understanding mold growth
Bathrooms provide an ideal environment for mold growth due to the combination of moisture, warmth, and organic matter. Caulking, with its porous nature, easily traps moisture, becoming a breeding ground for mold spores. Additionally, soap scum and residues provide nutrients for mold to flourish. Regular cleaning and maintenance can prevent mold growth, but once it appears, prompt action is necessary to prevent further spread.
If the mold is allowed to grow, it can potentially cause health problems, such as respiratory issues or allergic reactions.
Showers offer the ideal environment for mold to grow with moisture, warmth, and organic matter. Remove shower mold quickly before it spreads and causes more problems.
Tools and materials needed to remove mold from shower caulking
Before you start tackling your mold problem, gather all the tools and materials you’ll need.
- Protective Gear: Rubber gloves, safety goggles, and a mask to protect yourself from mold spores and cleaning agents.
- Cleaning Agents: Bleach, hydrogen peroxide, white vinegar, baking soda, or commercial mold removers.
- Scrubbing Tools: Old toothbrush, scrub brush, or a sponge.
- Caulking Tools: Silicone caulk and caulking gun for resealing after cleaning.
A step-by-step guide to removing mold from shower caulking
Follow these steps to get your shower looking fresh and clean again.
-
Safety first
Before starting the cleaning process, ensure proper ventilation in the bathroom and wear protective gear to prevent exposure to mold spores and cleaning agents.
-
Prepare the area
Remove any items from the shower area and create a clear workspace. Lay down old towels or plastic sheets to protect surrounding surfaces from cleaning solutions.
-
Mix cleaning solution
Depending on personal preference and availability, prepare a cleaning solution using one of the following options:
- Bleach Solution: Mix one part bleach with three parts water in a spray bottle.
- Vinegar Solution: Fill a spray bottle with undiluted white vinegar.
- Baking Soda Paste: Mix baking soda with water to create a thick paste.
- Hydrogen Peroxide: Use undiluted hydrogen peroxide for stubborn mold stains.
Remember, you should never mix different cleaning solutions as they can react and release harmful chemicals and gasses.
-
Apply cleaning solution
Spray or apply the chosen cleaning solution directly onto the moldy caulking, ensuring thorough coverage. Allow the solution to penetrate the mold for several minutes to loosen its grip.
-
Scrub the area
Using a scrub brush, old toothbrush, or sponge, scrub the moldy caulking vigorously to dislodge mold growth. Focus on stubborn areas and ensure that all traces of mold are removed.
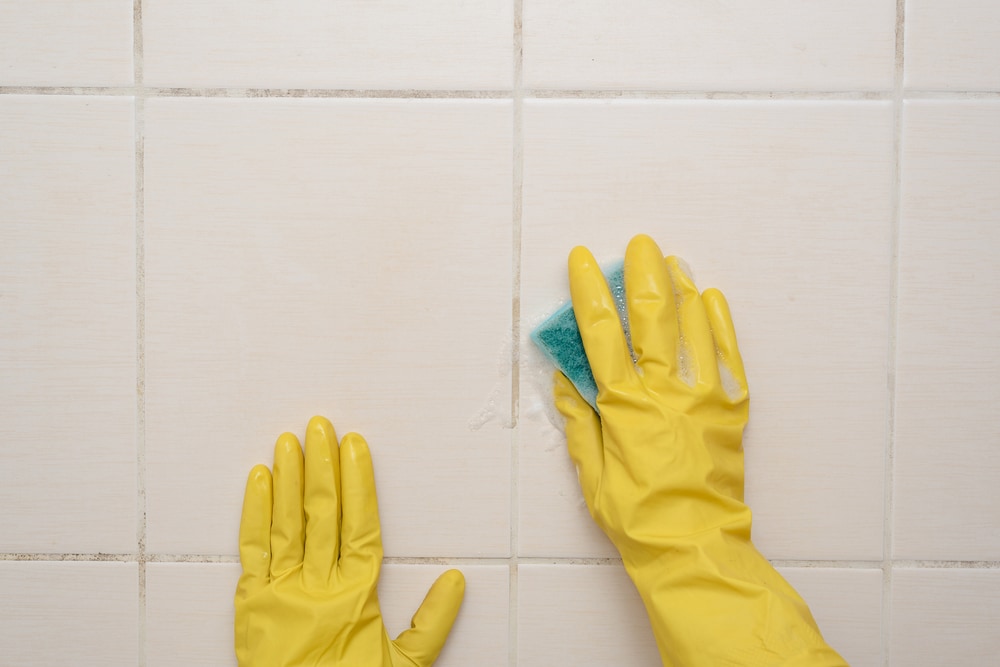
Scrub vigorously to remove mold from shower caulking. -
Rinse thoroughly
Once the mold has been scrubbed away, rinse the caulking thoroughly with clean water to remove any remaining residue and cleaning solution.
-
Dry completely
Use a dry towel or cloth to wipe down the shower caulking and ensure it is completely dry. Adequate drying helps prevent future mold growth.
-
Seal with silicone caulk
Inspect the caulking for any signs of damage or gaps. If necessary, remove old caulking and reapply a fresh bead of silicone caulk, like the GE Advanced Silicone 2® Kitchen & Bath Sealant. This silicone sealant is 100% waterproof and has 10-year mold free product protection.
Smooth the caulk with a damp finger for a neat finish.

Apply a fresh bead of silicone caulk in your shower after removing the mold.


Preventative measures
To help prevent future mold growth, consider using some of these preventative measures.
- Mold Resistant Products: One of the best ways to prevent mold and mildew growth is to use products that help stop the growth from happening. In a shower, this includes silicone sealant instead of other caulking products like vinyl latex. Silicone sealants are 100% waterproof and mold and mildew resistant.
- Ventilation: Proper ventilation is crucial for reducing moisture buildup in the bathroom. Install and use exhaust fans during and after showers to expel humid air outside.
- Regular Cleaning: Incorporate regular cleaning into your bathroom maintenance routine. Wipe down shower surfaces, including caulking, with a disinfectant cleaner or vinegar solution to prevent mold growth.
- Dry Surfaces: After each shower, wipe down wet surfaces, including walls, floors, and caulking, with a squeegee or dry towel to remove excess moisture.
- Repair Leaks: Address any leaks or water damage promptly to prevent moisture from seeping into walls, floors, and caulking.
Refresh your shower caulking with professional caulks and sealants from GE
Removing mold from shower caulking requires diligence, patience, and the right tools and techniques. By following the step-by-step process outlined in this guide and implementing preventative measures, you can effectively banish mold and maintain a clean, mold-free shower environment. Remember, regular maintenance is key to preventing mold growth and preserving the integrity of your bathroom. With these strategies in place, you can enjoy a refreshing shower experience without the worry of mold creeping back into your caulking.
When you need to replace the caulk in your shower, check out the professional products available from GE. Our silicone sealants and hybrid caulks are 100% waterproof and mold and mildew-resistant.
Purchase GE sealants from any of these retailers.

