

Note: This DIY article is provided as a general guide only and is not intended to take the place of product-specific installation procedures; always follow applicable manufacturers’ instructions. Depending on your home’s age and condition, location within the home, and other potential factors, repairs and/or upgrades or other services may be necessary prior to the beginning and/or completion of your project that may involve the services of a home improvement professional. This article does not include advice pertaining to local building codes and/or any related inspections.
Moisture seeps through seams, hides behind sinks, and settles into joints. Sealing your kitchen counters is your first line of defense. Here’s how to do it right with GE silicone sealant for a finish that lasts as long as your counters.
Why sealing kitchen counters matters
When kitchen counters go bad, they rarely start with a cracked tile or warped edge. It starts at the seam.
Moisture from sink splashes, wipe-downs, or even steam finds its way into tiny gaps between countertop sections, behind backsplashes, or at the base of fixtures. Left unsealed, those points become access paths. You may not see the damage until your cabinet wood softens, the laminate lifts, or dark stains bleed through the grout.
Even stone surfaces like granite or quartz (while water-resistant) are vulnerable at the joints. And besides inviting water, every gap traps grime, bacteria, and mold. That’s why sealing is your kitchen’s first barrier against slow, invisible damage that shows up as costly repairs.
Unsealed kitchen seams are the leading cause of countertop substrate damage. GE Supreme Silicone Kitchen & Bath Sealant creates a permanently waterproof, mold-resistant seal in just 30 minutes.
The right sealant makes the difference
If sealing is your kitchen’s first defense, the next question is what you’re defending it with.
Daily exposure to boiling dishwater, oven heat, and constant wipe-downs push ordinary sealants past their limit. The wrong formula cracks, peels, or grows mold, often within months.
For lasting protection, choose a silicone sealant engineered for wet environments. For example, GE Supreme Silicone Kitchen & Bath Sealant is permanently waterproof, resists mold, and becomes water-ready in just 30 minutes. Its ASTM C920 Class 50 rating means it expands and contracts with your kitchen’s temperature shifts, without splitting or pulling away at the edges.
Because silicone can’t be painted, choose a clear or color-matched tube to suit your countertop finish. You can use it to seal granite countertops, quartz, tile, laminate, and other non-porous surfaces.
Avoid acrylic caulks in wet zones. If it cleans up with water, it breaks down with water too.
How to prep your counters before sealing
Even the best sealant for kitchen counters won’t hold if the surface isn’t properly prepared. Rushed or incomplete prep weakens adhesion, causes peeling edges, and leaves gaps for water to get in.
Tools & application checklist
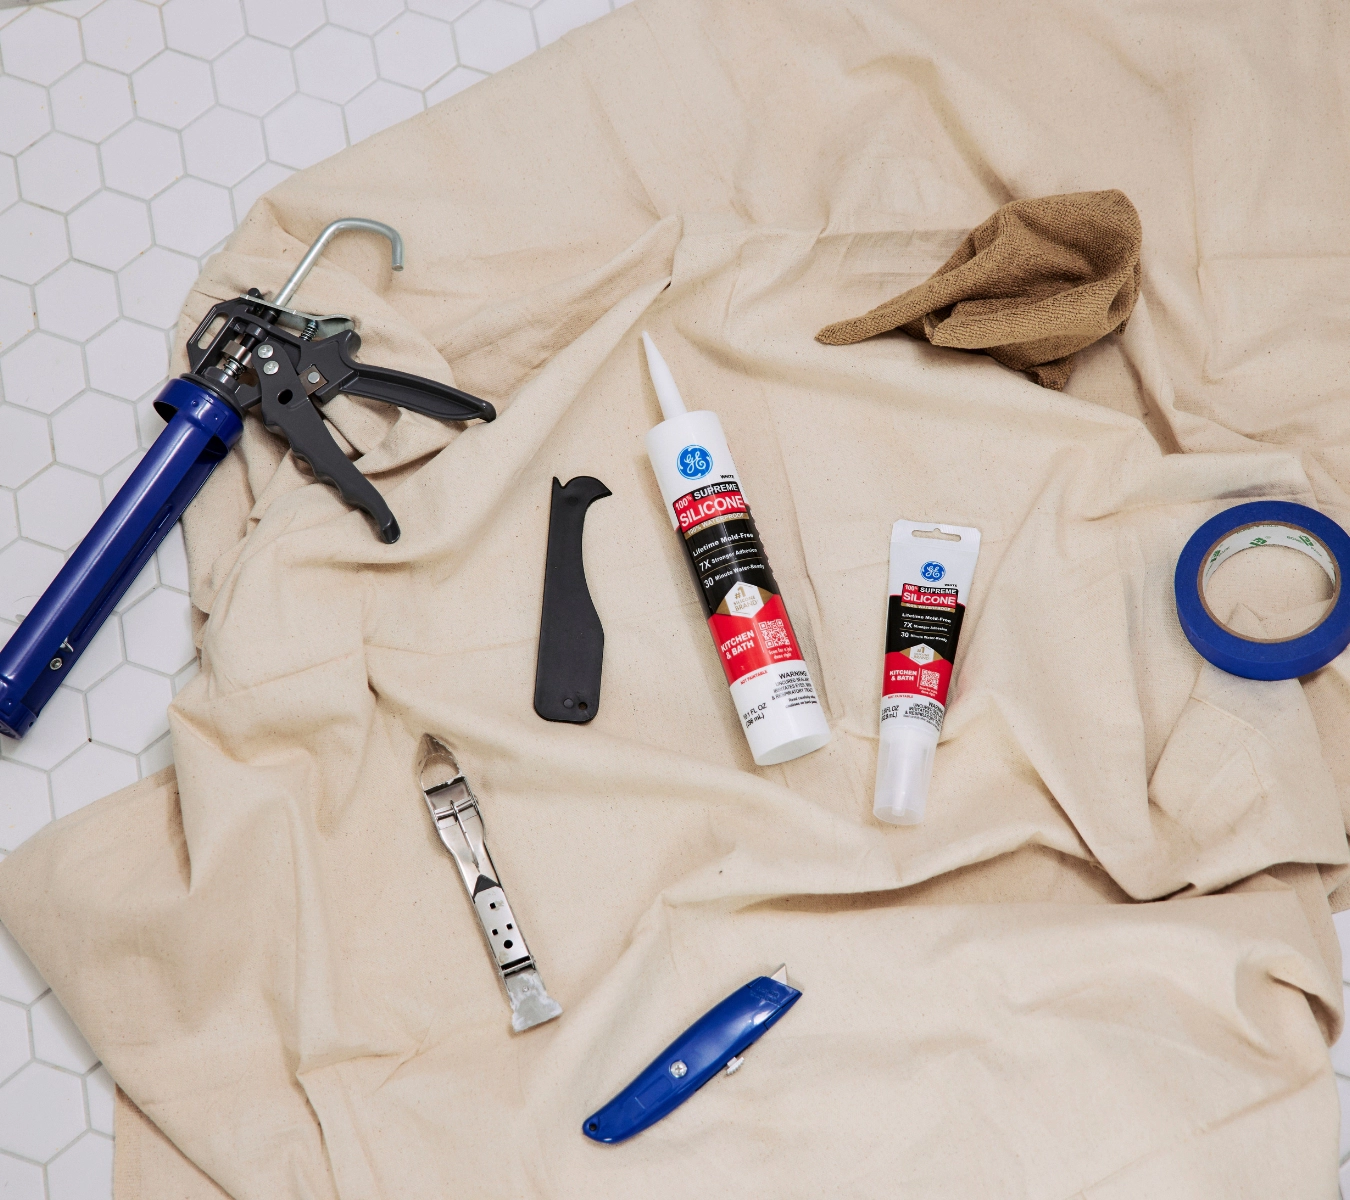
For a clean, long-lasting seal, gather your materials before you begin:
- Caulk gun or squeeze tube (depending on your preferred application method)
- GE Supreme Silicone Kitchen & Bath Sealant (choose clear, almond, or white)
- Painter’s tape (for crisp, professional-looking bead lines)
- Isopropyl alcohol and a lint-free cloth (for residue-free cleaning)
- GE Sealant Smoothing Tool or a gloved finger (for tooling the bead)
- Utility knife or GE Sealant Remover Tool (to remove any old sealant)
- Disposable gloves (to keep your hands clean and improve control)
Follow this critical checklist to ensure long-term hold and waterproof protection:
- Remove all old caulk using the GE Sealant Remover Tool
- Clean thoroughly with isopropyl alcohol (never soap-based cleaners) to eliminate residue
- Dry the entire area completely to avoid trapping moisture under the bead
- Mask both edges with painter’s tape to maintain clean, professional lines
- Cut the nozzle at a 45° angle and load it into a caulk gun or use the squeeze tube
- Apply a steady, even bead, then tool it smooth with a caulk tool (or gloved finger if needed)
- Peel tape immediately, then allow the sealant to cure undisturbed for 24 hours
Where to seal for maximum protection
Moisture doesn’t need a wide opening to do damage. Here’s where to seal and why it matters.
Around sinks
Undermount and drop-in sinks are splash-prone by design. Water collects at the rim and can seep under if it’s not sealed properly. Apply GE Supreme Silicone Kitchen & Bath Sealant around the full perimeter of the sink to block water from sneaking beneath the surface.
A continuous, flexible bead prevents mold growth, warped wood, and long-term moisture damage. If your sink is undermount, sealing that hidden edge is even more important.
At backsplash joints
The joint between your countertop and backsplash is a straight path to the drywall behind it. Without a clean silicone bead, water from rinsing, washing, or scrubbing can wick into the wall cavity.
Run a steady bead of GE Supreme Silicone Kitchen & Bath Sealant along the seam, tool it smooth, and peel painter’s tape while it’s wet. This creates a barrier against moisture, bacteria, and grime.
Seams and joints
Multi-slab counters (whether granite, quartz, laminate, or tile) create seam lines that you must seal. These gaps are common water traps and crumb collectors.
Use a color-matched silicone for an invisible line of defense that blends. If an exact match isn’t available, opt for a clear GE Supreme Silicone Kitchen & Bath Sealant. It’ll deliver the same protection without drawing attention to the seam.
This is how you create waterproof kitchen counter seams that last through daily use, deep cleaning, and shifting conditions over time.
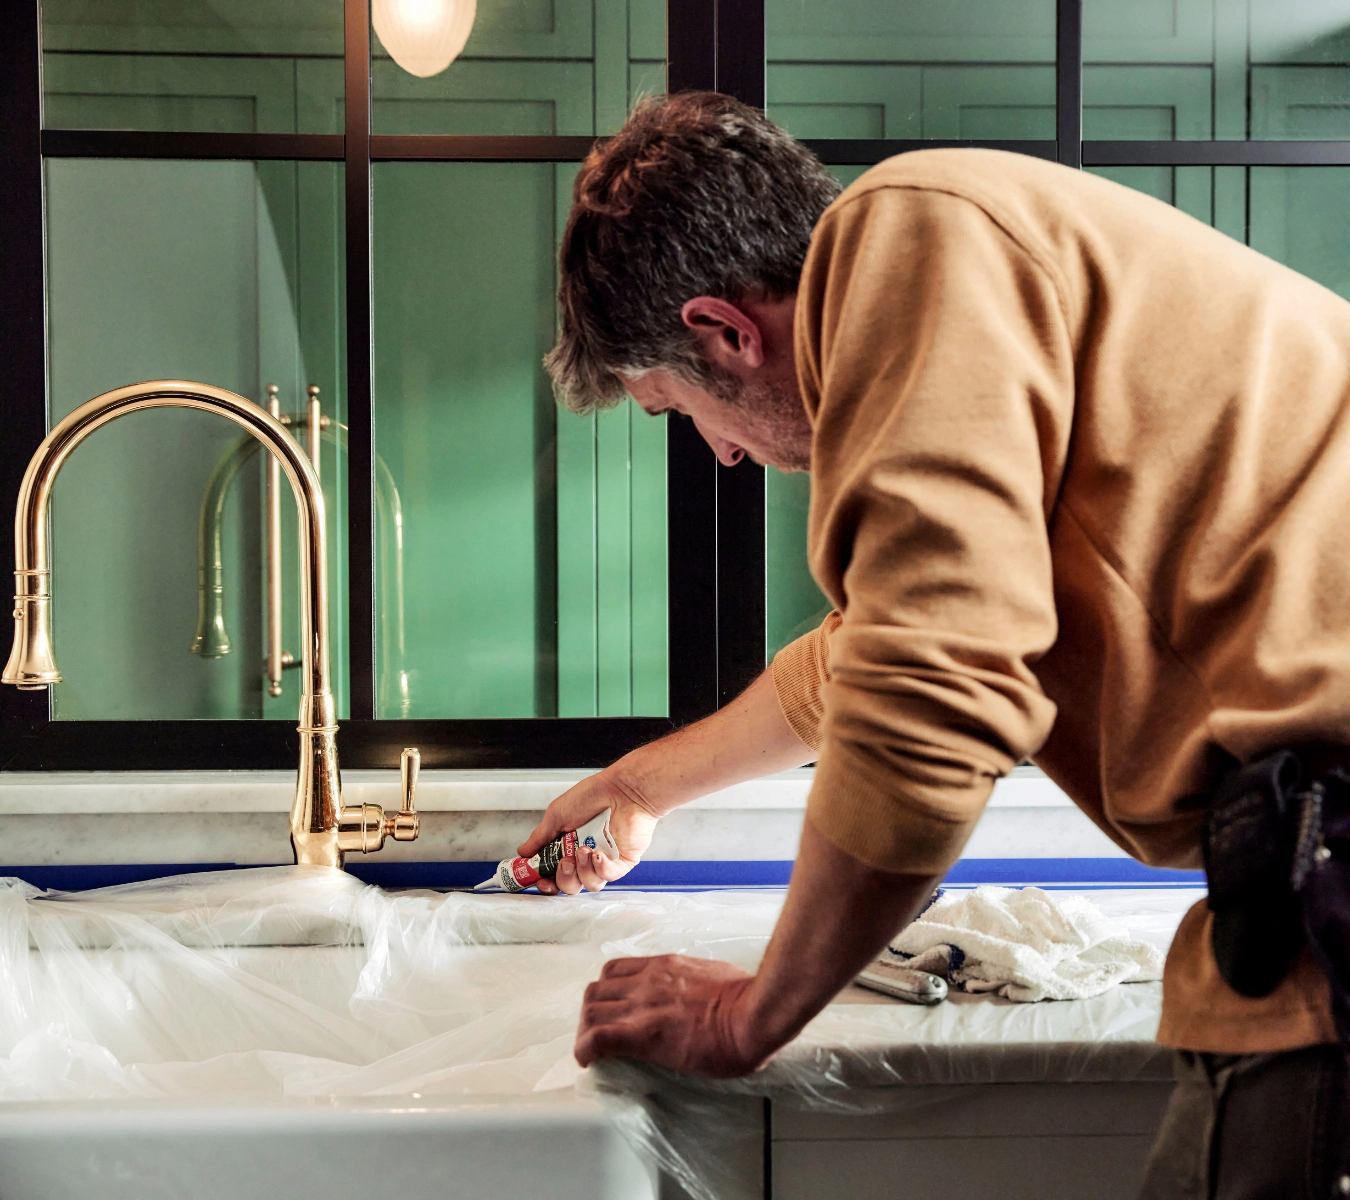
Fixture bases and cutouts
Every faucet, sprayer, soap dispenser, or filtered tap sits in a cutout that leads directly into your cabinetry. If you skip sealing here, water can trickle down and cause hidden rot, loosened hardware, or warping around the base.
Apply a smooth bead of GE Supreme Silicone at each fixture base to protect the cabinet below and help your hardware stay secure over time.
What to avoid when sealing kitchen counters
These common errors weaken protection, shorten the lifespan of your seal, and leave kitchen counters vulnerable to mold, leaks, and edge damage.
- Don’t use acrylic caulk in wet zones. It breaks down when exposed to moisture and lacks the mold resistance needed for kitchens. Use a waterproof silicone sealant instead.
- Don’t paint over silicone. Paint won’t bond to the surface, and any joint movement will cause flaking or cracking.
- Don’t touch curing silicone. Dust, fibers, or fingerprints can disrupt the bead and weaken the waterproof barrier.
- Don’t apply too much. Overapplication doesn’t improve strength. Tool a clean, even bead to ensure full adhesion and a crisp finish.
FAQs about sealing kitchen counters
Can I use silicone on granite or stone?
Yes, you can. GE Supreme Silicone is designed to bond securely with non-porous surfaces like granite, quartz, tile, and cultured marble. It’s an ideal choice for sealing granite countertops and other stone installations.
How long before I can use my kitchen after sealing?
GE Supreme Silicone Kitchen & Bath Sealant is water-ready in just 30 minutes, helping you get back to daily use quickly. However, for best results and maximum durability, let it fully cure for 24 hours before cleaning or exposing the bead to moisture.
What color sealant should I use?
Choose clear for an invisible finish or match your countertop with almond or white. GE Supreme Silicone Kitchen & Bath Sealant offers both options to blend with most kitchen surfaces.
Find GE Supreme Silicone Kitchen & Bath Sealant and other sealant tools at a store near you in the U.S. or Canada.


