Note: This DIY article is provided as a general guide only and is not intended to take the place of product-specific installation procedures; always follow applicable manufacturers’ instructions. Depending on your home’s age and condition, location within the home, and other potential factors, repairs and/or upgrades or other services may be necessary prior to the beginning and/or completion of your project that may involve the services of a home improvement professional. This article does not include advice pertaining to local building codes and/or any related inspections.
Homeowners dread small cracks and crevices in their sinks that hold in dirt, grime, and bacteria. They are challenging to clean and can often lead to strange smells. That’s why undermount sinks are popular. The kitchen counters are much easier to clean than traditional sinks and they are aesthetically pleasing.
We’ll break down the top tips for installing an undermount sink and focus on how to seal sinks to prevent leaks and water damage.
What makes undermount sinks unique?
Undermount and drop-in sinks function similarly but have critical differences due to their unique installation.
An overview of drop-in sinks
Drop-in sinks are easy to install and are often the go-to choice for DIYers. You can conveniently place the sink inside a gap in your counter or a table, like putting together a puzzle. Then, seal around the edges, and you’re good to go.
However, drop-in sinks often sit slightly above the counter. This can lead to a small lip that’s challenging to clean and collects water.
That’s why some homeowners opt for the undermount sink.
An overview of undermount sinks
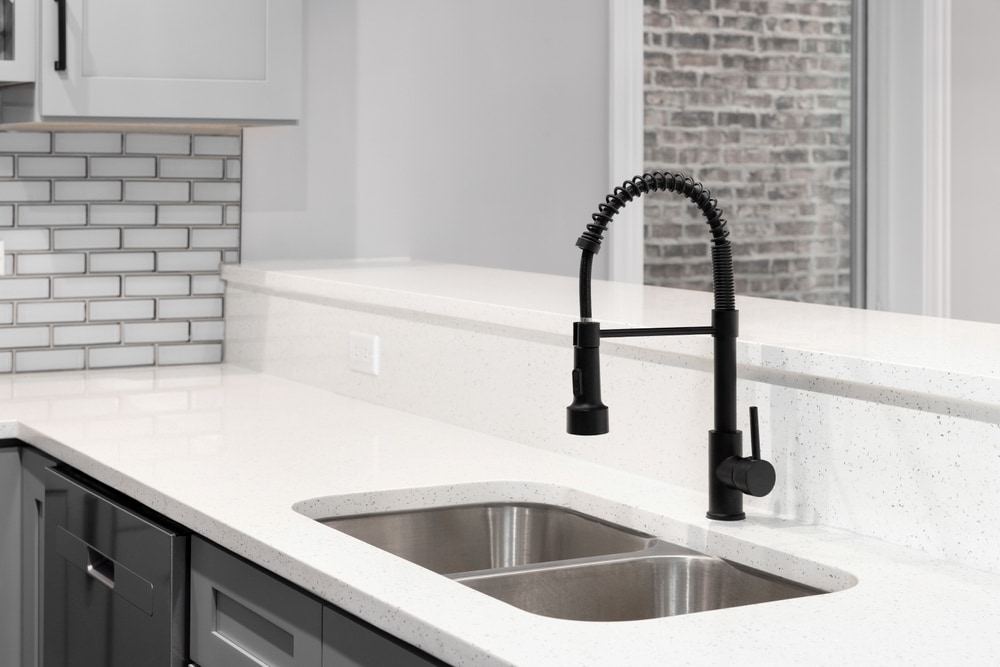
An undermount sink goes below your counter, providing more counter space and a smoother appearance. That way, your entire counter is even right up to the edge of the sink. Cleaning is much easier with undermount sinks as you can wipe directly into the sink without worrying about pushing grime into the crevice between the counter and sink.
While undermount sinks win for cleaning around the sink, they can be challenging to clean under the sink. There’s often a gap where the sink meets the counter, which is difficult to reach.
The solution is to use a quality sealant when installing your undermount sink to ensure the gap stays waterproof and bacteria-free. A quality sealant also means the sink will have a longer life, so you can enjoy the many benefits of an undermount sink without worrying about the challenge of reapplying sink sealant every few years.

Undermount sinks require sealant around the rim before installation.
5 steps to installing an undermount sink and sealing it
The sealant does not go on an undermount sink the same way you apply it to a drop-in sink.
Follow these five tips when installing an undermount sink to learn how to seal a kitchen sink correctly so that it lasts many years.
-
Step 1: Plan your project
Undermount sinks go underneath the counter but don’t always align with the counter above. If the sink has a small step between the counter and the basin, it’s called a positive reveal. However, if the counter sticks out slightly over the sink, it’s called a negative reveal. If the sink is flush with the counter, it’s called a zero reveal sink.
The reveal matters as it will impact where you need to seal. A zero reveal sink is easiest to clean and seal as your sink and counter form one wall with a single gap you can access to seal without awkward edges and steps that harbor bacteria.
-
Step 2: Prep the area
Before installing the kitchen sink, you must cut a hole in the counter that matches your desired reveal. You will also install your mounting clips to hold the sink in place.
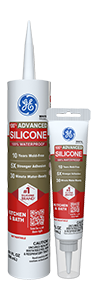
The sealant will be your last step before installing the sink. Carefully choose a sealant with extra strong adhesion power, like GE’s Supreme Silicone Kitchen and Bath sealant.
You will want to place a steady bead around the sink’s edge where the sink will come in contact with the countertop. The silicone will help hold the sink in place and ensure a waterproof seal.
Avoid putting a bead that is too thick around the edge, as a significant amount of silicone is pushed out of the gap and onto the surrounding area. You will want just enough to cover the rim when pressed against the counter. You will only want a little extra, which you will smooth with your gloved finger to press it in place.
-
Step 3: Install the sink according to its instructions
Follow your undermount sink’s instructions for proper installation. Once you have the silicone on the sink’s edge, you will want to move relatively quickly as it will begin curing. Many types of silicone will be water-ready in as little as 30 minutes after you expose it to air and it begins drying.
Carefully lift the sink under the counter. You will attach it to the sink mounting clips and adhere the sealant to the counter.
When the sink is in place and secure while drying, take a towel or gloved finger to wipe any excess wet silicone and smooth what remains. Be careful when cleaning up silicone. Wiping it can easily smear it around the area, making a bigger mess. If the mess is too extensive or you’re unsure you can clean it up, wait for it to dry, then carefully scrape up the extra silicone.
-
Step 4: Seal around all hardware
If there is a gap, water can accumulate, and bacteria can thrive. Use your sealant to fill in those gaps. Pay special attention to these areas as you seal around your sink:
- Faucet
- Pipes
- Where the sink touches walls or cupboards
- Garbage disposal/drain
Sealing the sink drain with silicone and around the sink area ensures it remains 100% waterproof to avoid a leaky sink.
You do not need to run a bead around the edge of the sink, as you have silicone under the rim that is already protecting that area. However, you should seal around your counter and the sink to waterproof the area thoroughly.
-
Step 5: Wait for the silicone to dry
When you see water-ready silicone in 30 minutes, you might be eager to jump right into the next step. However, you must wait for the silicone to cure fully to ensure the sink properly adheres to the counter.
Silicone sealant usually takes about 24 hours before fully cured, but you will want to check with your sealant for the exact time.
During this time, keep any additional support on your sink, such as clamps that hold it in place. Once those 24 hours pass, you can remove them and enjoy your sink!
Keep out the bacteria, mold, and leaks by adequately sealing your kitchen sink during installation. The proper seal holds the sink in place and prevents damage. Let GE help you keep your kitchen looking crisp and waterproof your sink. Find a store near you that carries strong sink sealant.


