Note: This DIY article is provided as a general guide only and is not intended to take the place of product-specific installation procedures; always follow applicable manufacturers’ instructions. Depending on your home’s age and condition, location within the home, and other potential factors, repairs and/or upgrades or other services may be necessary prior to the beginning and/or completion of your project that may involve the services of a home improvement professional. This article does not include advice pertaining to local building codes and/or any related inspections.
Poorly sealed joints can invite moisture, mold, and long-term damage into your home. Whether you’re sealing a bathroom tub, a kitchen backsplash, or baseboards in a laundry room, the right technique and sealant make all the difference. This guide walks you through how to get a long-lasting, waterproof seal using GE’s proven range of silicone and hybrid sealants—so your work holds up over time.
Stop leaks and damage: why sealing joints is critical in wet and dry areas
Water has a way of finding its way in, especially around joints, seams, and fixtures. And once it’s in, the damage adds up fast. Mold, mildew, warped trim, stained drywall, loose tiles—all of it starts with an unsealed or poorly sealed joint.
That’s why it pays to seal the right areas with the right product.
In kitchens, it’s splash-prone areas behind sinks or along countertops. In bathrooms, it’s tubs, showers, toilet bases, and vanity edges—anywhere water collects or lingers. And don’t overlook other spots like laundry rooms, utility sinks, window trim, or even baseboards that run along tile or laminate flooring.
Durable sealing keeps water out, protects the materials around them, and reduces the chance of needing costly repairs later on.
A properly sealed joint keeps moisture, air, and debris out—helping you prevent damage and extend the life of your home’s finishes.
What makes a durable seal?
Durable sealing doesn’t just block water, it flexes with movement, resists mold, and stays bonded to the surface without cracking or peeling. For that to happen, the sealant needs to be waterproof, elastic, and compatible with the material it’s applied to.
That’s why material type matters.
Silicone sealants cure chemically, forming a flexible, long-lasting seal that’s waterproof and resistant to mold and mildew. Acrylic caulks, by contrast, dry by evaporation. Over time, they shrink and can crack, especially in areas exposed to moisture.
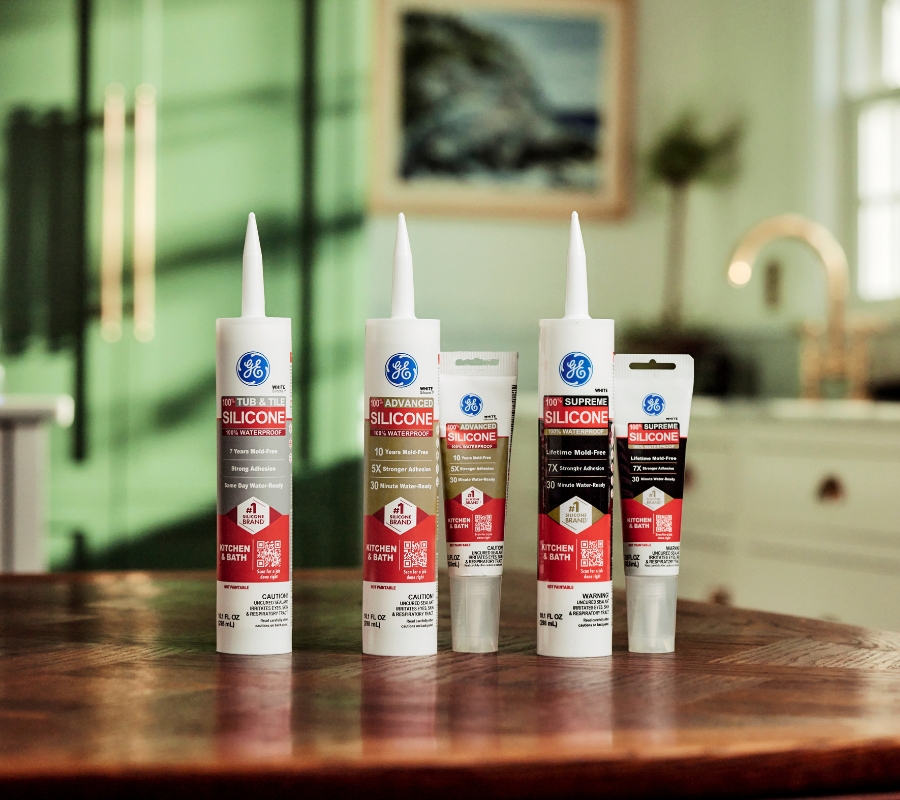
Here’s how to choose the right GE silicone sealant for your project:
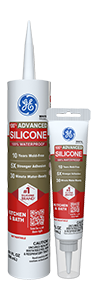
- GE Advanced Silicone Kitchen & Bath Sealant: For tubs, showers, sinks, and backsplashes. Fully waterproof, mold-resistant, and safe for metal finishes.
- GE Supreme Silicone Kitchen & Bath Sealant: For bathroom vanities, kitchen counters, and backsplashes. Fully waterproof, mold-resistant, and offers superior flexibility and adhesion.
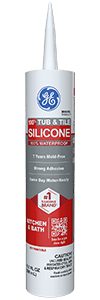
- GE Tub & Tile Silicone Sealant: For sealing tubs, tiles, countertops, and other high-moisture areas.
Pro tip: Always match your sealant to the surface—tile, glass, laminate, wood, or drywall. GE sealants bond strongly to most materials, but clean, dry surfaces are key to optimal adhesion.
Sealing joints like a pro: step-by-step for kitchens, baths, and more
Sealing a joint doesn’t take many tools—but technique matters. Follow these steps for a clean, lasting finish, whether you’re working around a sink or sealing trim along the floor.
Step 1: Identify the joint and confirm the right sealant for the environment and surface
Before you start, take a close look at the joint. Is it exposed to water? Will it be painted? What’s the surrounding surface—tile, laminate, or wood?
Match your sealant accordingly. For wet areas, stick with 100% silicone. For trim that needs to be painted, use a hybrid like GE Supreme Paintable Silicone.
Step 2: Remove old sealant and residue with a scraper or remover
Don’t apply new sealant over old material. Use a scraper or sealant remover to clear the joint completely. Any residue left behind can compromise adhesion.
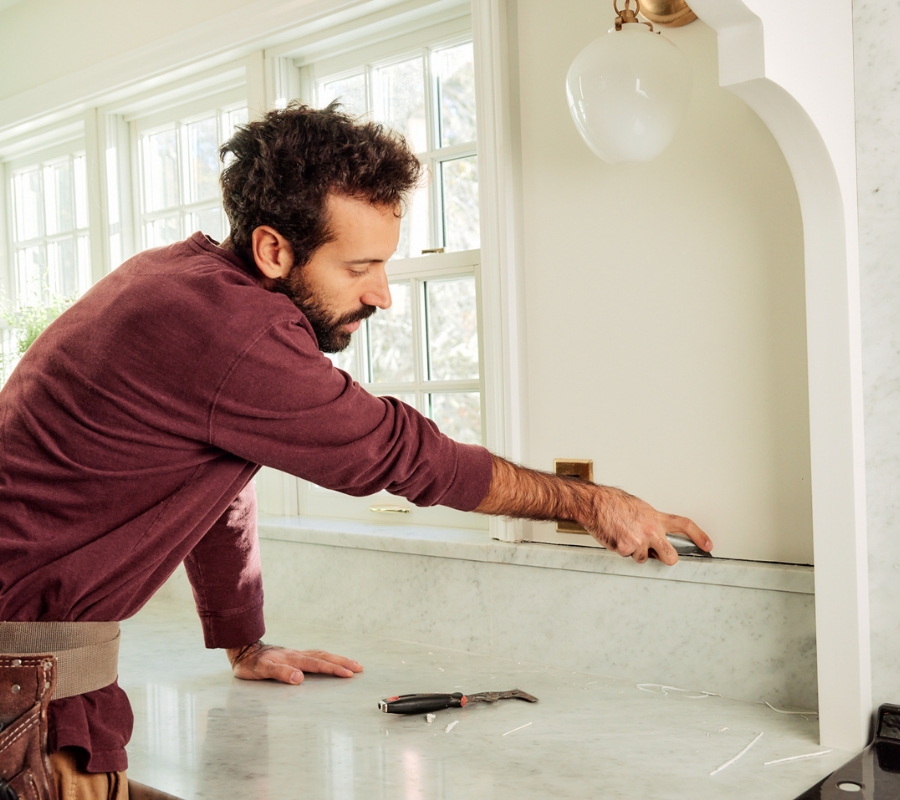
Step 3: Clean thoroughly with isopropyl alcohol or mild soap and water
Wipe the area down to remove dust, soap scum, and grease. A clean, dry surface is critical for a long-lasting bond.
Step 4: Let the surface dry completely
Moisture left behind can interfere with curing. Dry thoroughly, especially in corners and along seams.
Step 5: Apply GE sealant using a caulk gun, holding at a 45° angle
Cut the nozzle to the right bead size for your joint, then apply steady pressure. Move at a consistent pace to avoid skips or bubbles.
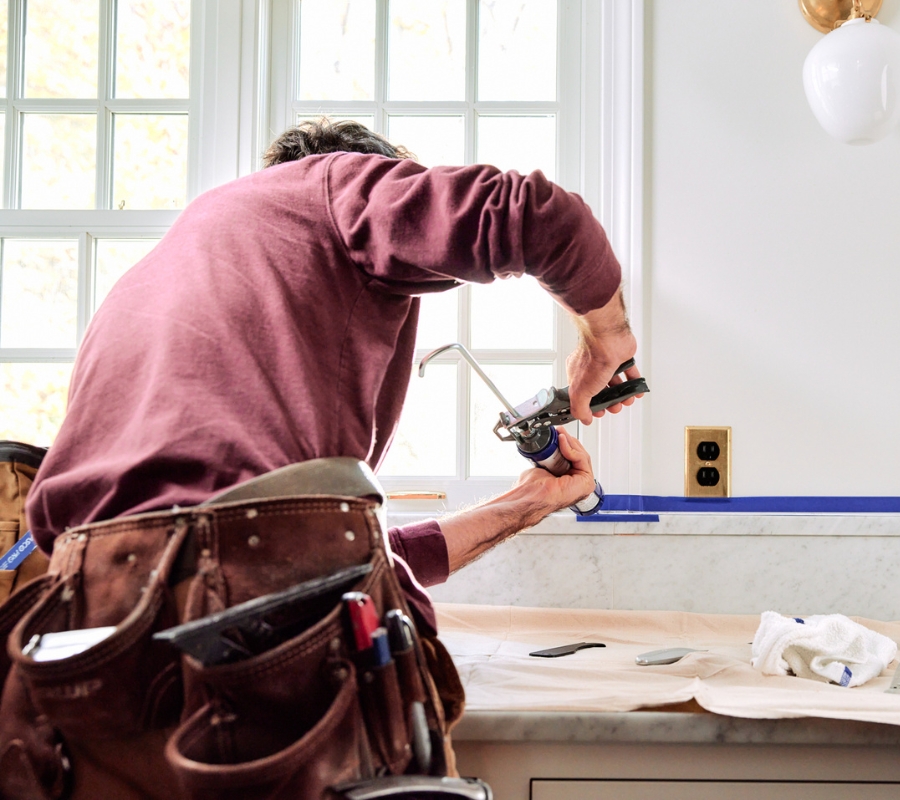
Step 6: Smooth the bead
Use a smoothing tool or gloved finger within a few minutes of application to ensure full contact and a clean finish. Avoid using a bare finger—skin oils can affect bonding.
Step 7: Let it cure fully—avoid moisture or use during this period
Don’t rush this part. GE silicone sealants typically need 24 hours to fully cure. Keep the area dry and undisturbed during this window.
What to avoid when sealing joints
Even a high-performance sealant won’t work if it’s applied incorrectly. These are the most common missteps that lead to seal failure—and how to avoid them:
- Don’t apply over damp, dusty, or greasy surfaces: Moisture and residue prevent proper adhesion. Always clean thoroughly and let the surface dry completely before sealing.
- Don’t use paintable sealant in wet zones (unless it’s SMP hybrid): Standard paintable caulks aren’t made for water exposure. Use a mold-resistant, waterproof sealant—like GE’s SMP hybrid—if painting is required in a wet area.
- Don’t smooth with bare fingers: Skin oils and pressure inconsistencies can weaken the seal. Use a gloved finger or a dedicated smoothing tool to finish the bead cleanly.
- Don’t expose sealed joints to moisture before full cure time: Silicone sealants cure chemically. Water or steam exposure too soon can compromise the bond before it fully sets.
Don’t overfill or leave air pockets—smooth immediately for even bonding: Excess sealant or uneven beads can crack or pull away over time. Apply in a smooth, continuous motion and tool right after application.
Pro tips for keeping your sealed joints in top shape
Sealing isn’t a one-time task. Over time, exposure to moisture, cleaning, and seasonal movement can wear down even the best seal. These quick maintenance habits help extend the life of your work and keep surfaces protected.
- Inspect joints seasonally—spring and fall are ideal: Temperature swings and humidity shifts can stress seals. A quick check every six months helps catch early signs of failure.
- Re-seal if you see cracking, shrinkage, or separation: Don’t wait for visible leaks. If the seal looks compromised, replace it before damage spreads.
- Use non-abrasive cleaners to preserve the sealant surface: Harsh scrubbers or chemical agents can wear away at the seal or break its bond over time. Stick with a soft cloth and mild solutions.
- Store extra tubes in a cool, upright position: Silicone cures with air exposure—storing upright with a tight seal helps preserve shelf life.
Ready to seal your next project with confidence? Find the right GE sealant for your job at a store near you in the U.S. or Canada.

