While caulking can easily go unnoticed, it plays a critical role in many rooms, especially in ones as prone to moisture as a bathroom. Caulking a bathroom not only improves the finished look of the room, but also serves as a crucial barrier against mold, mildew, and water damage.
Before you get started on your bathroom caulking project, we will explore the different types of caulk and sealant you can use in a bathroom and where each type should be applied.
What bathroom equipment requires caulk?
Bathrooms come with a lot of furniture and plumbing fixtures that each require specific caulking procedures. Knowing which bathroom equipment requires caulking and choosing the right type of caulk for each application is essential for achieving long-lasting results.
-
Bathtub and Shower Enclosure
One of the most important areas in the bathroom that requires caulking is the joint between the bathtub or shower enclosure and the surrounding walls or tile. This caulking prevents water from seeping into the walls and causing damage. Silicone caulks are the most recommended type for this application due to their flexibility, water resistance, and mold resistance. Choose a silicone caulk or sealant labeled specifically for bath and shower use for optimal durability and performance.
-
Sink and Countertop
Caulking where the sink meets the countertop is essential for preventing water from seeping through the joint and damaging the underlying materials. Silicone or hybrid caulks are suitable choices for this application, offering flexibility and resistance to water and mold. Choosing a clear caulk or one that matches the color of your countertop will give you a seamless appearance.
-
Toilet Base
Caulking around the base of the toilet serves both aesthetic and functional purposes. It helps create a clean and finished look while also sealing the joint to prevent water and debris from accumulating underneath the toilet. For this application, a sanitary silicone caulk is recommended for its water resistance and mold resistance.
-
Baseboards
Water will inevitably collect on the bathroom floor. By sealing your baseboards with a waterproof caulk, you can help prevent water from seeping underneath the baseboards and damaging the underlying floor or wall.
Using the right sealant and the proper technique ensures everything in your bathroom has a waterproof seal. This will help prolong the life of your bathroom materials and prevent mold and mildew.
Preparation for caulking a bathroom
To achieve the proper adhesion and finish required in a bathroom, you must properly prepare the space before you apply the caulk. Follow these steps to prepare your bathroom space.
-
Assess the State of the Bathroom
Is this a new bathroom installation or a refresh of existing materials? If there is already caulk in the bathroom, examine it carefully. Look around the bathtub, shower, sink, and toilet and check for signs of wear and tear such as cracks, discoloration, or gaps. Additionally, check for any water damage or mold growth in the surrounding area. Identifying these issues will help you gauge how much preparation is needed.
-
Gather Your Supplies
- Caulk remover or solvent
- Putty knife or caulk removal tool
- Scrub brush or sponge
- Mildew-resistant cleaner
- Bleach or hydrogen peroxide (for mold removal)
- Isopropyl alcohol
- Clean rags or towels
- Painter’s tape
- Silicone caulk and caulking gun
-
Remove Old Caulk
If old caulk is present, it must be removed completely to ensure proper adhesion of the new caulk. Use a caulk remover or solvent to soften the old caulk, then carefully scrape it away using a putty knife or caulk removal tool. Check thoroughly to ensure you remove all residue.
-
Clean the Surface
Once the old caulk is removed, clean the surface using a mildew-resistant cleaner and a scrub brush or sponge. Pay close attention to any areas with mold or mildew, using bleach or hydrogen peroxide to effectively kill and remove these growths. After cleaning, rinse the surface with water and let it dry completely.
-
Apply Isopropyl Alcohol
To further enhance adhesion, wipe down the cleaned surface with isopropyl alcohol using a clean rag or towel. This step removes any remaining residues, oils, or debris that could hinder the caulk’s adhesion.
-
Prepare the Area
Use painter’s tape to mask off the surrounding surfaces, such as the bathtub, shower tiles, or sink, to help give you clean and precise caulking lines. This step helps prevent excess caulk from spreading onto unintended areas and makes for a neater finish.
-
Cut the Caulk Tube Tip
When you’re ready to apply the caulk, cut the tip of the caulk tube at a 45-degree angle to create an opening that matches the size of the joint or gap you’ll be caulking. Pierce the seal with a long nail or with the tool provided on most caulk guns. Start with a small opening and trim it larger, if needed.
-
Apply the Caulk
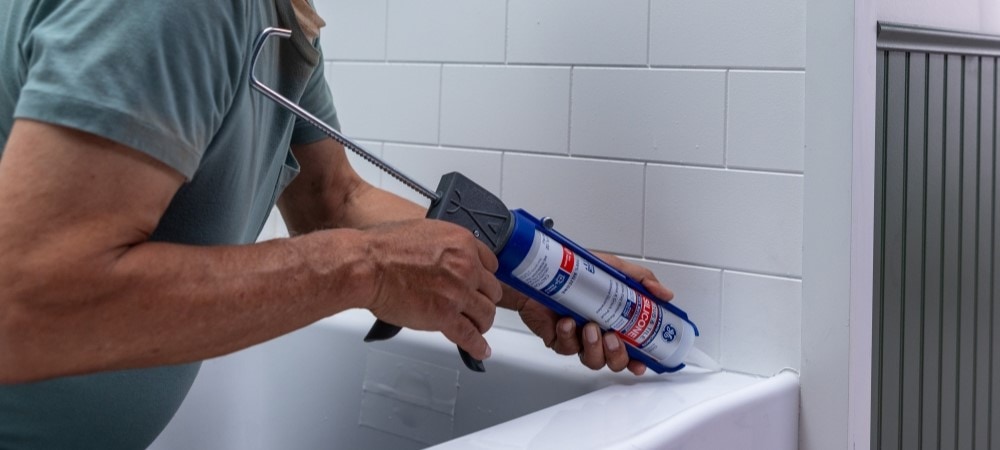
Load the caulk tube into a caulking gun and begin applying the caulk in a steady, even bead along the joint or gap. Hold the gun at a consistent angle and apply gentle pressure to get a smooth, uniform application. Work in small sections, smoothing the caulk with a damp finger or caulk finishing tool as you go to create a neat finish.
-
Remove Excess Caulk
After smoothing the caulk, immediately remove the painter’s tape before the caulk begins to dry. This will give the caulk clean, crisp lines and prevent the tape from pulling up any freshly applied caulk. Use a damp rag or paper towel to wipe away any excess caulk or smudges.
-
Allow Caulk to Cure
Allow the caulk to cure completely according to the manufacturer’s instructions before exposing it to moisture. This typically takes 24 to 48 hours. If the caulk was applied to a shower or bathtub, do not use it until the caulk or sealant is properly dry and set.
Get the professional finish and quality you need for your bathroom with GE
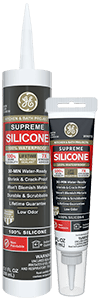
The bathroom is one of the most important rooms in your house when it comes to caulking. Without proper sealant, water will seep through any joints or crevices it can and damage the interior of your home. Using high-quality, professional-grade caulk and sealants from GE combined with routine upkeep and maintenance can help ensure you are protected from costly water damage repairs.
Get the best sealant you can by choosing GE.


