Note: This article is provided as a general guide only and is not intended to take the place of product-specific installation procedures; always follow applicable manufacturer’s instructions. Depending on your home’s age and condition, location within the house, and other potential factors, repairs and/or upgrades or other services may be necessary before the beginning and/or completion of your project that may involve the services of a home improvement professional. This article does not include advice pertaining to local building codes and/or any related inspections.
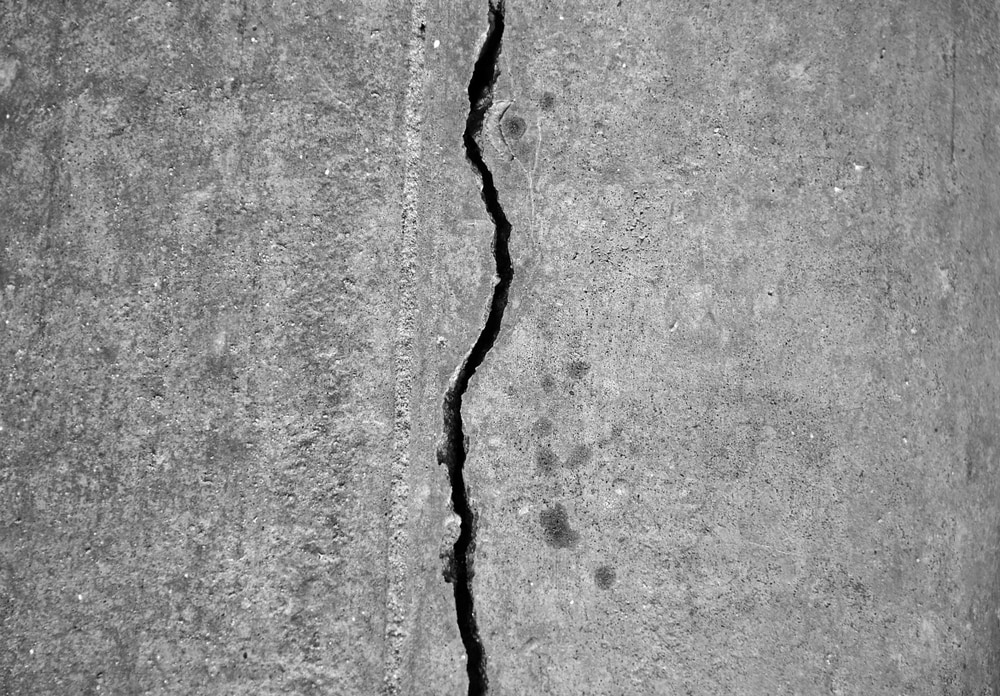
When you hear “sealants,” your mind might automatically jump to your bathroom or kitchen. However, homes can benefit from sealants anywhere gaps might be exposed to the elements. One of those very susceptible areas is concrete. Concrete usually has gaps and joints and, over time, cracks. Without proper sealing, these gaps can cause damage and mold growth.
Learn how to prevent the costly result of unsealed gaps by properly sealing concrete using a quality silicone concrete sealant.
Benefits of concrete sealant
Like any other area of your home, concrete is prone to gaps and cracks. Some gaps, like concrete joints, are part of the structure while others occur over time. Those gaps allow water, bugs, and other damage to sneak through and hurt your structure. In winter, water in those gaps may freeze and expand, causing larger cracks.
By sealing concrete gaps, you can keep out harmful pests and elements to prolong your concrete’s lifespan. Concrete sealant can save you thousands in early repairs and unsightly damage.
Silicone sealants cost more initially than polyurethane sealants but can last ten or more years if you care for them properly, saving you hundreds over the concrete’s lifetime.
When do you need to seal your concrete?
You can use concrete sealant wherever:
- You have new concrete, and you want to fill in joints
- You have old concrete that’s beginning to crack
Concrete sealant works in any area with concrete, including outside spaces, inside spaces, on concrete walls, and on concrete ground.

How to use concrete sealant to maintain your home
Follow these four steps to finish your concrete project like a pro.
-
Step 1: Select the proper sealant
Yes, you do need a sealant specifically for concrete. Only concrete sealants can withstand the foot traffic, UV light, and outside weather concrete is exposed to.
GE’s concrete sealant silicone sealants cost more initially than polyurethane sealants but can last ten or more years if you take care of them properly, saving you hundreds over the concrete’s lifetime. In addition, they are 100% waterproof and weatherproof, which pairs perfectly with the harsh environment of outside concrete. GE Sealant’s UV protected silicone sealant is unique from other sealants because it will not crack and break when exposed to the sun.
Silicone sealants are also highly durable for sealing concrete joints. Concrete joints are necessary gaps that allow slight movement to avoid cracks and damage. Yet, those cracks also allow moisture to build up underneath the concrete slabs, increasing mold and mildew, which can cause damage.
Silicone sealant is flexible, allowing the concrete to shift as needed to avoid cracks while also being a reliable wall against moisture.
-
Step 2: Prepare the area
You will want to choose good weather for sealing your concrete. Wind and rain may both mess up your application process. Remember, it may take several hours from cleaning till the sealant cures, so finding 24 hours of good weather is ideal to avoid risking nature getting in the way of your project. In addition, GE Sealant’s concrete sealant is rain ready in just 30-minutes, reducing your anxiety around weather. It then takes 24 hours to fully cure.
A nice day also ensures the concrete is the proper temperature. For silicone sealant to cure on the surface, you will want the area to be above 32 degrees Fahrenheit and ideally apply the sealant at 70 degrees Fahrenheit.
If you are planning on applying concrete joint sealant to new concrete, wait at least thirty days for the fresh concrete to cure before adding the sealant. Even though concrete is strong enough for people to walk on it just one or two days later, it hasn’t reached its full strength for at least 28 days.
Before applying concrete sealant, clean the area thoroughly. A pressure washer can help clean out those gaps and clear the area of any mold, mildew, and dirt. If you use a pressure washer, allow the area to dry.
If you’re applying concrete crack sealant to old concrete, look for old sealant. You’ll want to remove any old sealant before applying new sealant, as the old sealant can impact how well the new sealant adheres to the surface. For concrete, you will use a wire brush to remove the old sealant, dirt, and loose particles. If your concrete has any surface treatments, protective coatings, and water repellents, you will also want to remove those to ensure the silicone properly adheres to the concrete.
You may want to use a backer rod if you notice larger gaps greater than a half inch. This rod helps fill those areas so you don’t waste too much sealant filling substantial gaps. It also provides another surface for the sealant to connect to for a stronger hold.
Test the area before applying your sealant. Concrete surfaces vary drastically, which can impact how well the silicone adheres to the surface.
-
Step 3: Add concrete sealant
You will apply your silicone sealant for concrete using a caulk gun.
To prepare your sealant tube for the caulk gun, start by cutting the nozzle. Generally, you will want to cut the nozzle slightly smaller than the area you will fill. You will cut the nozzle at a 45-degree angle, as that’s the angle you will be holding your caulk gun when applying the sealant.
You will also want to pierce the inner foil seal. Your caulk gun should have a tool for puncturing that seal.
Squeeze the caulk gun according to its instructions for applying the caulk. We highly recommend always starting in a small area to identify any issues quickly. If it applies easily and dries smoothly, continue with the rest of the area.
After applying a bead of sealant, run over it with a sealant tool or a wet, gloved finger. This helps the sealant attach to the concrete and smooths it for a polished look and strong concrete seal.
-
Step 4: Finish up the job
Be sure to thoroughly read your sealant’s instructions to understand cure time and care instructions.
GE silicone concrete sealant is ready for water exposure in just thirty minutes. However, sealant may take up to 24 hours to fully cure, so you will want to avoid touching it too much during that first day. If you’re a contractor, communicate these instructions to your clients.
Silicone sealant can last a long time if you take care of it well. Taking care of sealant means keeping it clean of any dirt and grime that might weaken it over time.
You will notice that indoor concrete sealants, like sealant in your garage or temperature-controlled environments, will last longer than sealant exposed to direct sunlight and heavy foot traffic. So keep an eye on each area separately and replace the sealant once you notice it cracking and breaking.
Preserve your beautiful concrete patio, driveway, or other home area by sealing your cracks, gaps, and joints. Silicone concrete sealant keeps out damaging water and extends your concrete’s life.
With all the harsh UV light exposure, foot traffic, and elements, your concrete needs a step above the ordinary to complete the job. GE Sealant’s Concrete Silicone 2 Sealant is up for the task!
Find it in a store near you.

