

Note: This DIY article is provided as a general guide only and is not intended to take the place of product-specific installation procedures; always follow applicable manufacturers’ instructions. Depending on your home’s age and condition, location within the home, and other potential factors, repairs and/or upgrades or other services may be necessary prior to the beginning and/or completion of your project that may involve the services of a home improvement professional. This article does not include advice pertaining to local building codes and/or any related inspections.
Using a marine-grade silicone sealant creates a flexible, waterproof barrier that withstands harsh marine conditions without cracking or breaking down. Over time, worn or improperly sealed areas can lead to water intrusion, mold growth, and structural issues, increasing maintenance costs. This guide provides step-by-step instructions for sealing boat windows and hatches to ensure long-term protection and durability.
Why you should seal your boat
Properly sealing a boat’s windows, hatches, and seams is an essential part of long-term maintenance for boats of all shapes and sizes. Boats are constantly exposed to rain, waves, and humidity, which can seep through small gaps and lead to mold, mildew, and interior damage. Unsealed or poorly sealed areas can also compromise electrical systems and stored equipment, making waterproofing a critical aspect of boat maintenance.
Using a marine-grade silicone sealant ensures a watertight, flexible bond that withstands constant movement, vibrations, and exposure to salt water and UV rays. Unlike standard sealants, marine-grade silicone remains permanently waterproof and resistant to shrinking or cracking, making it ideal for sealing hatches, windows, and seams.
Sealing boat windows and hatches with marine-grade silicone sealant helps prevent leaks, water damage, and structural wear. GE Marine Silicone 1® Sealant provides a 100% waterproof, permanently flexible bond for window and hatch frames, while GE Metal Silicone 2® Sealant offers corrosion-resistant sealing for metal fittings and components. Both sealants withstand UV exposure, salt water, and extreme weather, ensuring a long-lasting, watertight seal for marine environments.
Boat maintenance tips and areas to seal
Properly sealing windows, hatches, and seams helps protect a boat from water intrusion, structural damage, and long-term wear. These areas are constantly exposed to moisture, temperature fluctuations, and movement, making marine-grade silicone sealant essential for long-lasting protection.
- Windows: Boat windows are one of the most common areas for leaks and water intrusion. Over time, the seal around the window frame can weaken, allowing rain and spray to seep inside. Applying a durable, waterproof silicone sealant, like Marine Silicone 1® Sealant (which is 100% waterproof and weatherproof and offers strong adhesion to glass, fiberglass, and wood), ensures a tight, flexible bond that prevents water from entering the cabin.
- Hatches: Hatches provide ventilation, access, and storage, but gaps in their seals can lead to flooding and interior damage. Waterproofing boat hatch edges with marine-grade silicone prevents moisture buildup and ensures a watertight closure, even in rough conditions.
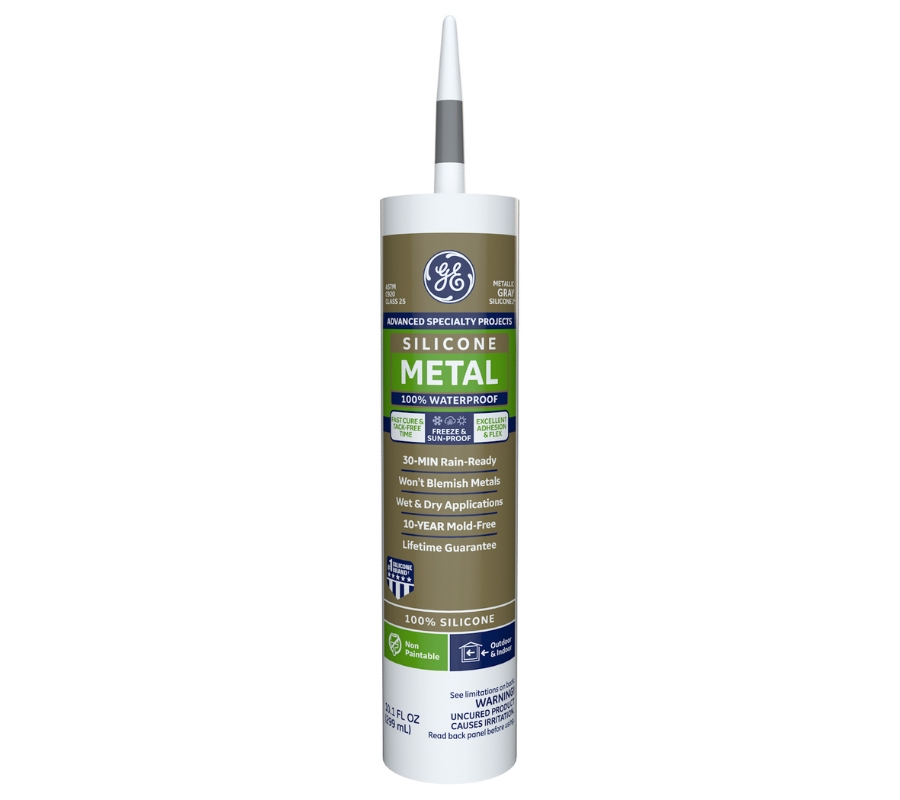
A photo of Metal Silicone 2® Sealant - Seams and joints: For sealing metal frames, railings, and boat fittings, GE Metal Silicone 2® Sealant provides superior corrosion resistance and strong adhesion to aluminum, steel, and other metals. This permanently flexible and weatherproof formula ensures long-term durability in harsh marine environments, preventing water intrusion and metal deterioration.

To keep boat windows and hatches properly sealed, inspect sealed areas every six months for cracks, peeling, or shrinkage. Exposure to UV rays, salt water, and constant movement can wear down sealants over time.
How to waterproof boat hatches, windows, and other exposed areas
Follow these steps to ensure a long-lasting, watertight seal using marine-grade sealant for window and hatch frames and metal sealant for metal fittings and components.
- Inspect for leaks and gaps Carefully examine windows, hatches, and seams for cracks, worn-out seals, or loose fittings. Look for water stains, condensation, or damp areas that indicate existing leaks.
- Clean surfaces Remove old, deteriorated sealant using a putty knife or sealant remover. Clean the area with isopropyl alcohol or a marine-safe cleaner to remove dirt, grease, and salt deposits. Let the surface dry completely before applying the new sealant.
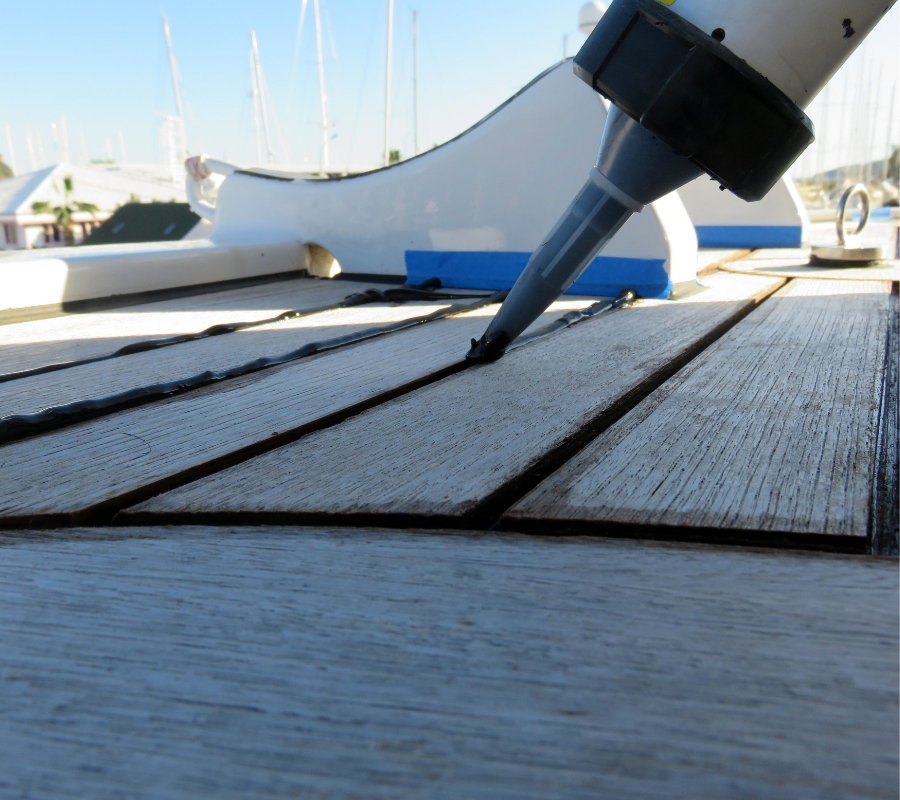
A photo of a boat owner applying marine-grade sealant to deck fittings. - Smooth and secure the seal Use a caulking tool or gloved finger to smooth the sealant, ensuring full contact with the surface. Wipe away excess sealant before it dries.
- Allow full curing time Both GE Marine Silicone 1® and Metal Silicone 2® are rain-ready in 30 minutes, but full curing takes 24 hours. Avoid exposing sealed areas to water or pressure during this time.
- Test for effectiveness Once fully cured, check for leaks by spraying water over the sealed area. If necessary, apply an additional layer of sealant for enhanced protection.

To get GE Sealants’ products for your home improvement projects, visit these fine retailers in the U.S. or Canada.
