
Note: This DIY article is provided as a general guide only and is not intended to take the place of product-specific installation procedures; always follow applicable manufacturers’ instructions. Depending on your home’s age and condition, location within the home, and other potential factors, repairs and/or upgrades or other services may be necessary prior to the beginning and/or completion of your project that may involve the services of a home improvement professional. This article does not include advice pertaining to local building codes and/or any related inspections.
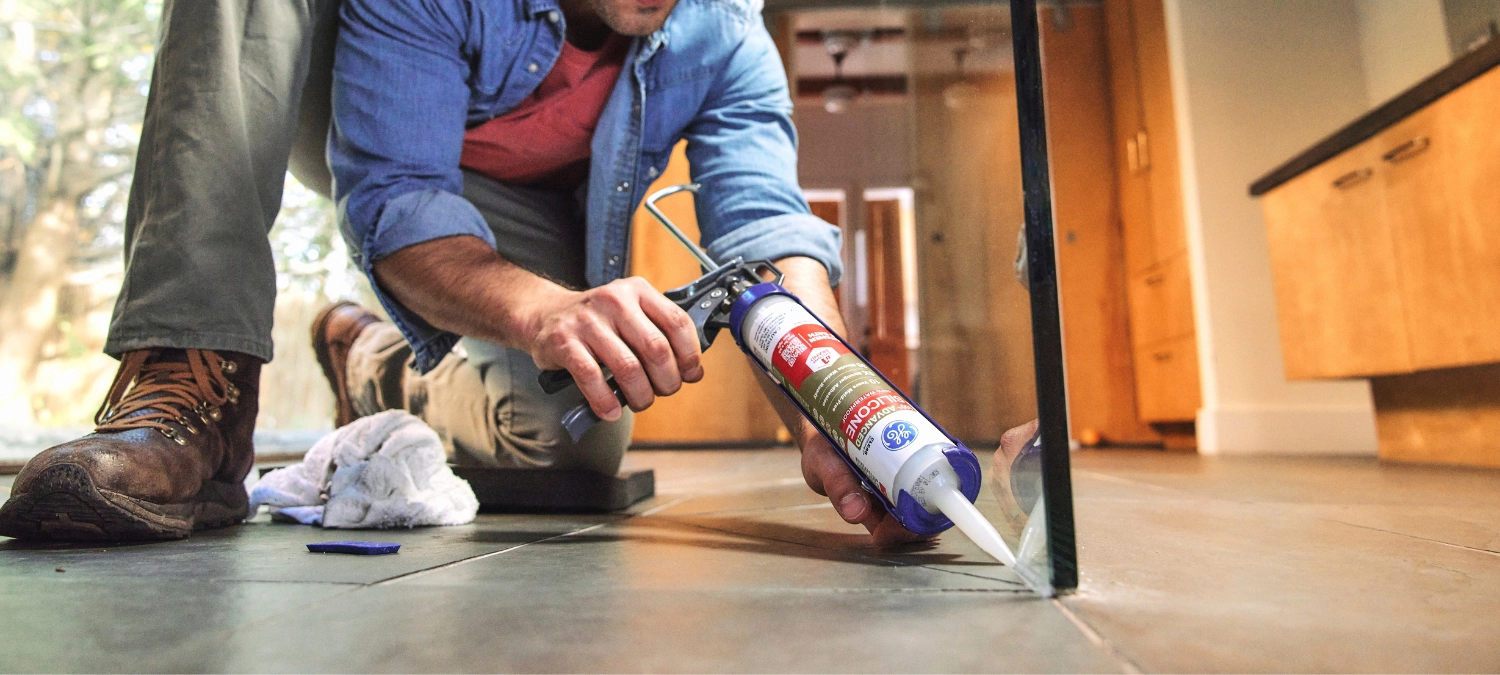
Silicone sealant is crucial in keeping your bathroom polished and performing at its best. Whether around the edges of your tub, along the shower joints, or lining the sink, bathroom sealant creates a waterproof barrier that prevents mold, mildew, and water damage. Because sealant can start looking dingy over time, this guide teaches you how to properly clean silicone sealant and when to replace it so your bathroom can maintain a fresh, clean look.
Routine cleaning improves appearance and helps prevent the degradation of the sealant. Left unchecked, bacteria and mold can eat into the silicone sealant, weakening its hold and reducing its waterproofing ability.
Why clean silicone sealant?
Bathroom sealant is constantly exposed to moisture, soap scum, and general wear and tear. As a result, it can collect dirt, develop mold spots, or discolor, making your otherwise clean bathroom look tired.
Here are a few signs it’s time to clean your silicone sealant:
- Visible mold or mildew buildup along the sealant line
- Yellowing or darkening of white or clear silicone
- Sticky or slimy texture from soap and moisture buildup
- Dull or uneven appearance compared to surrounding surfaces
Routine cleaning improves appearance and helps prevent the degradation of the sealant. Left unchecked, bacteria and mold can eat into the silicone sealant, weakening its hold and reducing its waterproofing ability.
How often should you clean bathroom sealant?
For most homes, a deep clean of your silicone sealant every one to two months is a good rule of thumb. If you live in a humid climate or have multiple people using the bathroom daily, you may want to clean it monthly. Regular light wipe-downs with a mild cleaner between deep cleans can also help maintain appearance and hygiene.
Gentle DIY solutions for cleaning silicone sealant
A gentle DIY approach is a great place to start if your silicone sealant looks dull or has minor discoloration. Here are a few effective methods you can use with products you likely already have on hand.
1. White vinegar and baking soda
This classic combo is excellent for removing soap scum and light mildew:
- Mix one part baking soda with one part white vinegar to make a paste.
- Apply the paste to the silicone sealant using an old toothbrush or rag.
- Let it sit for 15-30 minutes.
- Scrub gently and rinse thoroughly with warm water.
- Dry with a microfiber towel.
2. Dish soap and warm water
For everyday cleaning and maintenance:
- Mix a few drops of dish soap into a cup of warm water.
- Use a soft cloth or sponge to wipe down the sealant.
- Rinse and dry with a microfiber towel.
Both methods help prevent buildup and keep the silicone sealant looking bright between deeper cleanings without sacrificing the integrity of the seal.
Deep-cleaning techniques for stubborn mold or stains
A stronger method may be needed if you’re dealing with more persistent issues like black mold or deeply embedded grime. Here are a couple of options to try.
1. Hydrogen peroxide and baking soda
Hydrogen peroxide is a natural bleach and disinfectant to banish dirt and grime. Here’s how to use it properly:
- Mix ¼ cup baking soda with enough hydrogen peroxide to form a paste.
- Apply it to the stained areas and let it sit for 20-30 minutes.
- Scrub with a soft brush or toothbrush, then rinse.
Note: Avoid using abrasive brushes that could damage the silicone sealant.
2. Bleach solution (for non-colored sealant only)
If your silicone sealant has mold, bleach is the best option for removing it. Be cautious with bleach, and never mix it with vinegar or ammonia. Here’s how to get started:
- Mix one part bleach with 10 parts water.
- Apply using a sponge or cotton ball, focusing only on the moldy areas.
- Let it sit for five to 10 minutes, then rinse thoroughly.
This is a powerful option for removing mold but should only be used occasionally and with proper ventilation.
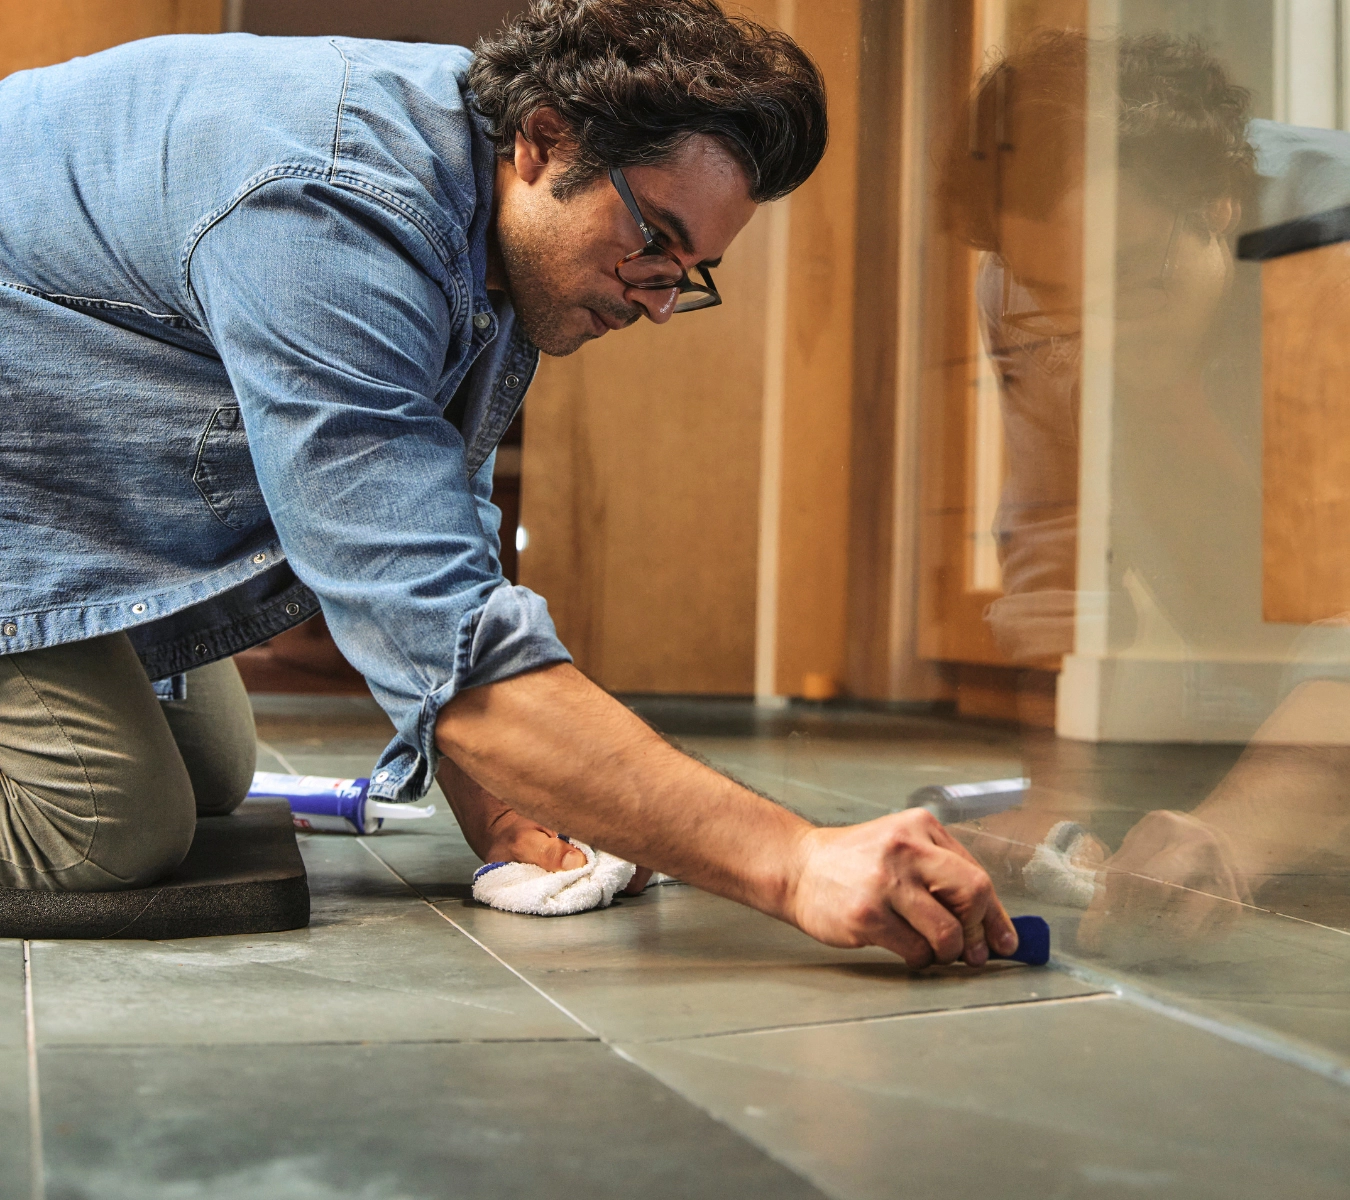
Boost the brightness: try a grout whitener pen
Once you’ve cleaned your bathroom sealant, you might notice that the grout around it still looks dull or stained. That’s where the GE Grout Whitener Pen comes in handy. This easy-to-use tool allows you to:
- Instantly refresh the color of your grout lines
- Cover any lingering discoloration or stains
- Brighten the overall look of your bathroom
Our Grout Whitener Pen is mess-free and delivers results in just one hour. After cleaning, grab the pen and apply an even coat to your grout lines. Should there be any excess grout whitener, wipe it away with a damp cloth before it dries. Allow it to dry and then reapply after one hour if needed. The Grout Whitener Pen delivers professional-looking results without much effort, making it a quick and easy project you can tackle.
When it’s time to replace silicone sealant
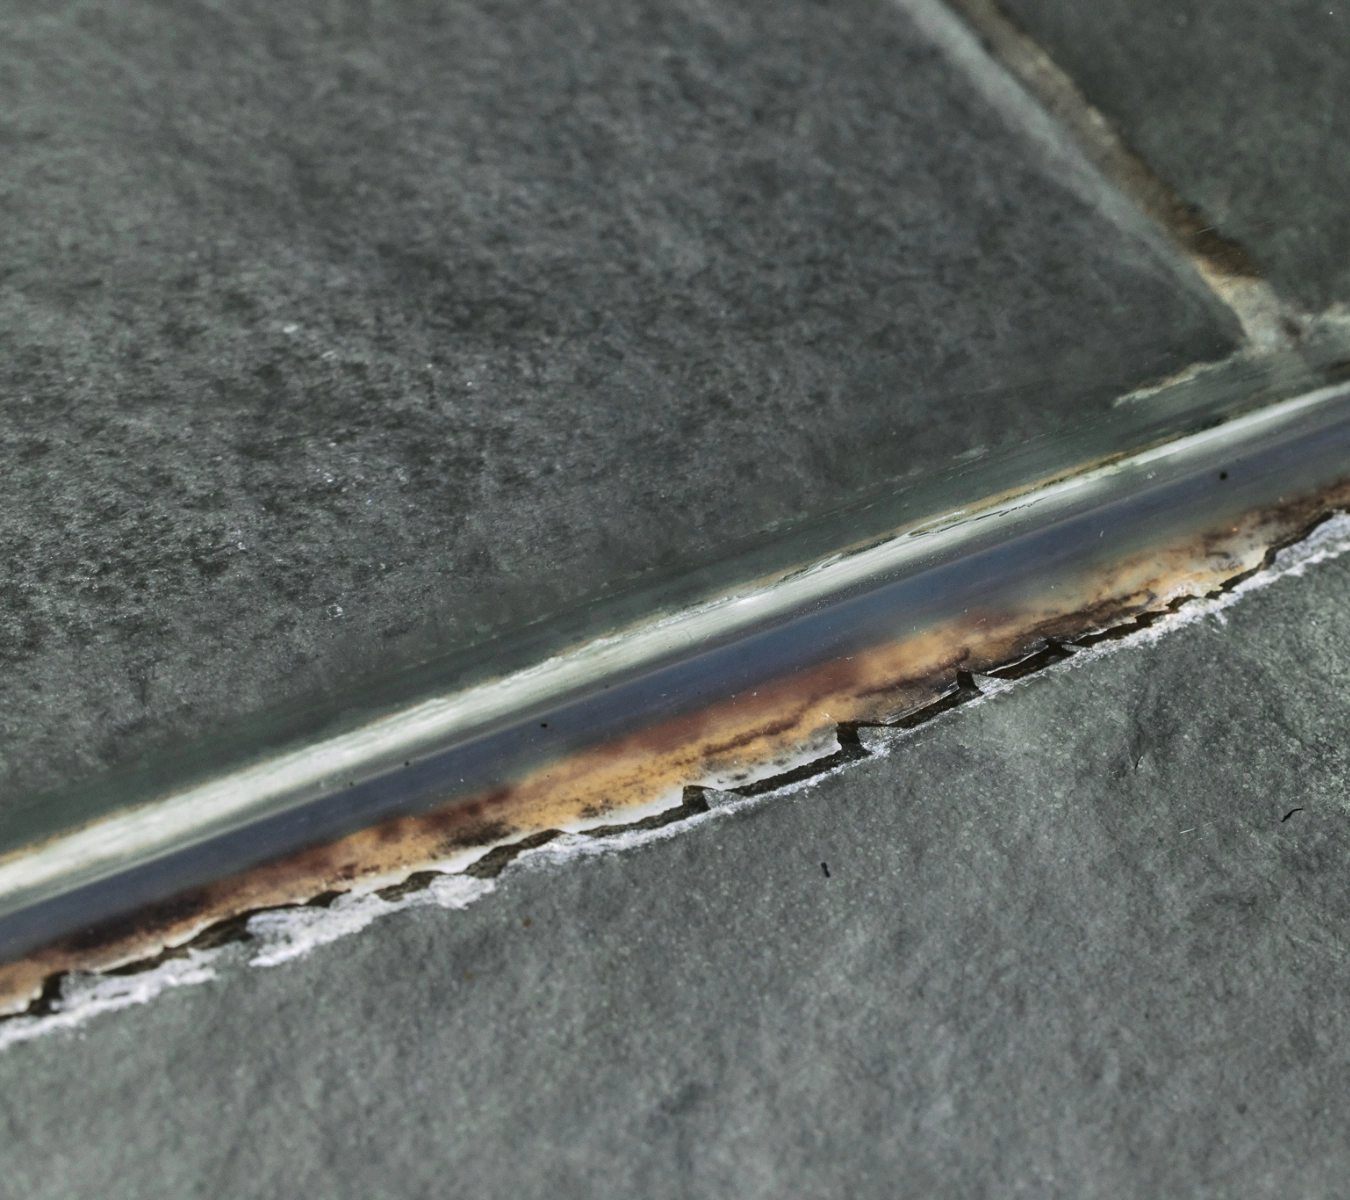
Cleaning can work wonders, but eventually, every bathroom sealant reaches the end of its life. If you notice any of the following, it’s probably time to remove the silicone sealant and replace it:
- Cracking or peeling of the sealant
- Persistent mold that returns even after deep cleaning
- Loss of flexibility, causing the sealant to pull away from the surface
- Visible gaps where water could get in
Removing old sealant and applying a new bead may take some time, but it’s well worth it to prevent water damage and restore your bathroom’s appearance. Always use a high-quality silicone sealant designed for bathrooms, and allow proper curing time before using the area again.
Final tips for maintaining clean silicone sealant
To keep your bathroom looking its best for years to come, keep these tips in mind:
- Keep your bathroom well-ventilated to prevent mold growth.
- Dry sealant areas regularly, especially around tubs and sinks.
- Clean monthly, using one of the methods above to prevent buildup.
With just a bit of regular maintenance, your bathroom sealant can stay clean, bright, and effective.
Learning to clean silicone sealant correctly helps preserve your bathroom’s look and function. Whether using DIY methods like vinegar and baking soda, deep cleaning techniques for mold, or enhancing the final finish with the GE Grout Whitener pen, a little care goes a long way. And if your sealant is past its prime, replacing it ensures you maintain a clean, water-tight space.
To find the perfect products for your next project, visit a store near you in the U.S. or Canada.
