
Note: This DIY article is provided as a general guide only and is not intended to take the place of product-specific installation procedures; always follow applicable manufacturers’ instructions. Depending on your home’s age and condition, location within the home, and other potential factors, repairs and/or upgrades or other services may be necessary prior to the beginning and/or completion of your project that may involve the services of a home improvement professional. This article does not include advice pertaining to local building codes and/or any related inspections.
If you’re getting ready to paint, you might be wondering whether to seal or paint first. In most cases, sealing gaps and joints before painting gives you a cleaner, longer-lasting finish. With the right prep and a paintable sealant, your project will not only look better but also stand up to wear and moisture over time.
For outdoor projects, GE Exterior Seal Acrylic Caulk is a reliable choice. This acrylic caulk is paintable, weather-resistant, and ideal for sealing gaps in siding, trim, and around windows or doors.
For indoor work, Seal & Fill Multi-Purpose Kitchen & Bath Caulk is designed specifically for painting prep, as it is low odor, easy to apply, and paint-ready quickly.
Should you caulk before painting?
When it comes to painting prep, sealing should almost always come first. Applying caulk or sealant before painting helps fill gaps, smooth transitions, and block out moisture, all of which lead to a cleaner finish and better adhesion.
If you paint first and then try to apply sealant, you’ll likely end up with uneven lines, visible seams, or cracking where materials move. Sealing also helps prevent air leaks and moisture intrusion around joints and trim, especially in areas like baseboards, window frames, and exterior siding.
Once sealed, paint can cover both surfaces in a single, seamless layer. However, it’s important to use a sealant that’s labeled paintable and to let it cure fully before picking up a brush. Non-paintable products like 100% silicone won’t bond well with paint and can cause flaking or discoloration. When in doubt, check the label for compatibility and dry times to avoid peeling or uneven coverage.
Read our article on kitchen-specific sealing and painting tips if you want to learn more.
What to seal before painting?
Before you start painting, take time to inspect the surfaces for gaps, seams, or joints that need sealing. Common areas include:
- Corners where trim meets walls
- Baseboards
- Window frames
- Door frames
- Nail holes in molding
On exterior surfaces, check for cracks in siding, gaps around utility penetrations, and seams between boards or panels. Sealing these areas creates a smoother appearance and prevents air or moisture from seeping behind the surface.
You can use the light test, which involves shining a flashlight along edges, or run your finger along seams to feel for gaps that might not be obvious at a glance. Make sure the surface is clean, dry, and stable before applying any sealant. Avoid sealing over loose paint, soft wood, or damp areas, as this can lead to poor adhesion and early failure.
Painting prep tips: choosing the right paintable sealant
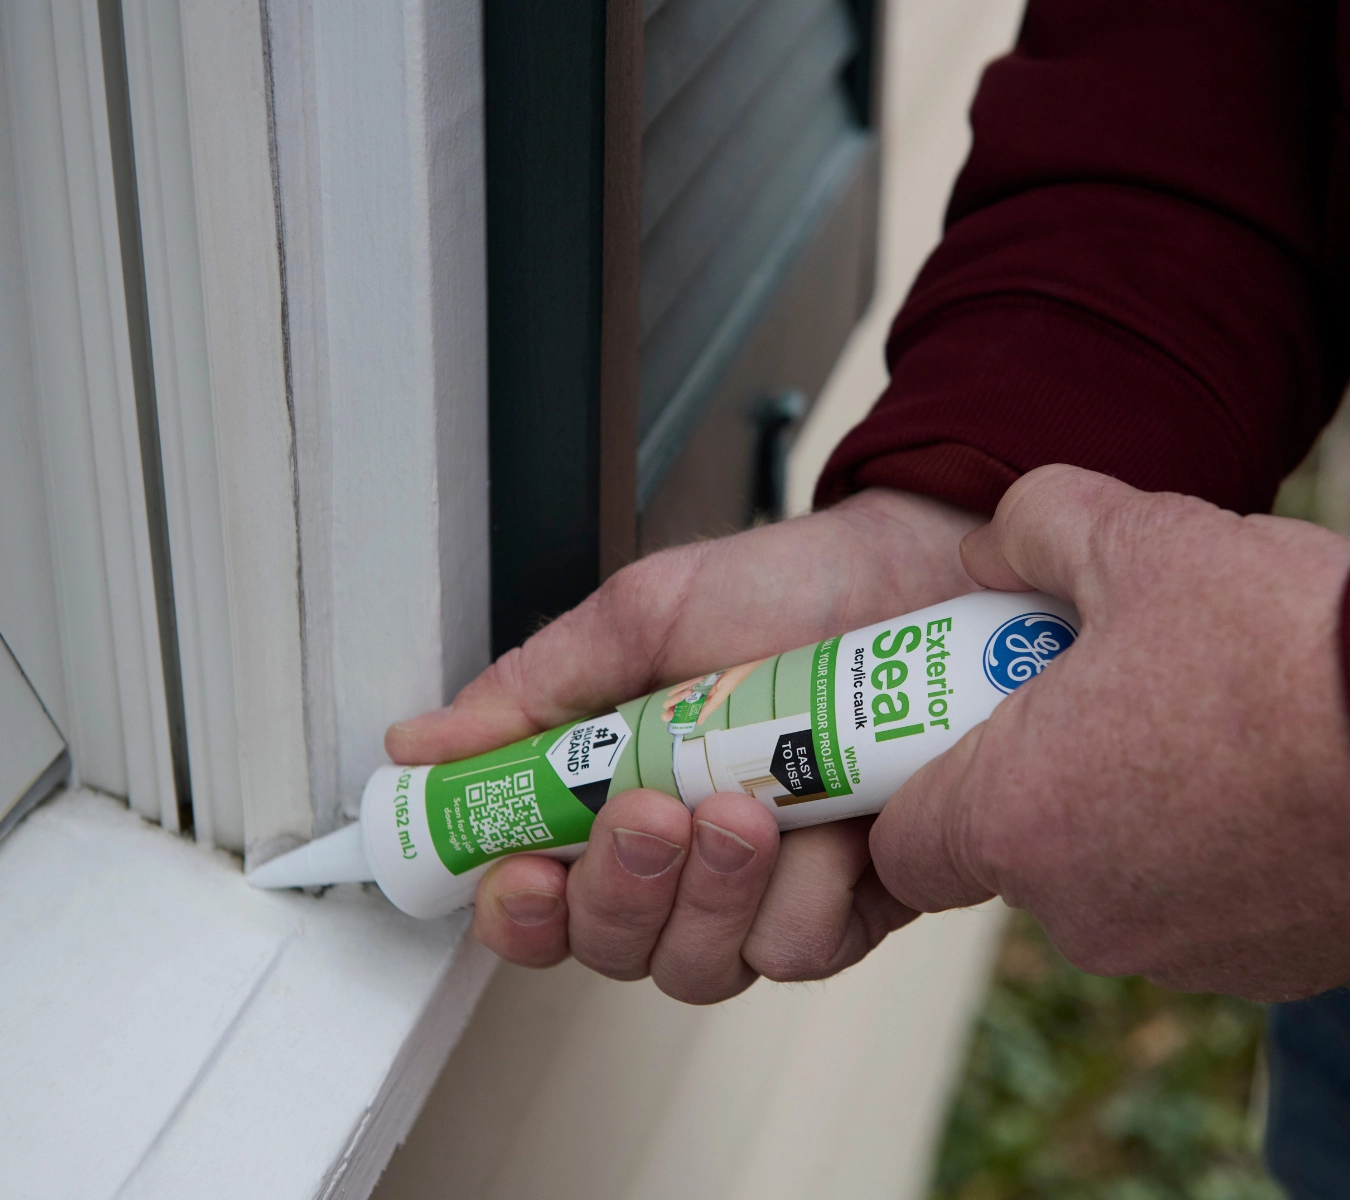
For outdoor projects, GE Exterior Seal Acrylic Caulk is a reliable choice. This acrylic caulk is paintable, weather-resistant, and ideal for sealing gaps in siding, trim, and around windows or doors. It adheres well to common exterior materials and holds up against seasonal changes.
Check out our article on exterior home maintenance to learn more.
For indoor work, Seal & Fill Multi-Purpose Kitchen & Bath Caulk is designed specifically for painting prep. It’s low odor, easy to apply, and paint-ready quickly, making it a go-to option for sealing interior trim, baseboards, and wall gaps.
In any case, always check the product label to confirm that the sealant is labeled as paintable and to understand the required cure time before applying paint. Avoid using non-paintable sealants like 100% silicone in paintable areas, as paint will not adhere properly. Using the correct product helps prevent peeling, cracking, or discoloration and will give your final coat a cleaner, more uniform appearance.
How to seal before painting: step-by-step
Sealing before painting helps ensure a smooth, professional-looking finish. Follow these steps to get clean results and long-lasting performance from your paintable sealant.
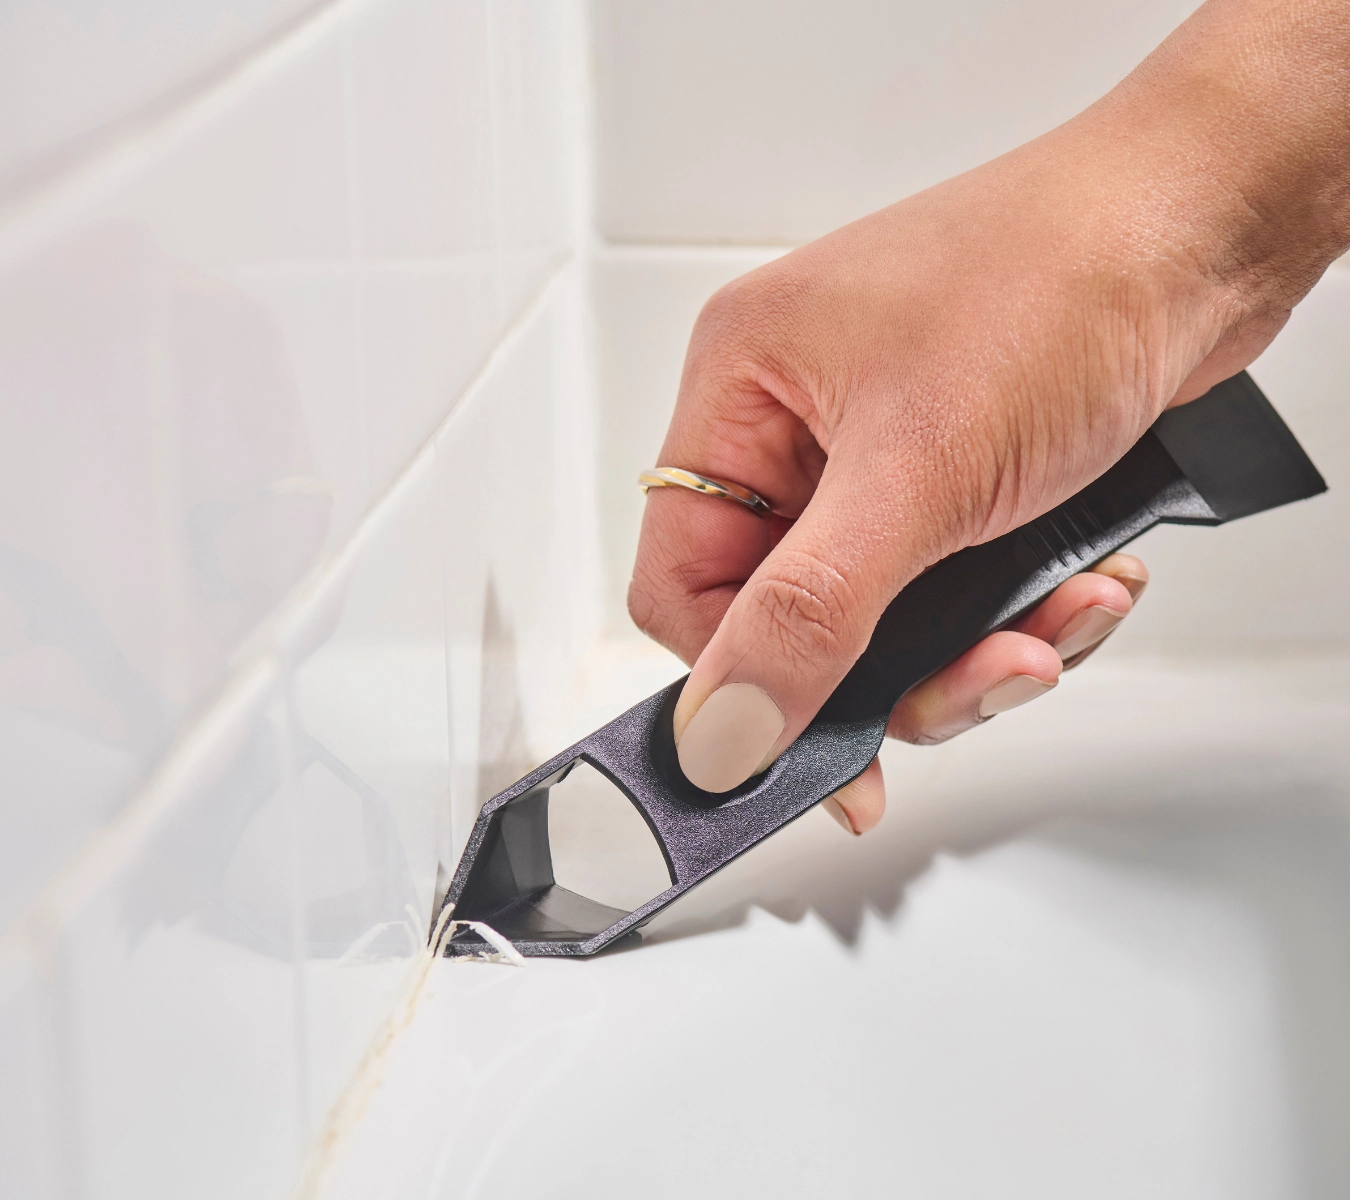
- Clean the surface Remove dust, dirt, and any old or cracked sealant from the area using a damp cloth and utility knife or GE’s Sealant Remover Tool. Let the surface dry completely before moving on.
- Select the right sealant Use a paintable sealant suited to your project. GE Exterior Seal is ideal for outdoor use, while Seal & Fill Multi-Purpose Kitchen & Bath Caulk works well for interior jobs.
- Cut the nozzle Trim the tip of the sealant tube at a 45-degree angle to match the size of the gap. For products with a foil seal, puncture it using a nail or similar tool.
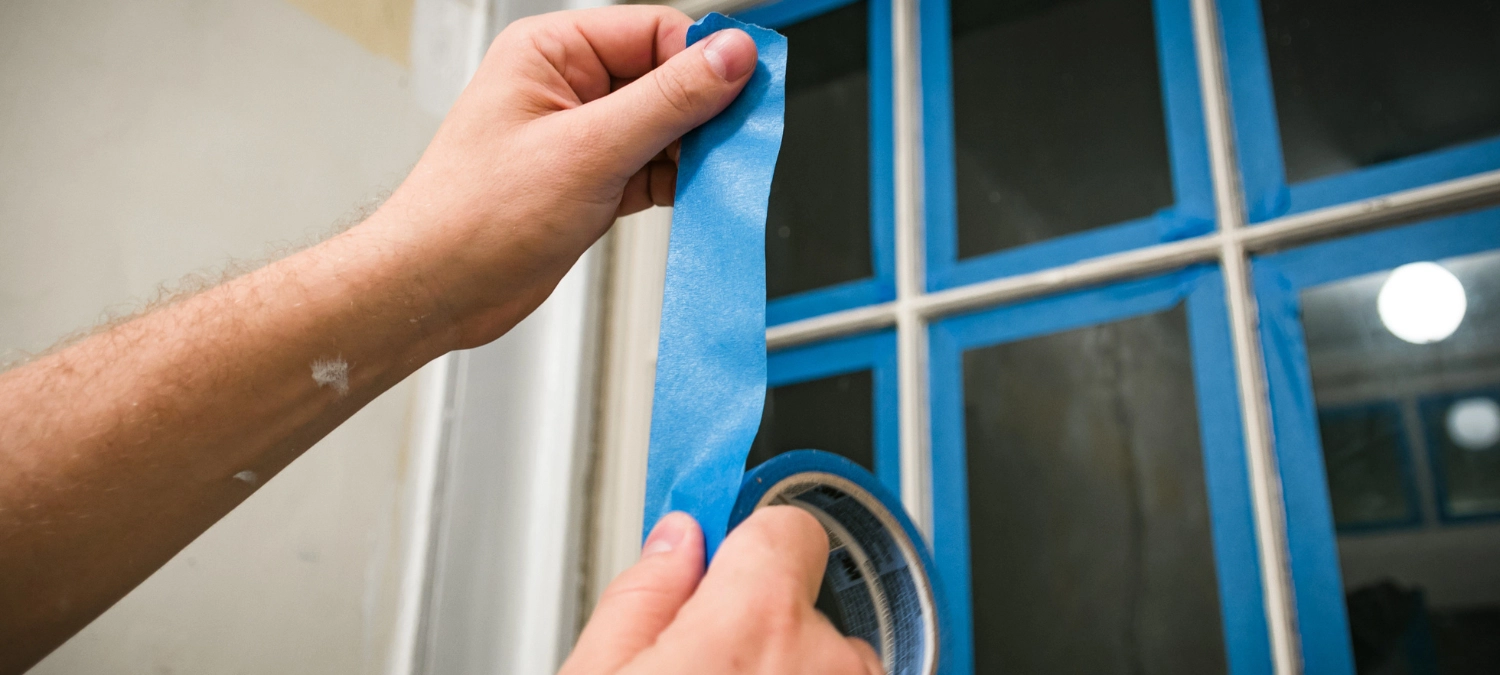
- Apply painter’s tape Mask both sides of the gap if you’re sealing along finished surfaces or trim. This helps keep lines neat and prevents excess caulk on visible surfaces.
- Apply the sealant Squeeze a steady, even bead of sealant into the gap. Work slowly and keep the angle consistent to avoid skips or bubbles.
- Tool the bead Smooth the sealant immediately using a gloved finger or GE’s Sealant Smoothing Tool. Press it into the joint for a tight seal and a clean finish.
- Remove the tape and let it cure Pull the painter’s tape away while the sealant is still wet. Allow the sealant to cure fully according to the label before applying paint. This process usually takes a few hours to a full day.
Common mistakes to avoid
Before you start your sealing project, beware of these common sealing mistakes:
- Avoid painting over sealant that hasn’t fully cured. This can lead to bubbling, cracking, or poor adhesion.
- Always check the product label for proper cure times and paint compatibility.
- Don’t use interior caulk on exterior surfaces, as it won’t withstand weather exposure.
- Overfilling gaps or skipping the smoothing step can leave behind messy lines or weak seals.
- Never seal over damp, dirty, or unstable surfaces, as this can prevent the sealant from bonding properly.
To get GE Sealants’ products for your home improvement project, visit these fine retailers in the U.S. or Canada.


