Note: This DIY article is provided as a general guide only and is not intended to take the place of product-specific installation procedures; always follow applicable manufacturers’ instructions. Depending on your home’s age and condition, location within the home, and other potential factors, repairs and/or upgrades or other services may be necessary prior to the beginning and/or completion of your project that may involve the services of a home improvement professional. This article does not include advice pertaining to local building codes and/or any related inspections.
Old or damaged window sealant can lead to drafts, moisture buildup, and higher energy bills. Resealing your windows is a simple DIY project that helps protect your home from the elements year-round. Whether you’re prepping for colder weather or fixing visible wear, knowing when and how to reseal windows makes all the difference.
Knowing when to reseal your windows starts with a close inspection of the existing sealant. Moisture buildup is a red flag, as condensation between panes can point to air or water infiltration. Discoloration or mold near the edges of the frame may also signal trapped moisture behind deteriorating sealant.
Signs it’s time to reseal your windows
Knowing when to reseal your windows starts with a close inspection of the existing sealant. Look for visible signs of wear such as cracking, peeling, shrinking, or separation from the frame or wall surface. If you feel a draft when standing near the window, especially on windy days, that often indicates a failed sealant.
Moisture buildup is another red flag, as condensation between panes or dampness along the interior trim can point to air or water infiltration. Discoloration or mold near the edges of the frame may also signal trapped moisture behind deteriorating sealant. In some cases, you may even notice an unexplained spike in your heating or cooling costs, which can result from heat escaping through unsealed gaps. Seasonal transitions, particularly before winter or summer, are ideal times to check for these signs.
Read our article on sealant refreshing tips if you’re interested in additional information.
Tools and materials you’ll need
Before you begin, gather a few basic tools and materials to ensure a smooth resealing job. You’ll need a utility knife or GE’s Sealant Remover Tool to cut away the old caulk, along with a caulking tool or gloved finger to smooth the new bead. Painter’s tape helps create clean lines, and a rag with soap and water will prepare the surface for better adhesion.
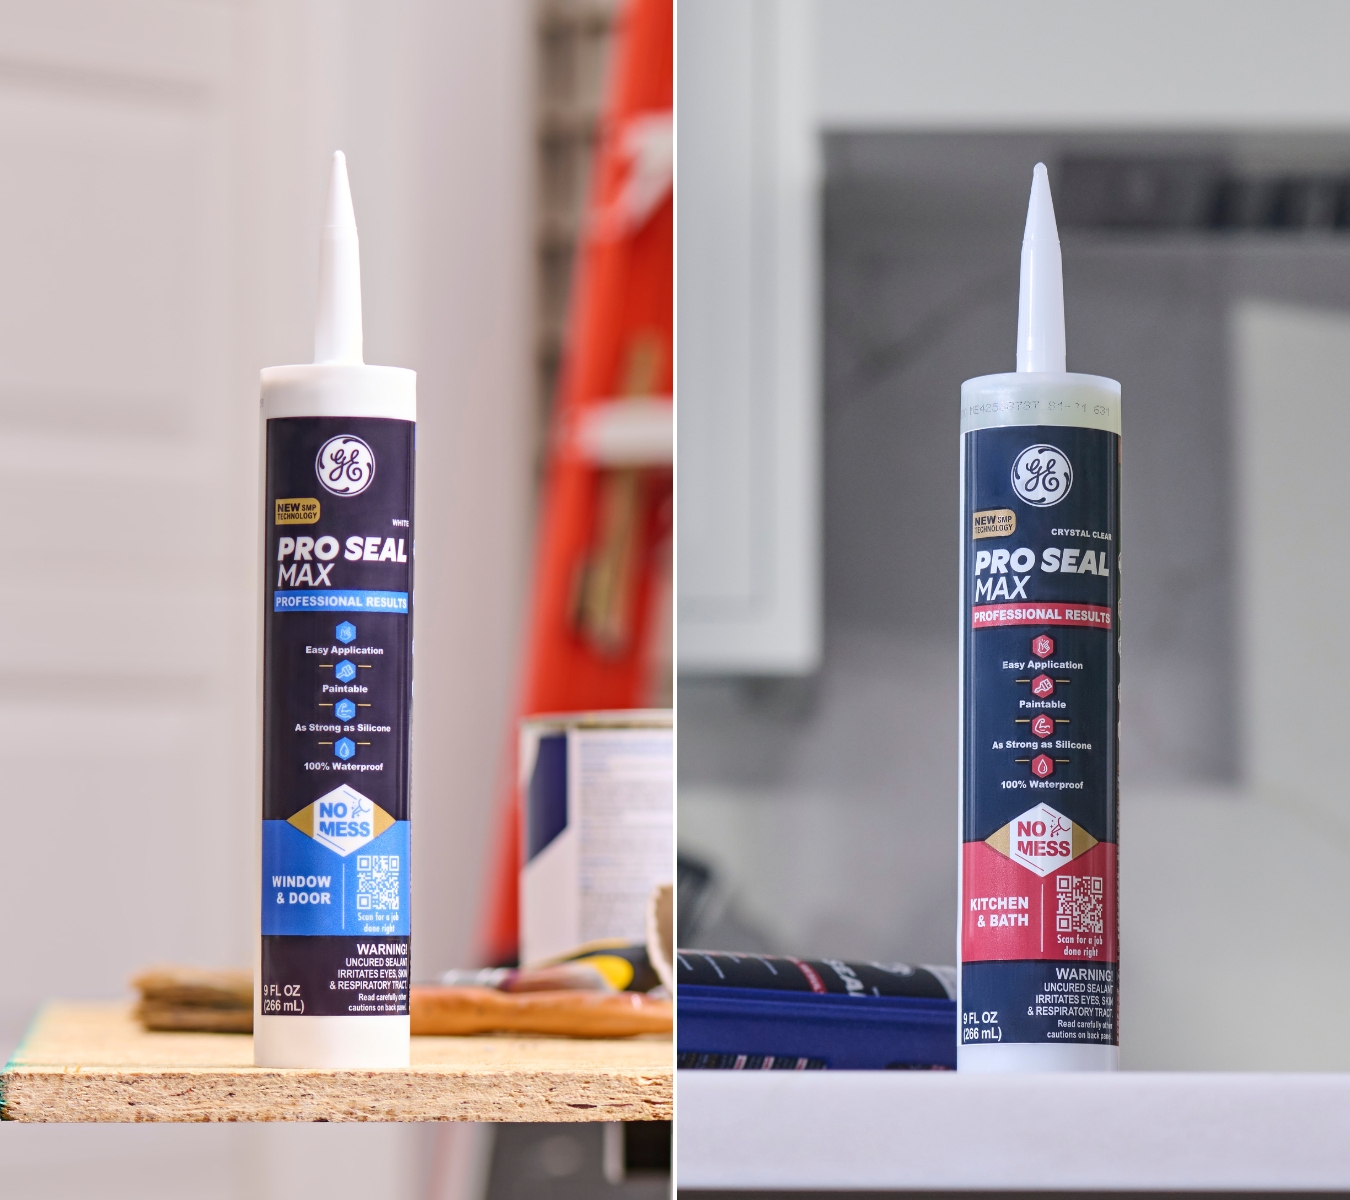
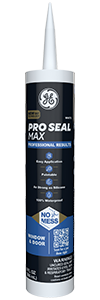
When resealing windows, choose a durable, weatherproof sealant like GE Pro Seal Max Window & Door. This 100% silicone formula is ideal for exterior use, delivering strong adhesion, Class 50 flexibility, and resistance to UV, rain, and temperature shifts, making it a perfect choice for sealing gaps around window frames, siding, or outdoor trim. Avoid sealing over weep holes, which are designed to allow moisture to escape.
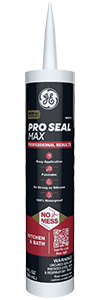
For interior trim near sinks, tubs, or humid areas, GE Pro Seal Max Kitchen & Bath is a better choice thanks to its mold-resistant, low-odor formula. It adheres well to nonporous surfaces and helps protect against moisture intrusion indoors.
Learn more about the superior durability of silicone sealants in this article.
How to remove old window sealant
To ensure your new sealant bonds properly, start by using a utility knife or sealant remover tool to carefully cut along both edges of the old bead. Gently pull the loosened material away, working in sections to avoid damaging the window frame or wall surface.
If the sealant is hardened or brittle, applying gentle heat with a hair dryer can help soften it for easier removal. After all visible sealant is gone, scrub the area with soap and water to remove any residue, dirt, or mold. Let the surface dry completely before applying new sealant. If there are rough spots or old paint flakes, a quick sanding with high-grain sandpaper can help create a smoother base.
How to reseal your windows: step-by-step
Resealing your windows is a relatively straightforward process when you follow these simple steps. With the old sealant removed and the surface clean and dry, you’re ready to apply new sealant.
1: Cut the Nozzle
Using scissors or a utility knife, cut the tip of the caulk tube at a 45-degree angle. Choose your cut width to match the size of the gap you’re sealing. For silicone products, be sure to puncture the inner seal before application.
2: Apply Painter’s Tape
Place painter’s tape on both sides of the joint to guide your bead and ensure a clean finish. This is especially helpful for painted surfaces or narrow trim.
3: Apply the Sealant
Hold the tube (or caulk gun) at a consistent angle and apply a steady bead of sealant along the joint. Move slowly and evenly to avoid air pockets or skips.
4: Tool the Bead
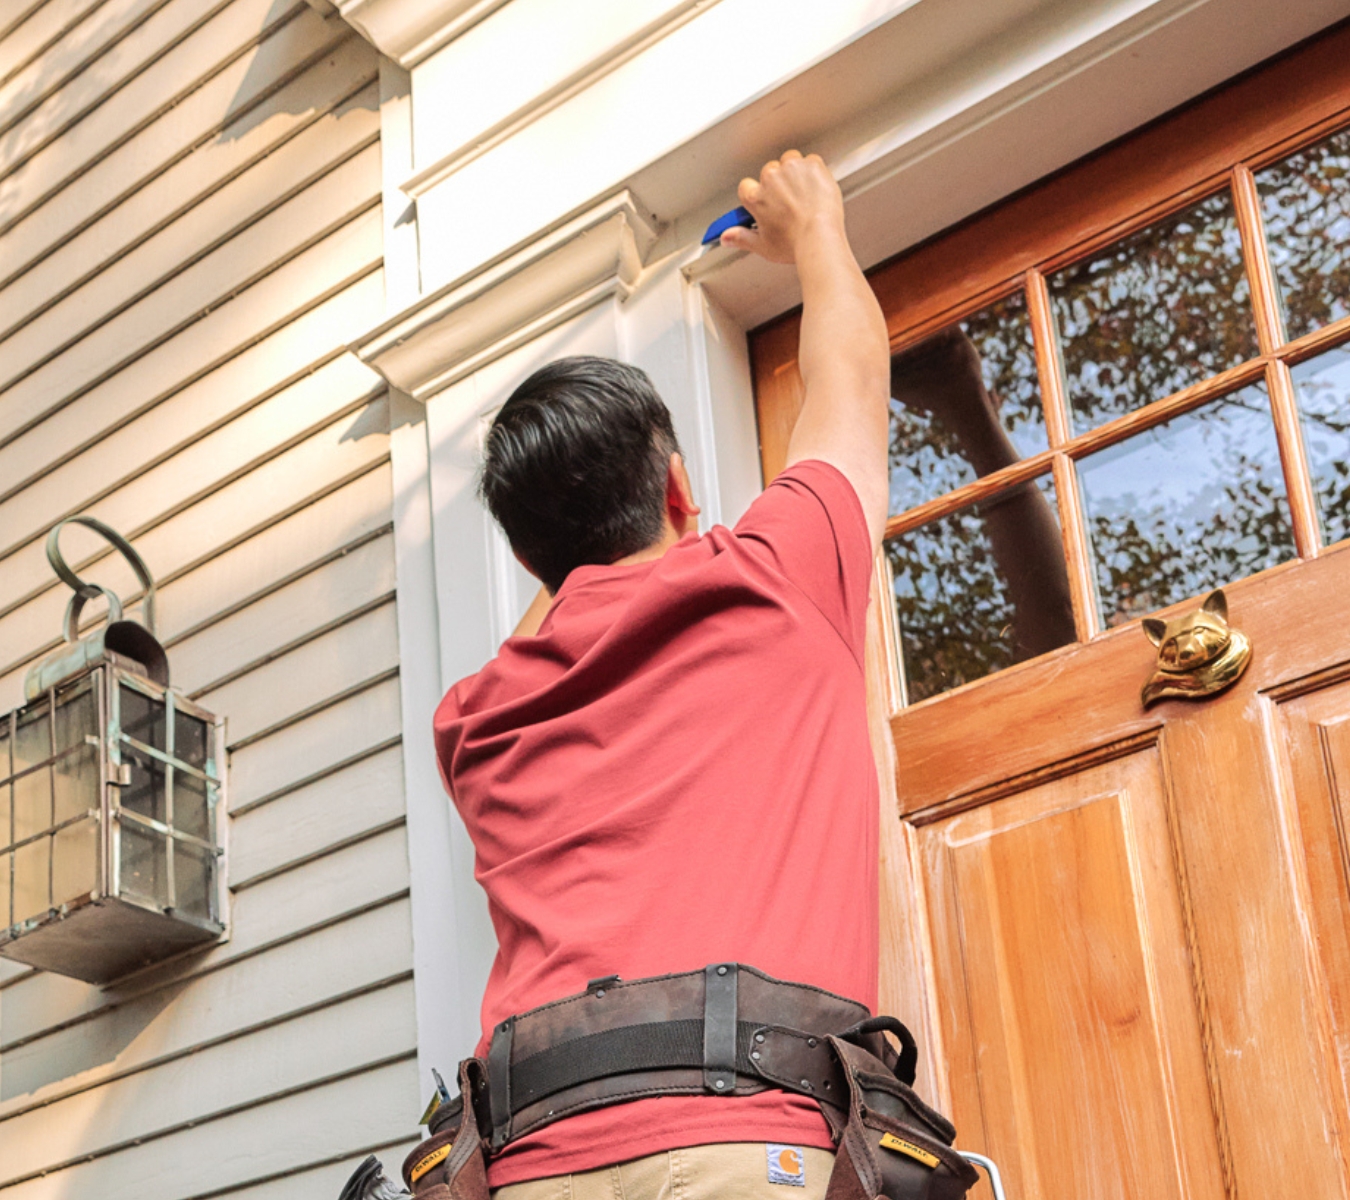
Immediately smooth the sealant with a gloved finger or GE’s Sealant Smoothing Tool, pressing it into the gap and creating a neat, uniform finish. Dampen your finger slightly if needed for easier smoothing.
5: Remove the Tape
Peel off the painter’s tape while the sealant is still wet to avoid pulling up cured material. This helps maintain a sharp, clean edge.
6: Let It Cure
Allow the sealant to cure fully, following the drying time listed on the product packaging. GE silicone sealants are typically water-ready in 30 minutes and fully cured in 24 hours, depending on ambient temperature and humidity.
Maintenance and seasonal inspection
To keep your windows sealed and working efficiently, inspect them at least once a year, ideally before winter or summer begins. Look for new cracks, peeling caulk, or signs of moisture around the frame. After major storms or temperature swings, recheck high-exposure areas for movement or separation. Touch up any worn sections with the same sealant you originally used.
To get GE Sealants’ products for your home improvement project, visit these fine retailers in the U.S. or Canada.

