For professional remodels, learn how to remove old caulk safely, keep tile and tubs unmarked, and prepare a bond‑ready surface using a dedicated silicone sealant removal tool.
Why the sealant removal technique matters during a remodel
Removing silicone sealant is a delicate process. The bead bridges two planes, and those finishes carry fracture and scratch risk. A single mark on a tub lip or tile glaze is permanent.
There’s a second stake: adhesion. Any cured silicone or smear left behind blocks the next bead from bonding. Remodel surfaces also carry soap film and cleaner residue, which compounds the problem.
Sealant removal quality governs two outcomes: surface integrity and bond integrity. Get both right, and the re-seal reaches its full-service life. Get either wrong, and callbacks follow.
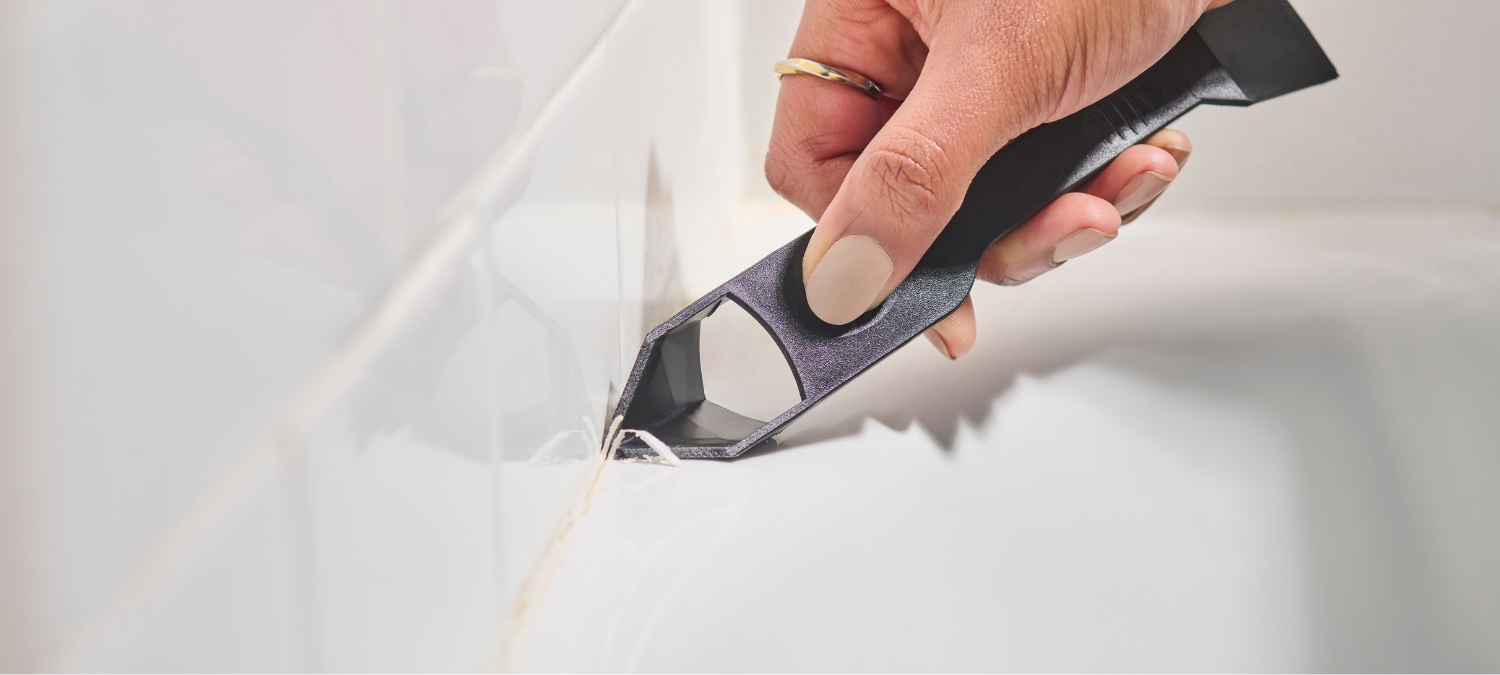
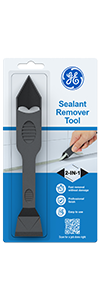
The GE Sealant Remover Tool’s dual-edge design scores, lifts, and scrapes without scratching tubs, tile, or trim, making it essential for finish-safe sealant removal.
Pre‑demo assessment: safeguard tile, tubs, and trim
Before you remove old caulk, identify the surface type: porcelain tile, enamel-coated steel, acrylic over fiberglass, natural stone, glass, metal, or painted trim.
Each reacts differently to tool pressure and contact angles, and each has its risk points.
Mask vulnerable lips and edges before any scraping. Low-tack painter’s tape protects tub rims, shower door frames, and transition lines. Additionally, control your lighting so shadows reveal every bond line.
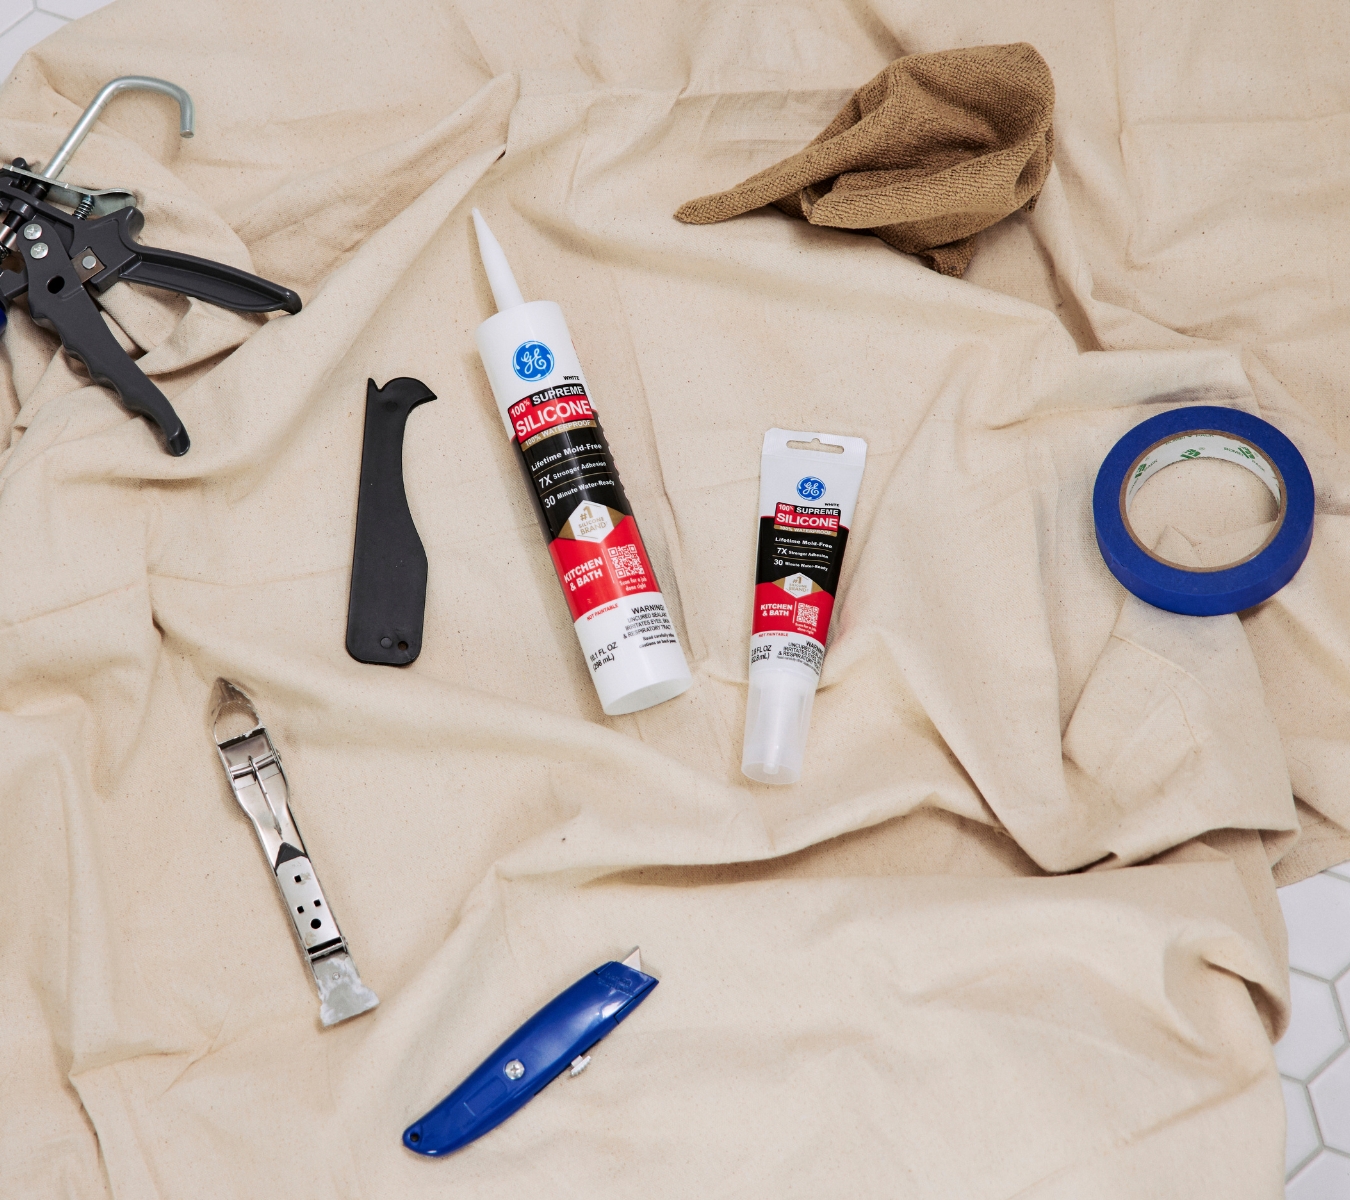
During this walk-down, stage your silicone sealant removal tool and gear. Pros keep the GE Sealant Remover Tool on the bench from the start because it’s engineered to protect these very surfaces. Tool choice here helps you prepare.
The procedures to remove silicone sealant without damage
Work in four stages: separation, lift, soften, and prep. This keeps sealant removal controlled and makes sure the re-seal bonds at full strength.
Skip a stage and you risk scratches or a bond that fails early.
Score both bond lines (end to end)
Free the bead by scoring along both edges where it meets the surfaces. A clean separation here prevents the removal tool from riding up and marking the visible finish, whether that’s tile glaze, enamel, or paint.
- Hold the GE Sealant Remover Tool so the pointed end rides through the bead (not the surface) and make shallow, controlled passes from one end to another.
- Keep the edge clean and sharp. Using light pressure and a low angle helps you maintain control and protect finishes.
- On soft acrylic or coated metals, let the tool’s point glide with almost no downforce. Use minimal downforce to protect soft finishes.
Lift and strip with your silicone sealant removal tool
Once both bond lines are cut, the same tool becomes your lifter. Its pointed tip pierces and raises the bead, while the flat end scrapes residue without scuffing surrounding surfaces.
- Start at a free corner and slide the tip under the bead.
- Pull in long, steady strips for a clean release.
- For tight corners or narrow reveals, rotate the tool in-hand to let the point work at a micro-angle.
Soften stubborn residue (controlled chemistry)
Even after you have removed the bead, a thin film of cured silicone often remains. That residue will block adhesion if left in place.
- Select a compatible solvent rated: isopropyl alcohol (IPA) for many non-porous surfaces, mineral spirits for some metals, xylene or toluene blends for stubborn residues on compatible finishes.
- Apply a thin, even coat to the residue. Dwell time is typically 15 to 60 minutes—confirm with the solvent’s safety data sheet.
- Always test on an inconspicuous spot first to rule out staining or softening.
- Avoid aggressive solvents on acrylic and natural stone.
- Maintain ventilation from application to wipe-off.
Remember that chemistry is an assist, not a replacement for clean mechanical sealant removal.
Final clean for adhesion
- Wipe down with lint-free cloths and a compatible cleaner—isopropyl alcohol is a common choice where suitable.
- For any stubborn film, use low, controlled heat (hair dryer or heat gun) to loosen it, then wipe immediately.
- Avoid overheating finishes or driving moisture into seams.
- Inspect under raking light to confirm no residue or haze remains.
This surface is now ready for a full-bond re-seal.
Surface-specific cautions
Matching the technique to the surface is how you remove old caulk without turning removal into repair.
Porcelain or enameled steel
Tape off edges and seams before scoring or lifting. Keep your silicone sealant removal tool flat to avoid gouging the glaze. At tub lips, many stay manual and skip oscillating blades entirely to prevent chips.
Acrylic or fiberglass
Use only the GE Sealant Remover Tool’s plastic-safe edges. Avoid hot solvents. They can soften or haze the surface. If heat is needed, keep it low and moving.
Natural stone (marble, limestone, granite)
Test first, even with mild solvents. Skip aggressive chemicals and acidic cleaners. Mask adjacent grout or decorative inlays before applying solvent.
Glass or metal
Work mechanically first. Use solvent only where compatibility is certain. Polish out smears or haze before you re-seal.
Painted or finished trim
Score lightly with the pointed tip of your silicone sealant removal tool. Mask before working near edges, and keep solvent dwell time to a minimum to avoid lifting or softening the finish.
What to avoid after removing silicone sealant
Now that you have removed the old caulk, do not proceed until these checks pass. In sealant removal, skipping verification is what causes callbacks.
- Edge integrity: No chips, scratches, or burrs at lips, edges, or frames. If present, correct before re-seal.
- Surface purity: No oily film or cleaner residue. If you used household aids, degrease until the cloth squeaks and leaves no smear.
- Residue test: On compatible non-porous surfaces, the joint is water-break-free. Also, check that a white-cloth wipe shows no gray silicone smear.
- Solvent control: Spot test passed, dwell time followed per safety data sheet, solvent fully wiped and flashed, and ventilation maintained.
- Dryness and stability: Joint is dry to the base. No heat-softening on acrylic or stone. If you observe softening, reassess chemistry before resealing.
Re-seal on the same visit
Once you remove old caulk and the joint is clean and dry, re-seal before the area sees moisture or dust, and match sealant chemistry to the location.
- Constant-wet zones (showers, tubs, sinks): Use GE Supreme Silicone Kitchen & Bath. It’s 100% silicone and 100% waterproof, with lifetime mold-free product protection, and meets ASTM C-920 Class 50. It can be water-ready in as little as 30 minutes. Note, however, that 100% silicone is not paintable.
- Paintable joints (backsplashes, trim): Go with GE Pro Seal Max Kitchen & Bath. It is immediately water-ready and paintable in 60 minutes and meets ASTM C-920 Class 35 (white) and Class 25 (clear). It also adheres to damp or dry surfaces.
- Finish quality: Tool a uniform bead with the GE Sealant Smoothing Tool. Use a backer rod where joint depth requires it.
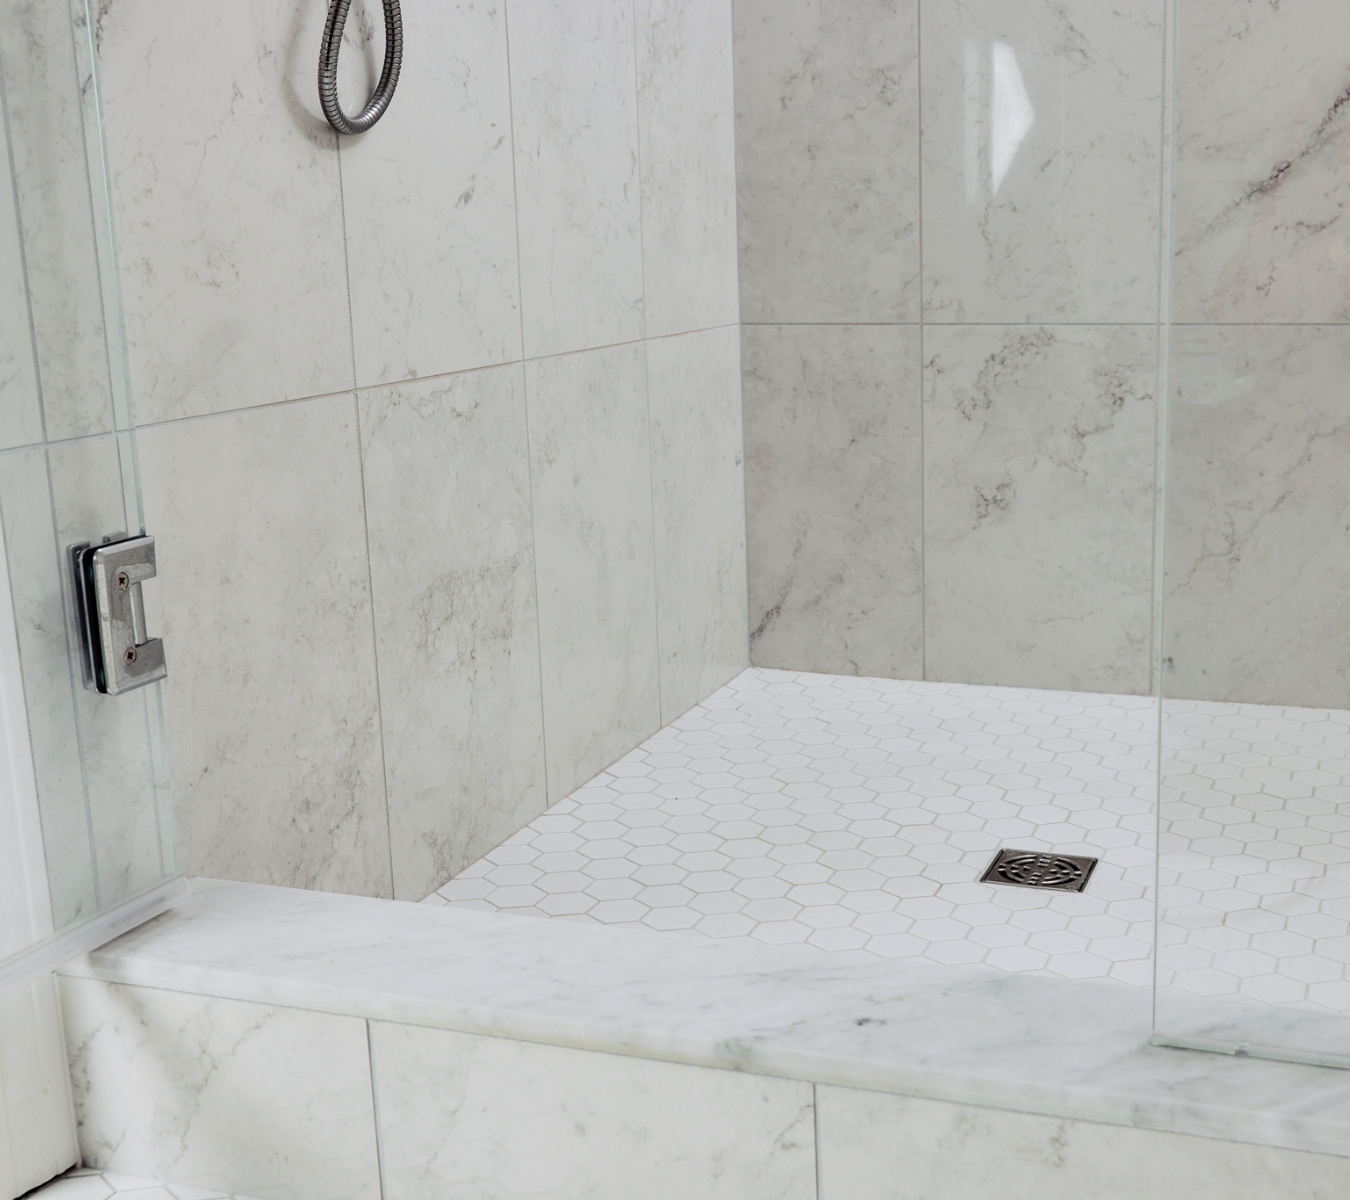
Sealant removal doesn’t have to mean damage control. With a finish-safe method, a silicone sealant removal tool engineered for the task, and the right product choice for the re-seal, you can complete the job on the same visit, with no callbacks.
Ready to take the next step? Find GE sealants and tools for removing old caulk at a retailer near you in the U.S. or Canada.

