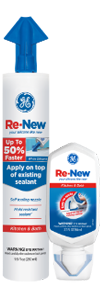
When tackling renovations or just replacing old sealant, you’ll need to first prepare your work surface. Over time, caulks and sealants can wear down, grow mold, discolor, and shrink. This creates cracks that water, weather and pests can get through. Unless you’re refreshing 100% silicone seals with GE Re-New, old caulk or sealant needs to be completely removed before you can apply new sealant.
To remove sealant, you’ll need: a utility blade, caulking tool, isopropyl alcohol and paper towels.
-
Score Old Sealant
First, carefully score the seam of the old sealant with a utility blade. Run the blade along the edge of the old sealant, being cautious not to scratch the surface of whatever you plan to re-seal.
-
Remove Old Sealant
After scoring the old sealant, try to remove as much of the old sealant as you can by hand. Use a caulking tool to remove any remaining material.
For tight corners where your fingers or a caulking tool won’t fit, use the utility blade again to carefully scrape off the sealant.
-
Clean Surface with Isopropyl Alcohol
Once you’ve removed as much of the old sealant material as possible, clean up any remaining residue, dust and debris using isopropyl alcohol. Dampen a paper towel with the alcohol, then wipe down your entire work surface. This step is important for making sure the new sealant you apply will adhere properly.
If the old sealant had mold, clean the area with a mold cleaning solution prior to wiping down with isopropyl alcohol.
Safety Tip: Make sure your work area is well ventilated when using isopropyl alcohol.
-
Allow Work Surface to Dry
Finally, allow your work surface to dry completely before you apply any new sealant. After this step, you’re ready for a successful sealing project.
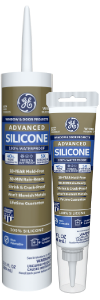
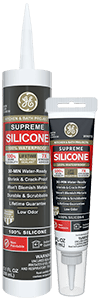
To avoid removing old sealant again any time soon, create your next seal with a high-performing GE-branded silicone sealant that’s backed by a lifetime guarantee¹ like GE Advanced Silicone 2® or GE Supreme Silicone. Check out our other How-To Guides for more step-by-step tutorials that will help with your next sealing project.
1Manufacturer warrants that this product, when used as directed, will meet the above specifications for as long as you own your home. If not satisfied, return proof of purchase for refund. This is the sole and exclusive remedy and Manufacturer shall not be liable for any damages in excess of the purchase price. This warranty is in lieu of all other warranties, express or implied, including any warranty of merchantability or fitness.


