

Note: This DIY article is provided as a general guide only and is not intended to take the place of product-specific installation procedures; always follow applicable manufacturers’ instructions. Depending on your home’s age and condition, location within the home, and other potential factors, repairs and/or upgrades or other services may be necessary prior to the beginning and/or completion of your project that may involve the services of a home improvement professional. This article does not include advice pertaining to local building codes and/or any related inspections.
If you have ever struggled with how to open a tube of caulk, you are not alone. It seems simple, but cutting the nozzle incorrectly or missing the inner seal can quickly turn a quick project into a frustrating mess. With a few straightforward steps and a couple of practical tips, you can open, use, and store a tube of sealant properly so it works smoothly and stays usable for your next project.
Knowing how to open a tube of caulk or sealant the right way helps you use the right amount of product. A clean, controlled opening allows for smoother application and reduces excess buildup along joints.
Why it’s important to open a caulk tube correctly
Opening a caulk tube the right way will save you trouble down the road. A poorly cut nozzle can create an uneven bead that is difficult to control, leading to messy lines and extra cleanup. If the inner seal is not punctured properly, the sealant may not flow at all.
Getting this step right also helps you use the right amount of product. A clean, controlled opening allows for smoother application and reduces excess buildup along joints. It also makes it easier to apply steady pressure with a caulk gun or hand depending on the product you’re using, improving consistency from start to finish. Taking a few extra seconds to open the tube correctly will prevent these common mistakes and ensure better results on any sealing job.
Parts of a caulk tube explained
Before you open a tube, it helps to know what you are working with. A standard caulk tube has three main parts:
- Nozzle
- Inner seal
- Cartridge body
The nozzle is the tapered tip where the sealant comes out, and it is designed to be cut to control the bead size.
Inside the nozzle is a sealed barrier that keeps the product fresh before use. This inner seal must be punctured before the caulk will flow. The cartridge holds the sealant and is designed either to fit into a caulk gun or to be dispensed by hand-squeezing. Understanding these parts makes it easier to see why cutting and puncturing correctly matter, as each step works together to control flow and ensure smooth application.
Step-by-step: how to open a tube of sealant or caulk
Opening a tube of caulk takes just a few steps, but doing each one correctly makes application much easier.
-
Cut the nozzle at an angle
Use the cutter on your GE Cartridge Opener and Smoothing Tool to trim the tip of the nozzle at a 45-degree angle. This gives you a clean, controlled opening. If you do not have this tool, a utility knife or the cutter on a caulk gun also works. Start with a small opening to maintain better control during application.
-
Choose the right opening size
The farther down the nozzle you cut, the larger the bead will be. Begin with a smaller cut and increase it only if needed. A smaller opening makes it easier to apply a consistent bead and avoid excess sealant.
-
Puncture the inner seal
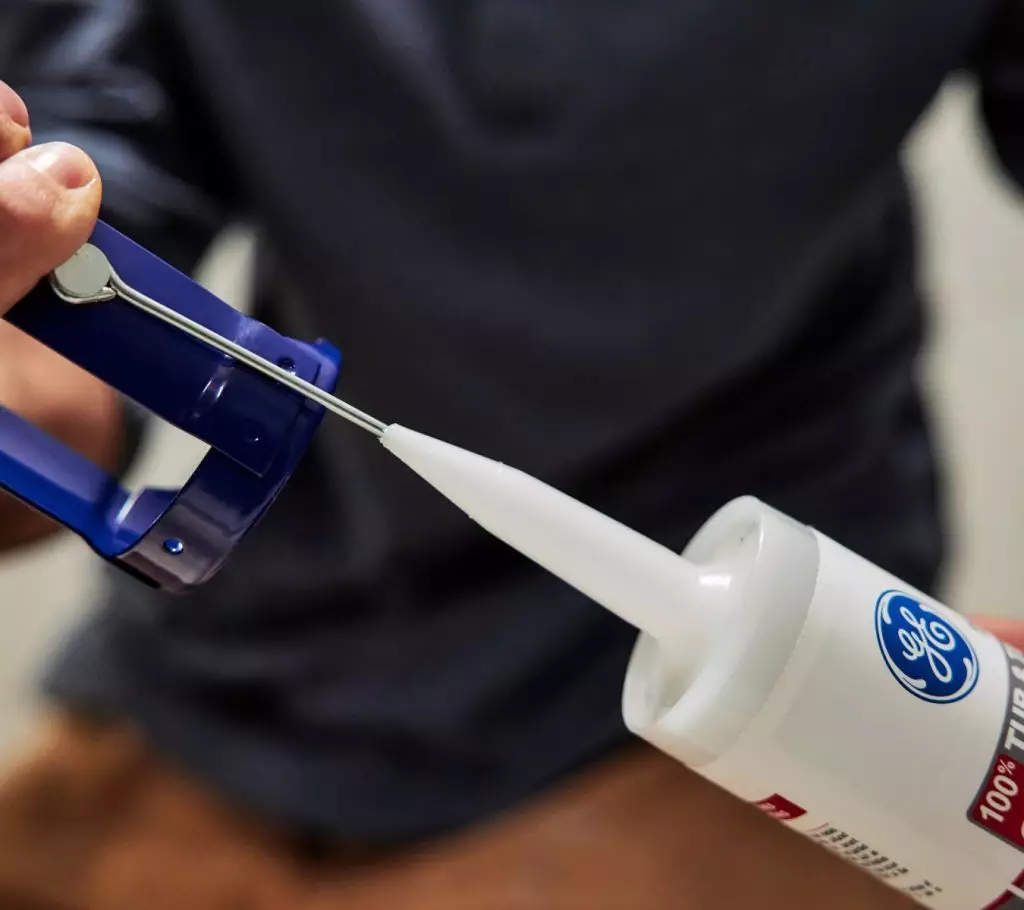
A homeowner uses a nail to break the inner seal on a tube of caulk. Use the built-in puncture tool on your caulk gun or insert a long nail or wire through the nozzle to break the inner seal. This step is essential. If the seal is not fully punctured, the caulk will not flow properly.
-
Load the tube into the caulk gun (if applicable)
Sealants typically come in one of two package styles: a cartridge or a squeeze tube. A cartridge is the larger tube that fits into a caulk gun, while a squeeze tube is smaller and designed to be used by hand without a gun.
If you are using a cartridge, place it into the caulk gun and squeeze the trigger gently to build pressure. If you are using a squeeze tube, simply hold it by hand and apply steady pressure once the nozzle and inner seal are opened.
-
Test the flow
Before applying to your project, squeeze a small amount onto a scrap surface. This confirms the seal is fully punctured and helps you get a feel for the flow rate.
-
Apply and smooth the bead
Apply the caulk in a steady, continuous line along the joint. Then use the smoothing edge of your Cartridge Opener or the GE Sealant Smoothing Tool to shape the bead. If you do not have a specialized tool, you can use a gloved finger.
Choosing the right sealant and opening size
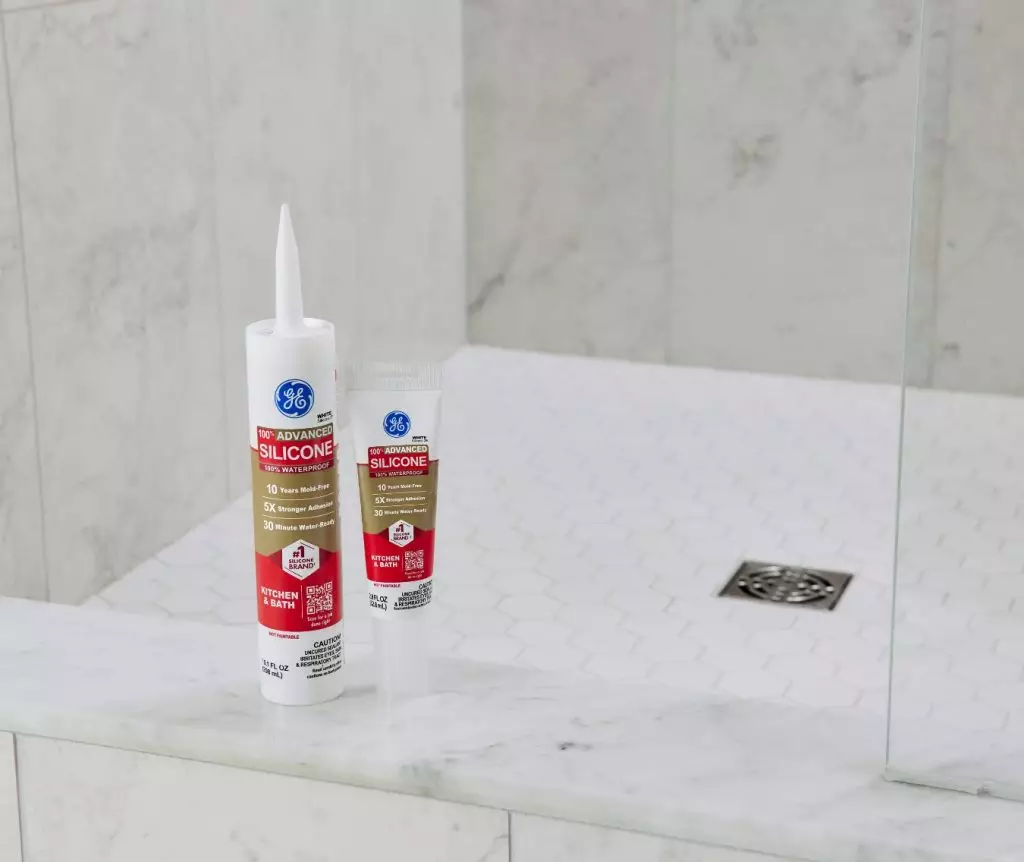
Not all sealants behave the same once the tube is opened, and choosing the right product helps ensure smoother application from the start. For indoor projects exposed to moisture, like kitchens and bathrooms, a silicone formula such as GE Advanced Silicone Kitchen & Bath Sealant offers a smooth flow and strong resistance to mold and mildew. For exterior work or areas exposed to temperature changes, GE Supreme Silicone Window & Door Sealant provides added durability and long-term performance.
The type of project should also guide how you cut the nozzle. Smaller joints, like trim or narrow seams, require a small opening for better control. Larger gaps need a slightly wider cut to fill the space properly. Starting small and adjusting as needed helps prevent over-application and keeps the bead consistent from start to finish.
How to save caulk after opening
Knowing how to save caulk after opening a tube can help you get more use out of it. The most important step is sealing the nozzle as soon as you finish. Inserting a nail or screw into the tip helps block air and slow down curing inside the tube. You can also wrap the nozzle with plastic wrap and secure it with a rubber band or tape to create an additional seal.
Store the tube upright in a cool, dry place to extend its usability. Avoid leaving it in areas with extreme temperatures, which can cause the sealant to harden more quickly. With proper storage, an opened tube can remain usable for future touch-ups and small repairs.
To get GE Sealants’ products for your home improvement project, visit these fine retailers in the U.S. or Canada.


