

Note: This DIY article is provided as a general guide only and is not intended to take the place of product-specific installation procedures; always follow applicable manufacturers’ instructions. Depending on your home’s age and condition, location within the home, and other potential factors, repairs and/or upgrades or other services may be necessary prior to the beginning and/or completion of your project that may involve the services of a home improvement professional. This article does not include advice pertaining to local building codes and/or any related inspections.
Many DIYers assume sealant is ready as soon as it feels dry to the touch but that is only part of the timeline. If you want to understand how long it takes sealant to dry, it helps to separate surface dry time from full sealant curing time, since the joint can still be vulnerable underneath even after the top layer has skinned over. This guide explains what affects sealant dry time, why curing matters, and how to make sealant dry faster without weakening the finished seal.
Several factors affect how quickly sealant dries on the surface and how long it takes to cure all the way. Product type and application area also cause variation, as a bathroom joint, an exterior seam, and a sheltered interior repair may not behave the same way even under similar conditions.
Sealant dry time vs. sealant curing time: what’s the difference?
For silicone sealants, dry time and cure time are related but are not the same thing. Sealant dry time usually refers to the point when the outer surface has skinned over or becomes dry to the touch. The surface skinning over affects whether the bead can be touched, tooled again, or lightly exposed without smearing.
Sealant curing time is the longer process during which the full depth of the sealant sets enough to deliver its intended strength, flexibility, and moisture resistance. In practical terms, a bead can feel dry on the surface while still remaining vulnerable underneath. This is why a joint that looks finished may still need more time before it can handle water, movement, or regular use.
What affects sealant dry time and sealant curing time
Several factors affect how quickly sealant dries on the surface and how long it takes to cure all the way through. Humidity is one of the biggest problems because many silicone sealants cure by reacting with moisture in the air. Temperature also contributes. Warm conditions usually help the process move along, while colder conditions can slow it down.
Airflow and ventilation play a role by helping the environment around the joint remain stable and by reducing the chance that moisture lingers where it should not. Bead thickness is another major factor. A controlled bead will usually progress more predictably than one that is applied too heavily.
Product type and application area also cause variation, as a bathroom joint, an exterior seam, and a sheltered interior repair may not behave the same way even under similar conditions. In general, warm, moderately humid conditions and a properly sized bead help silicone progress faster, while thick application, cold temperatures, and poor airflow slow it down.
The stages of sealant drying
Sealant drying happens in different stages. The first stage is touch-dry, when the outer surface has skinned over and no longer feels wet. That stage is useful for handling and light contact, but it does not mean the joint is ready for use.
The next stage is water-ready or rain-ready, which is the point when the sealant can handle moisture exposure without washing away or losing its hold. For many DIY jobs, that is the milestone that matters most. The final stage is fully cured when the full depth of the bead has set enough to deliver its intended strength, flexibility, and long-term performance. Understanding those stages makes it easier to plan the job and avoid exposing joints too soon.
Step-by-step: how to avoid slowing the drying process
If you want sealant to dry and cure as expected, start by giving it the right conditions from the beginning. Clean and dry the joint fully before application, as leftover residue or moisture can interfere with the bond and slow the process down.
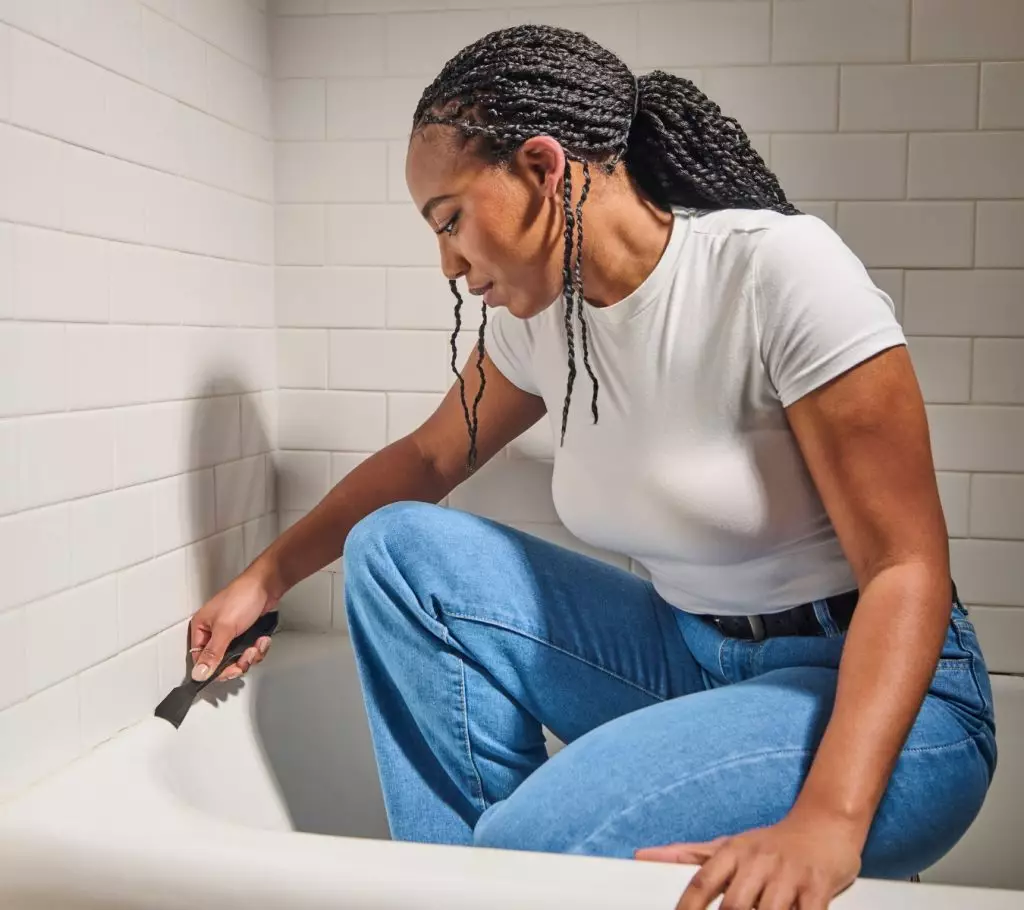
If failed material is still in place, remove it first with either GE’s Sealant Remover Tool or a putty knife so the new bead goes onto a sound surface. Next, cut the nozzle to match the size of the joint instead of opening it too wide. Apply an even bead rather than a heavy one, because oversized application usually takes longer to progress.
It also helps to keep air moving through the room or work area so the environment stays more favorable for drying. After application, shape the bead with GE’s Sealant Smoothing Tool or a gloved finger, then leave it undisturbed while it sets.
How to make sealant dry faster without causing problems
If you are trying to figure out how to make sealant dry faster, the safest approach is to improve the conditions around the job rather than force the process. Increase ventilation, avoid overapplying the bead, and work within the temperature range the product is designed for.
When timing matters, it also helps to choose a product with a faster water-ready or rain-ready window. What you do not want is to rush the job with shortcuts that weaken the final seal. Faster progress is always preferable, but only if the joint still cures into a durable result.
The right GE products for the job
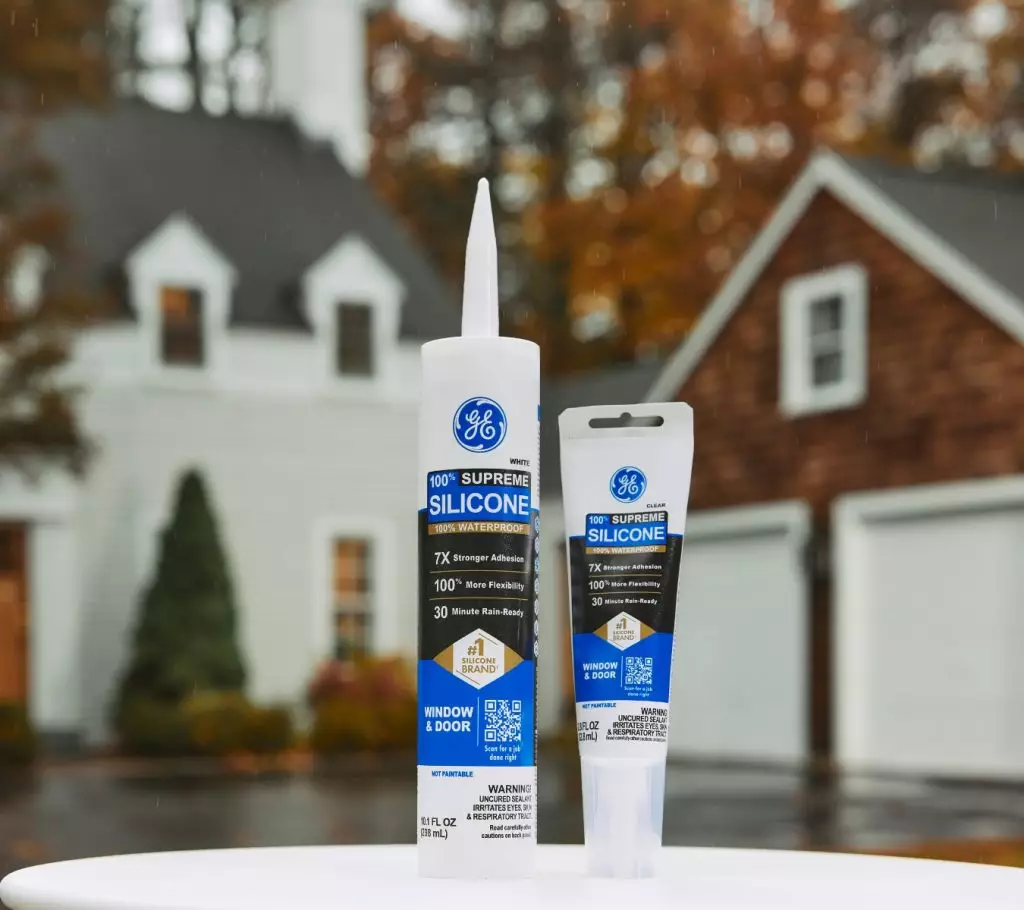
For exterior joints where a faster return to weather exposure is a priority, GE Advanced Silicone Window & Door is a practical choice. Its 30-minute rain-ready performance helps keep exterior projects moving without giving up long-term weather resistance.
For wet-area joints, GE Supreme Silicone Kitchen & Bath makes more sense where joints will face regular humidity, splashing, or cleaning. The key is to match the product to the environment instead of assuming every sealant follows the same timeline.
To get GE Sealants’ products for your home improvement project, visit these fine retailers in the U.S. or Canada.


