

Caulking is one of those tasks that seem simple but can quickly turn into a messy affair if not done correctly. Whether you’re a seasoned DIY enthusiast or a novice homeowner, mastering the art of caulking can save you time, money, and frustration. In this guide, we’ll delve into the essential tips and tricks to help you achieve professional-quality caulking results.
Learn how to caulk with these 8 tips
Use these 8 tips to learn how to caulk and get professional-looking results.
-
Choose the Right Caulk
The first step toward achieving professional caulking results is selecting the right caulk for your project. There are various types of caulks and sealants available, including silicone, acrylic latex, and polyurethane. Each type has its unique properties and applications.
- Silicone: Ideal for areas exposed to moisture, such as bathrooms and kitchens, as it is waterproof and highly flexible.
- Acrylic latex: Suitable for interior applications and is paintable, making it ideal for sealing gaps and cracks around trim and baseboards.
- Hybrid: Combines the durability of and ease of use of other types of caulk. Frequently used to seal gaps and cracks in metal, concrete, wood, and PVC.
- Polyurethane: Highly durable and can be used for both interior and exterior projects, including sealing joints and cracks in concrete and masonry.
- Butyl rubber: Primarily used for outdoor applications in areas that are exposed to water. This might include sealing roofing joints and other outdoor equipment.
Consider the specific requirements of your project and choose the caulk accordingly.
Choosing the right type of caulk for your project will make a significant difference in how it looks and holds up over time. The right type of caulk should hold up for years before needing to be replaced.
-
Prepare the Surface
Proper surface preparation is crucial for achieving a long-lasting caulking job. Begin by cleaning the area to be caulked thoroughly, removing any dirt, dust, grease, or old caulk residue. Use a putty knife or scraper to remove loose paint or debris from the joint.
Next, ensure the surface is completely dry before applying the caulk. Moisture can interfere with the adhesion of the caulk, leading to poor results and potential mold growth. If necessary, use a hairdryer or allow extra drying time before proceeding.
-
Use the Right Tools
Having the right tools on hand can make a significant difference in the quality of your caulking job. Invest in a high-quality caulking gun for precise application and better control over the flow of caulk. Additionally, consider using a caulking tool or smoothing tool to create a smooth and professional-looking finish.
-
Cut the Caulk Tube at the Right Angle
When cutting the tip of the caulk tube, ensure that you do so at a 45-degree angle. This angle creates a small opening that allows for more precise application and better control over the flow of caulk. Additionally, cut the tip to match the size of the gap or joint you are caulking, ensuring that the bead of caulk fills the entire space without excess. It is better to start with a smaller cut and increase the size if needed. Don’t forget to pierce the inner foil seal of the caulk. Many caulk guns have an attached tool for this process.
-
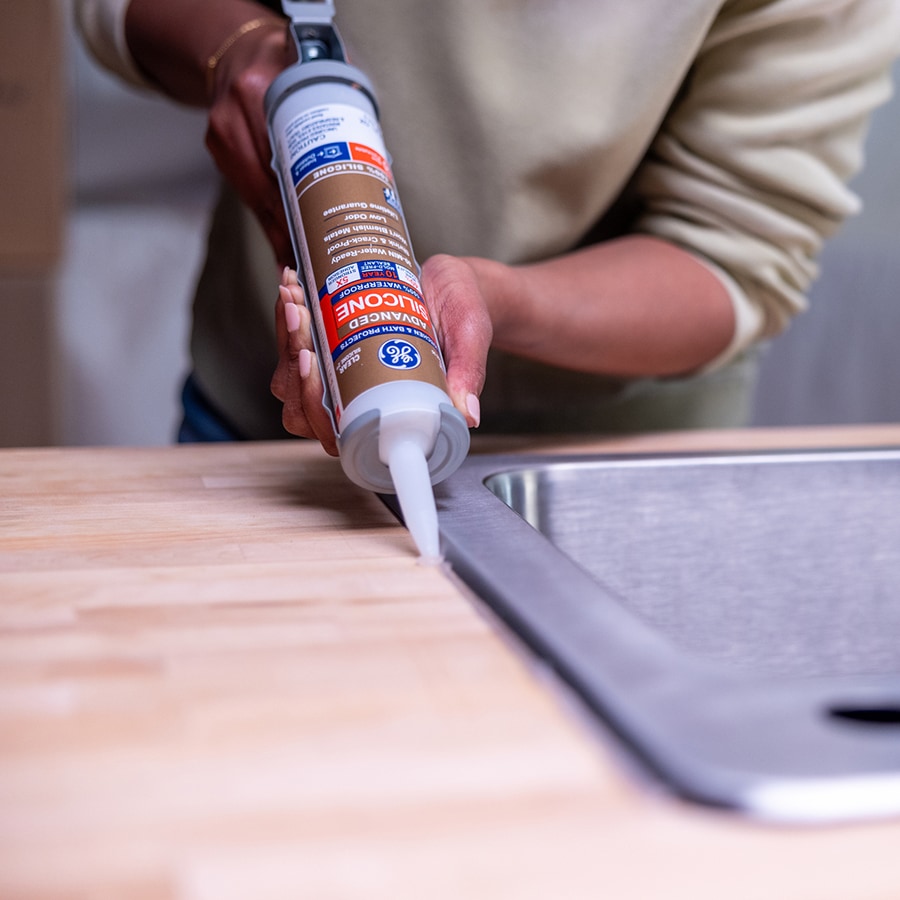
Apply Caulk in a Continuous Bead
For professional-looking results, apply the caulk in a continuous bead along the joint or gap you are sealing. Hold the caulking gun at a 45-degree angle and apply steady pressure to the trigger as you move along the joint. Avoid starting and stopping, as this can create uneven beads and gaps in the caulking.
If necessary, use masking tape to create clean, straight lines along the edges of the joint before applying the caulk. This technique helps achieve a neat and uniform finish, especially around corners and edges.
-
Smooth and Shape the Caulk
Once you’ve applied the caulk, use a caulking tool, smoothing tool, or your finger to smooth and shape the bead of the caulk. Work quickly but carefully to avoid smudging or smearing the caulk. Smooth the caulk in one continuous motion, applying even pressure to create a uniform finish.
Pay extra attention to corners and edges, ensuring that the caulk fills the entire joint without gaps or air bubbles. If necessary, go back over the caulk with your finger or tool to achieve the desired shape and smoothness.
-
Remove Excess Caulk
After smoothing the caulk, use a damp cloth or sponge to remove any excess caulk from the surrounding surfaces. Wipe gently to avoid disturbing the freshly applied caulk. Pay close attention to corners and edges, where excess caulk tends to accumulate.
If you notice any gaps or areas where the caulk didn’t fill completely, apply additional caulk as needed and repeat the smoothing process.
-
Allow Sufficient Drying Time
Finally, allow the caulk to dry completely before exposing it to moisture or painting over it. The drying time can vary depending on the type of caulk and environmental conditions. Refer to the manufacturer’s instructions for specific drying times and recommendations.
Avoid touching or disturbing the caulk during the drying process to prevent smudging or compromising the integrity of the seal. Once the caulk is fully cured, it will provide a durable and long-lasting seal for your project.
Follow these tips to get professional-looking results.

GE sealants can give your caulking professional-looking results
Mastering the art of caulking takes practice, patience, and attention to detail. By following these tips and techniques, you can achieve professional-quality caulking results that enhance the appearance and durability of your projects. Whether you’re sealing gaps and cracks around your home or tackling larger renovation projects, proper caulking techniques will help you achieve a neat, seamless finish that stands the test of time. For professional-looking and long-lasting results, choose a GE sealant product.
Find GE caulks and sealants at any of these retailers.

