If you know how to paint a room, you’ll have lots of DIY options to create your aesthetic of choice in your home. With just a brush, a can of paint, and a vision, you can reinvent a space, infusing it with life, depth, and personality.
This guide is your roadmap to achieving a painted room that mirrors the beauty of your personal taste. We understand that the difference between a standard paint job and an exceptional one lies in the details — those small but crucial steps that elevate the quality of your work. Whether you’re aiming to refresh a tired space, introduce a bold new color, or prepare your home for sale, mastering the art of painting is key. From selecting the right supplies to applying the final coat, we’ll walk you through each step to ensure your walls look like a professional did it. Dive into our comprehensive guide and transform your space with confidence and style.
Steps for House Painting Done Right
Follow these steps to paint your room like a pro.
-
Choose High-Quality Painting Supplies
The outcome of your painting project significantly hinges on the quality of the materials you use. Opting for inexpensive, low-quality paints and tools can yield subpar results. High-quality paints provide better coverage, lasting durability, and a more uniform finish.
Similarly, investing in premium brushes and rollers can make a substantial difference in the application process, ensuring smooth, streak-free walls. Remember, the tools and paints you choose are the foundation of your project’s success. Don’t compromise on quality. Select the best supplies your budget allows for a professional-looking finish that stands the test of time.
-
Protect Furniture and Flooring
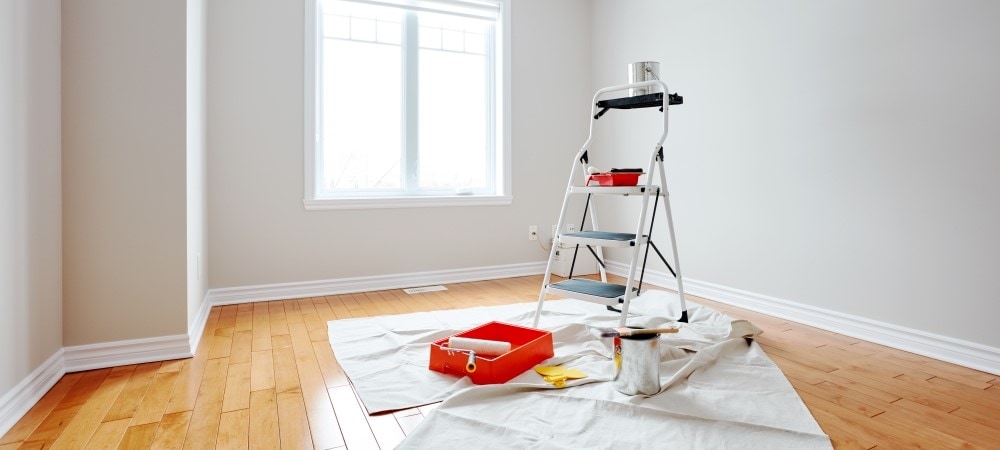
Before opening any paint cans, safeguarding your furniture and floors is essential. For furniture, use plastic sheeting to encase each piece completely, securing the edges with tape to prevent any paint splatters from causing damage. This method is superior to using old fabrics, which can absorb and transfer paint onto your furniture.
For floor protection, plastic sheeting is not advisable due to its slippery nature. Instead, opt for canvas drop cloths. They provide a sturdy, non-slip surface that effectively catches drips and spills, ensuring your floors stay clean and paint-free.
-
Sand Down the Walls
Achieving a flawless paint job begins with the preparation of your walls. Sanding is a critical step that ensures a smooth, even canvas by removing imperfections such as uneven spackle and protruding nail holes. Use fine-grit sandpaper attached to a sanding pole and work your way methodically from the baseboard to the ceiling and then horizontally along the edges. This process both creates a uniform surface for painting and enhances the paint’s adherence, resulting in a more polished and durable finish. However, exercise caution to apply gentle pressure to avoid damaging the wall’s integrity.
-
Seal Gaps, Cracks, and Holes
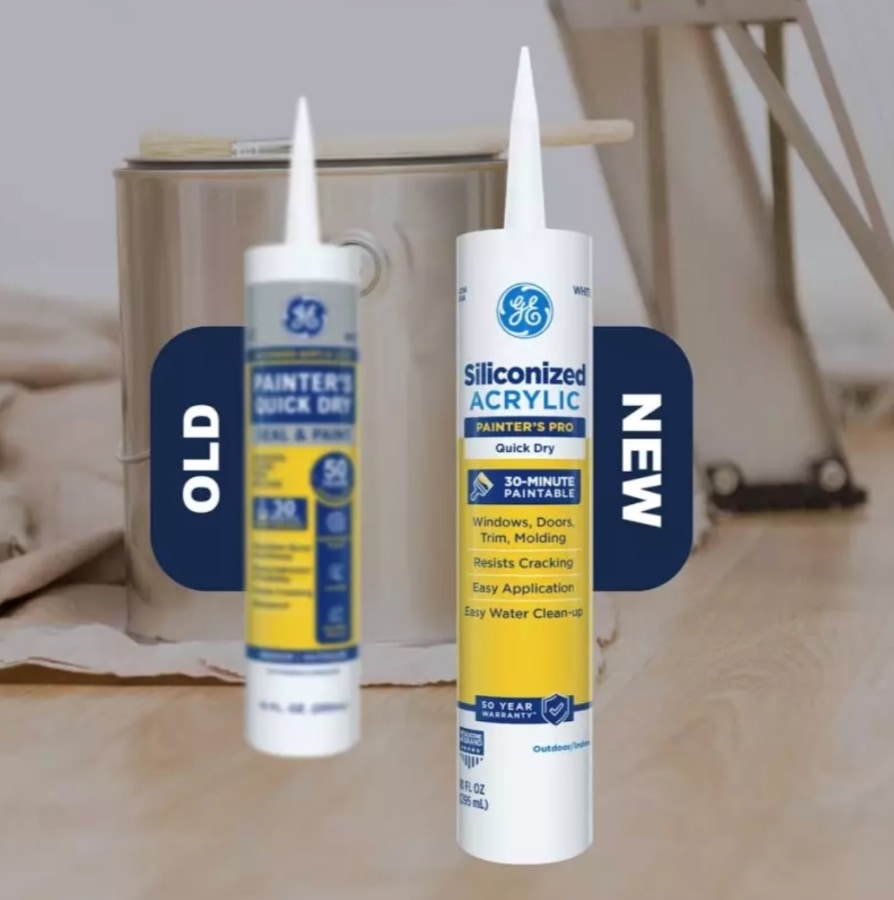
Before applying paint, addressing any gaps or cracks between the wall and trim is crucial. If left unattended, these imperfections can detract from the overall finish of your paint job. Use a high-quality caulk or sealant to fill these spaces, ensuring a smooth transition between surfaces. Painter’s Pro caulk is an advanced-grade siliconized acrylic latex caulk that is ideal for decorative paint projects and filling gaps and cracks.
For areas exposed to moisture, such as kitchens and bathrooms, choosing a sealant that is both waterproof and mold-resistant is essential. This not only enhances the durability of your paint job but also protects your home from potential water damage and mold growth, maintaining the integrity of your walls. For best-in-class results, we recommend siliconized acrylic Painter’s Pro Quick Dry and
Siliconized Advanced Acrylic Kitchen & Bath Sealant for tackling tough paint projects in these areas.
-
Use a Tinted Primer
Applying a tinted primer is an important step in the painting process, especially when covering over a dark color or trying to create a vibrant finish. Primers serve as an intermediary layer for better adhesion of the paint to the wall, resulting in a more uniform color in fewer coats. Opting for a tinted primer closer to your final paint color can significantly enhance the depth and richness of the color, providing a more dynamic and lasting finish. Allow the primer to fully cure before proceeding, setting the stage for a flawless application of your chosen paint.
-
Use Proven Painting Techniques
Mastering the correct painting techniques can elevate the quality of your work from amateur to professional. Begin by cutting in at the edges with a brush, creating clean lines where the wall meets the ceiling, baseboards, and adjacent walls. When using a roller, start from the center of the wall and move in a ‘W’ pattern, spreading the paint evenly without overloading the roller. This method avoids streaks and ensures a consistent coat across the surface. Remember, the quality of your painting technique is just as important as the quality of the paint itself.
-
Maintain a Wet Edge for Even Coats
One of the key strategies for achieving a smooth, streak-free finish is to maintain a wet edge while painting. This involves overlapping each stroke with the next before the paint has a chance to dry. Start at one corner and work your way across the wall in sections, seamlessly applying paint. By keeping the edge wet, you avoid the unsightly marks that occur when paint dries unevenly. This technique requires a steady pace and consistent application, ensuring that each layer of paint blends perfectly into the next, resulting in a professional-quality finish on your walls.
Consult GE sealants for Detailed DIY Guides to Home Improvement
GE sealants publishes thorough how-tos to help you apply a professional’s touch to your DIY home improvement projects.

Consult GE sealants for detailed DIY Guides to Home Improvement.


