Note: This DIY article is provided as a general guide only and is not intended to take the place of product-specific installation procedures; always follow applicable manufacturers’ instructions. Depending on your home’s age and condition, location within the home, and other potential factors, repairs and/or upgrades or other services may be necessary prior to the beginning and/or completion of your project that may involve the services of a home improvement professional. This article does not include advice pertaining to local building codes and/or any related inspections.
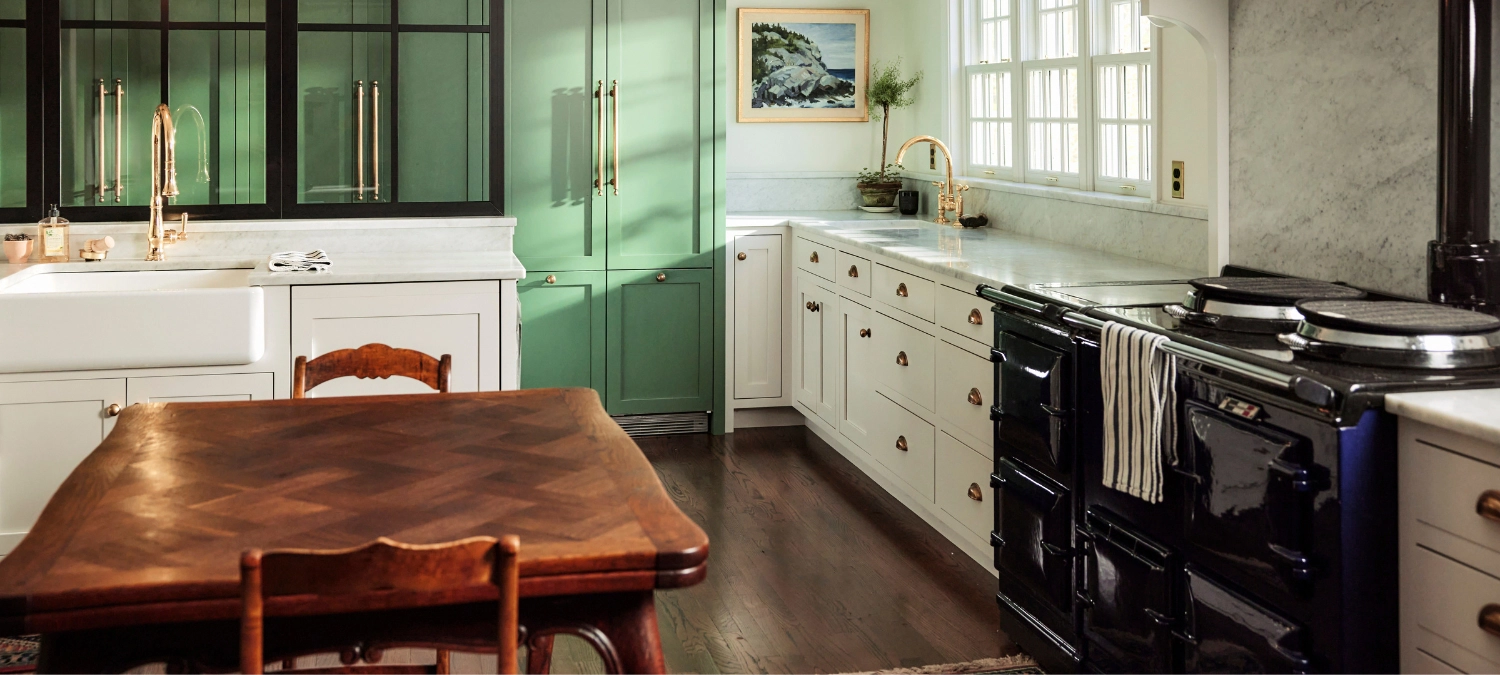
Leaks in kitchens don’t always show up fast. They start slow, at the sink edge, where a bead of sealant cracked. Or behind your tile, where old sealant lets steam slip through. Ignore them, and you’ll be dealing with mold, rot, and costly repairs. Catch them early; most take 30 minutes or less to fix. This DIY kitchen maintenance guide walks you through four common kitchen sealing problems and how to fix each with GE silicone sealants.
Even in low-traffic zones, unsealed joints can trap steam and lead to softening wood, mold, and costly cabinet damage. A properly applied silicone sealant stops moisture before it seeps in.
Fix a leaky sink rim with silicone sealant
You want to start with the sink. It’s the most-used surface in your kitchen and one of the first places a sealant can break down from use.
Symptom check
You have water pooling around the edge. Or there’s a dark, soft line where the sink meets the counter.
What’s going wrong?
The sealant around your sink wears out with time and use, especially in high-splash zones. Once it cracks or pulls away, water seeps in and damages the counter beneath.
Your fix
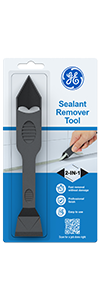
- Cut out the old line using the GE Sealant Remover Tool.
- Wipe the area with rubbing alcohol to remove residue, then let it fully dry.
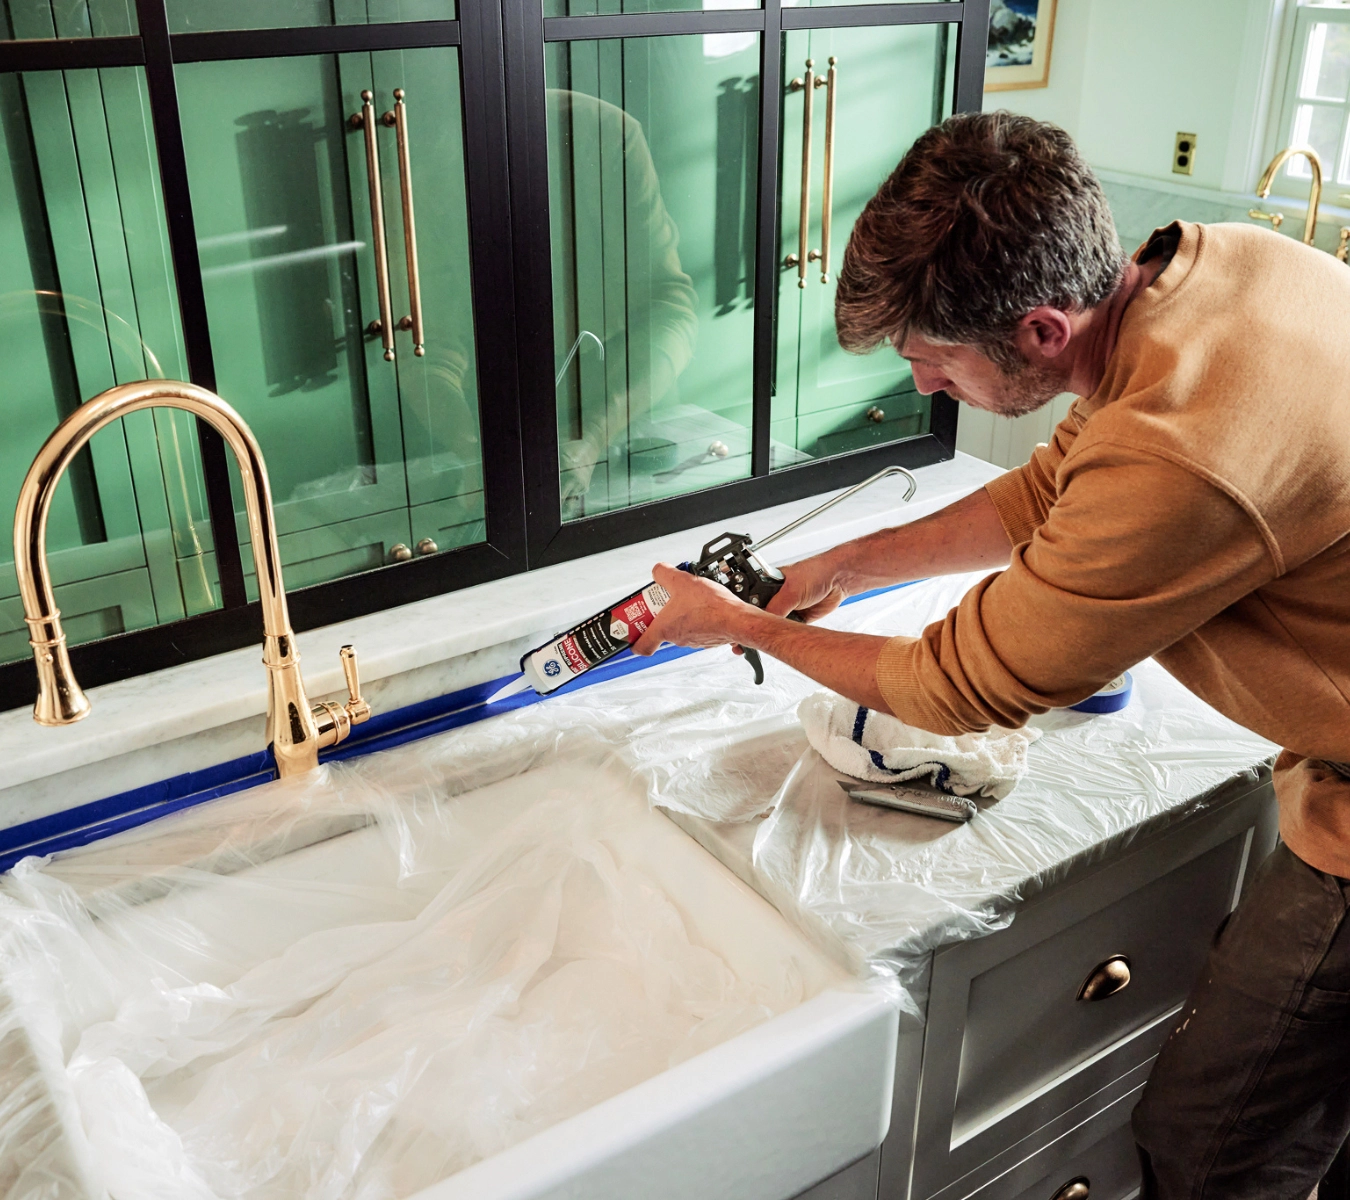
- Run a clean bead of GE Advanced Silicone Kitchen & Bath around the rim.
- Press it in with the GE Smoothing Tool or a gloved finger.
- Let it cure.
Why it works
This GE sealant is 100% waterproof and flexes with your sink, so it won’t crack from movement or daily use. It’s mold-resistant and built for DIY kitchen maintenance that holds up in wet areas.
Stop grime trapped behind the backsplash tile
Grease and steam seep into the joint where the tile meets the wall, especially when the old sealant shrinks or pulls away. That open seam will quickly invite water, bacteria, and buildup.
Symptom check
You’re seeing a dark, cracked line at the wall-tile seam—or crumbs and gunk that keeps showing up after every wipe.
What’s going wrong?
Backslashes need a sealed joint. But over time, steam, scrubbing, and movement can break down low-grade caulk. Once the seal fails, moisture finds its way behind the tile and feeds the grime you can’t clean.
Your fix
- Cut away failed caulk.
- Wipe the joint dry.
- Run a bead of GE Supreme Silicone Kitchen & Bath.
- Smooth it in for a level, watertight finish.
Why it works
This GE silicone sealant for the kitchen is made for steam zones. It flexes with your wall and tile, bonds tightly to tile and drywall, and resists mold, bacteria, and yellowing. With proper prep, this seal can hold for years.
Seal countertop end gaps to block bugs and drafts with silicone sealant
Those hairline seams where your counter meets the wall do more than trap crumbs. If left open, they invite ants, cold air, and moisture—all things that don’t belong near your kitchen prep space.
Symptom check
You’re spotting ant trails along the backsplash or feeling a draft where the counter meets the wall.
What’s going wrong?
As cabinets settle or temperatures shift, fine gaps can form at the edge seams. If those joints were sealed with acrylic caulk, they likely dried out, cracked, or peeled, leaving an open path for pests and drafts.
Your fix
- Vacuum out any dust or debris.
- Wipe the surface dry.
- Run a tight bead of GE Supreme Silicone Kitchen & Bath across the gap.
- Smooth it with light pressure for a clean, pressed-in finish.
Why it works
This silicone sealant for kitchen seams flexes with seasonal movement (Class 50), seals out bugs and air, and won’t shrink or crack. Ideal for DIY kitchen maintenance, it bonds securely and stays hidden in high-use zones.
Reseal the base of your faucet to stop cabinet leaks
When the seal around your faucet base wears down, even small drips can soak the cabinet below. That’s often where that musty smell starts.
Symptom check
You’ve cleaned under the sink, but it still smells musty, or the cabinet base feels damp with no visible leak.
What’s going wrong?
The faucet base is a high-splash zone. Standard sealants often fail here—they peel or crack with repeated exposure. Once the seal breaks, water seeps through, softens the wood, and invites mold.
Your fix
- Wipe the faucet base dry.
- Run a clean bead of GE Advanced Silicone Kitchen & Bath—water-ready in 30 minutes under typical indoor conditions.
- Or use GE Pro Seal Max Kitchen & Bath for instant water exposure or damp installs.
- Smooth the line using the GE Smoothing Tool to press the seal tight around the faucet curves.
Why it works
Both GE silicone sealants bond to metal and ceramic, flex with movement, and hold in splash zones. Advanced Silicone is a strong choice for same-day DIY kitchen maintenance. GE Pro Seal Max sets instantly, making it ideal for wet installs or quick turnarounds.