Note: This DIY article is provided as a general guide only and is not intended to take the place of product-specific installation procedures; always follow applicable manufacturers’ instructions. Depending on your home’s age and condition, location within the home, and other potential factors, repairs and/or upgrades or other services may be necessary prior to the beginning and/or completion of your project that may involve the services of a home improvement professional. This article does not include advice pertaining to local building codes and/or any related inspections.
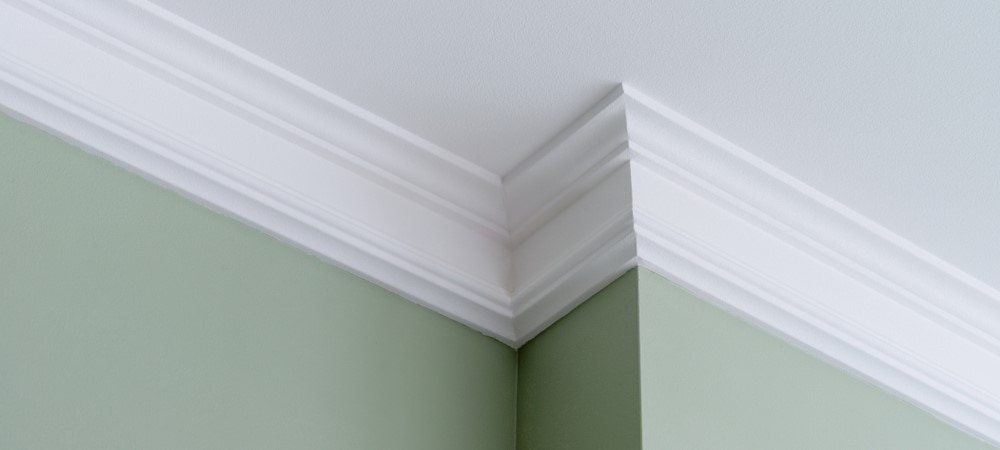
Crown molding provides a stunning, seamless finish to any room, connecting your walls to your ceiling. However, that connection can be broken if there are unsightly gaps. Not only do the gaps impact the visual appeal of crown molding, but they can harbor bacteria and moisture. Learn how installing crown molding and sealing the gaps with caulk improves your home’s aesthetic and durability.
Do you need to caulk your crown molding?
You do not need to caulk crown molding to install it in your home. However, it does have several benefits worth considering.
Let’s first take a look at why people install crown molding to better understand the role caulk plays in installation.
You install crown molding at the top of the walls where it meets the ceiling. You can also use it where wall cabinets meet the ceiling. It’s a type of trim specifically for that crease between the wall and ceiling, helping to smooth that transition.
Crown molding is attractive and protective. A stunning molding adds more dimension and decoration to a room, often helping rooms look larger. It also covers cracks that appear between the wall and ceiling.
Caulking crown molding also prevents pests, dirt, and especially moisture from accumulating in that gap, along with bacteria that might grow unchecked since those cracks aren’t areas you usually clean.
The caulk seals those cracks, making cleaning a breeze.
Crown molding often has gaps that harbor bacteria and hold moisture. Caulking crown molding protects it for its lifetime and adds to its seamless finish.
Which crown molding sealant is better, silicone or acrylic?
Choosing the right sealant is a crucial step in how to seal crown molding.
There are two primary types of sealant to choose from: acrylic or silicone based caulk, with pros and cons to each.
Pros and cons of acrylic caulk
PROS: Acrylic caulk is often the recommended type of sealant because it allows contractors to paint over it. It is also much easier to clean up than silicone sealant, which can help you achieve a pristine finish. Acrylic caulk is mold-resistant, preventing harmful growth inside the cracks of your crown molding.
CONS: Acrylic caulk tends to be more rigid than silicone alternatives. Because of its rigidity, there is a risk of cracking or gaps when temperature changes cause materials to shrink and expand.
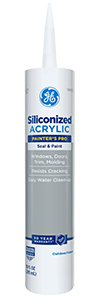
BEST OPTION: GE’s Painter’s Pro Siliconized Acrylic Caulk offers the benefits of acrylic caulk with additional flexibility. It resists cracking and fights mold for long-lasting results.
Pros and cons of silicone sealant
PROS: Silicone sealant is not the first choice contractors use for crown molding. However, some will opt for it due to its flexibility and durability. The silicone in sealant can withstand drastic temperature changes better than most acrylic options, helping it last longer without showing signs of cracking.
CONS: While silicone is flexible, the traditional silicone formula is not paintable. If you paint over a silicone sealant, the paint will crack over time. It also tends to be messier, which is not the ideal solution for crown molding that will sit front and center in your room.
BEST OPTION: If you are looking for the benefits of silicone sealant, opt for GE’s Paintable Silicone Supreme Window & Door Sealant. This silicone sealant uses a specially crafted formula that combines silicone with other ingredients that traditional silicone sealants don’t have. This paint-friendly formula allows you to paint over the sealant. It is shrink and crack-proof, standing up to temperature fluctuations over time, and protecting your crown molding longer.
How to finish crown molding with a caulk
Learn five tips for how to finish crown molding with caulk to fill the gaps for that smooth look.
-
Tip 1: Properly install the crown molding
How do you install crown molding and caulk so it looks best?
Even though you may plan to fill in gaps with caulk, you will want to try to eliminate significant gaps during the installation step. Here are a few tips for how to install crown molding:
- Measure and check that your pieces are the correct length
- Make sure you are installing the molding in the correct direction, with the top of the molding often larger than the bottom.
Once the molding fits together, use nails or glue to securely connect it to the wall.
-
Tip 2: Always caulk before painting
Now you have your crown molding up, it’s time to caulk. You do not want to paint before you caulk, as that will make the caulk stand out too much over the top of the paint. The paint can also impact how well the caulk adheres to the molding, wall, and ceiling.
Instead, run a bead inside the crack. Then, use a gloved finger or caulking tool to smooth the bead and help it properly adhere.
However, because most caulking products are not paintable. Be sure to double-check the product description to find the ones you can paint over. If you prefer non-paintable sealants, choose one that matches the color of your wall and apply it after painting.
-
Tip 3: Paint the crown molding and caulk
Before painting, you must wait for the caulk to fully dry. Check your caulk’s specific drying time. It takes 24 hours for most caulks to fully cure before you can expose it to moisture. While some contractors may start painting once the caulk is dry, waiting for complete cure time will result in the strongest bond.
Once it fully dries, you can paint over the caulk and molding as one piece.
Painting over your sealant is optional. If you use a sealant that isn’t paintable, it’s ok to leave out this step and not paint over the caulk bead.
Enjoy your stunning walls and ceiling!
-
Tip 4: Upkeep your caulk and molding
Because sealant is waterproof, you can wipe your crown molding down without worrying about trapping water. Regularly clean your crown molding to prevent dirt and grime build-up, which can weaken your sealant over time.
Sealant requires very little maintenance to remain effective because it is a strong binding agent.
-
Tip 5: Replace the caulk when necessary
One repair you don’t want to wait on is cracking caulk. When caulk begins to crack, it also begins letting in moisture, mold, and bacteria. You will see very little to no damage if you catch the cracks early and replace the area with new caulk. Leaving cracks can worsen the damage, maybe even leading to needing new crown molding due to excess moisture and mold.
When you replace the caulk, first entirely remove the old caulk. Because of the paint and finishes on your ceiling and wall, try to remove it by scrapping it rather than using chemicals that might strip the paint. After thoroughly cleaning the area, apply new caulk and repaint it to return it to its pristine state.
Replacing caulk isn’t an easy task. Instead of going through the tedious process of scrapping, cleaning, and painting every few years, you can do it once and have it last for a lifetime.
Choosing the right caulk, like GE’s high-quality caulk, can help your caulk last the molding’s lifetime. In addition, following proper caulking techniques like smoothing it and allowing it to cure fully will ensure it has a strong enough bond to avoid cracking over time.
Installing crown molding and sealing with the right caulk will ensure years of strength and smooth finishes without unsightly cracks and gaps. It will fight off mold while attracting compliments from your visitors who notice the stunning look of your crown molding. Find a store near you that carries caulk for trim.


