

Note: This DIY article is provided as a general guide only and is not intended to take the place of product-specific installation procedures; always follow applicable manufacturers’ instructions. Depending on your home’s age and condition, location within the home, and other potential factors, repairs and/or upgrades or other services may be necessary prior to the beginning and/or completion of your project that may involve the services of a home improvement professional. This article does not include advice pertaining to local building codes and/or any related inspections.
If you want a clean, long-lasting seal, the first step is to properly remove old caulk before applying anything new. Old, cracked, or peeling sealant can prevent fresh material from bonding correctly, leading to uneven results and early failure. With the right tools and a simple process, you can remove old caulk or silicone sealant cleanly and prep the surface for a smooth, professional-looking finish.
Having the right tools makes it much easier to remove caulk without damaging surrounding surfaces. A dedicated caulk removal tool, like the GE Sealant Remover Tool, is one of the most useful options, with angled edges designed to lift and separate old sealant from joints.
Signs it’s time to remove old caulk
Even well-applied caulk does not last forever, and knowing when to remove old caulk helps prevent bigger issues. One of the most common signs is cracking or visible gaps along the bead. When caulk pulls away from the surface, it can no longer keep out moisture or air.
Peeling or flaking is another clear indicator. As adhesion breaks down, sealants lose their ability to stay in place and protect the joint. Discoloration, dark spots, or mold growth often signal that moisture has worked its way behind the seal, especially in kitchens and bathrooms.
You may also notice shrinking or hardened caulk that no longer feels flexible to the touch. Silicone sealant should remain slightly elastic. If it feels stiff or brittle, it is time to remove silicone sealant and replace it.
Why it’s important to remove old caulk thoroughly before resealing
Removing old caulk completely is a must before applying a new bead. Fresh sealant will not bond properly to existing material, especially if it is dirty, deteriorated, or partially detached. Even small remnants can interfere with adhesion, leading to gaps, uneven lines, or early failure.
Proper removal also improves the final appearance. Clean surfaces allow the new bead to sit evenly and be tooled smoothly, which is especially important in visible areas around sinks, tubs, windows, and trim. Skipping this step often results in a patchy finish that stands out once the project is complete.
Tools you’ll need to remove caulk like a pro
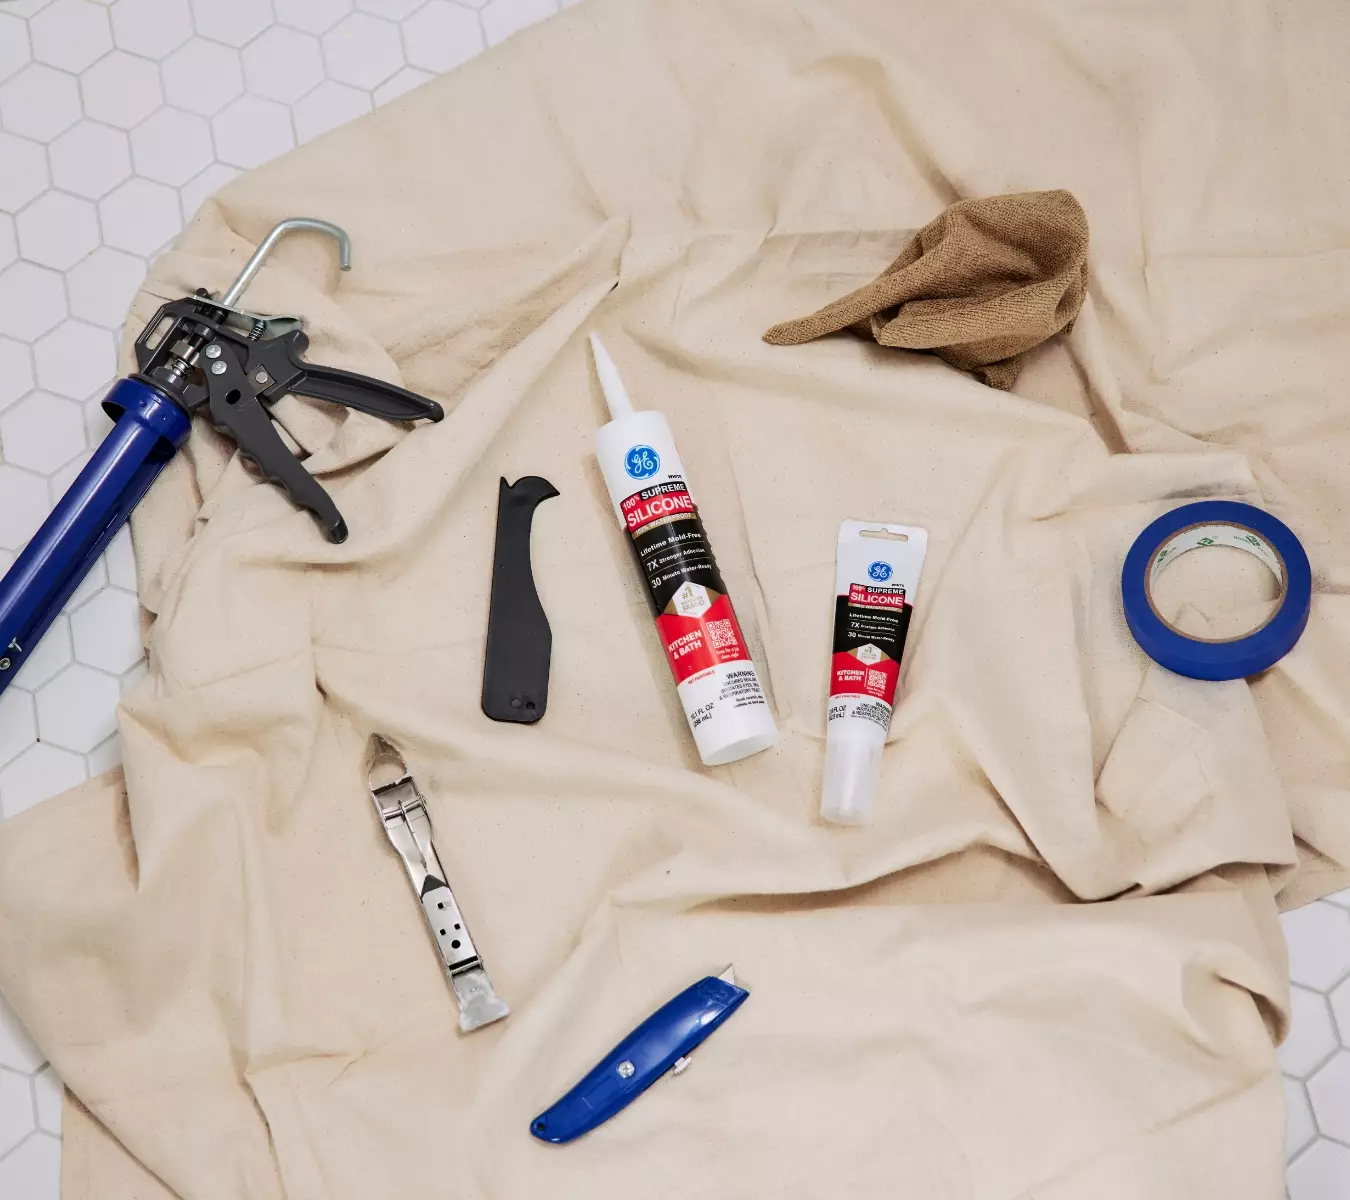
Having the right tools makes it much easier to remove caulk without damaging surrounding surfaces. A dedicated caulk removal tool, like the GE Sealant Remover Tool, is one of the most useful options. Its angled edges are designed to lift and separate old sealant from joints with better control than a standard blade.
A utility knife or razor blade can help score along the edges of the bead to loosen it before removal. For stubborn areas, a putty knife is useful for scraping away remaining residue and smoothing the surface. A clean cloth and mild cleaner or rubbing alcohol help remove leftover debris and prepare the area for a fresh application. For tougher, hardened sealant, consider applying gentle heat with a hair dryer to soften the material and make removal easier.
Step-by-step: how to remove caulk
Removing caulk is straightforward when you follow a consistent process and take your time with each step.
-
Prep the area
Start by cleaning the area around the caulk with a mild cleaner to remove dirt, grease, and buildup. This helps you see the edges of the bead more clearly and prevents debris from interfering during removal.
-
Score the caulk
Use a utility knife or razor blade to cut along both edges of the caulk line. This separates the sealant from the surrounding surfaces and makes it easier to lift away in clean sections.
-
Loosen the sealant (optional)
If the caulk is old or hardened, apply gentle heat using a hair dryer to soften it. This can make removal easier, especially for thicker or more stubborn beads.
-
Remove the bulk of the caulk
Use the GE Sealant Remover Tool to lift and pull away the old caulk. Work slowly along the joint, keeping the tool angled to avoid scratching the surface. In many cases, the bead will come away in long strips once it is properly loosened.
-
Scrape away residue
After removing the main bead, use a putty knife or the remover tool to clear any remaining fragments. Focus on getting the joint as smooth and clean as possible.
-
Clean and dry the surface
Wipe the area with a clean cloth to remove dust and residue. Let it dry completely before applying new sealant. A clean, dry surface will get you better adhesion and a more professional-looking result.
Choosing the right sealant
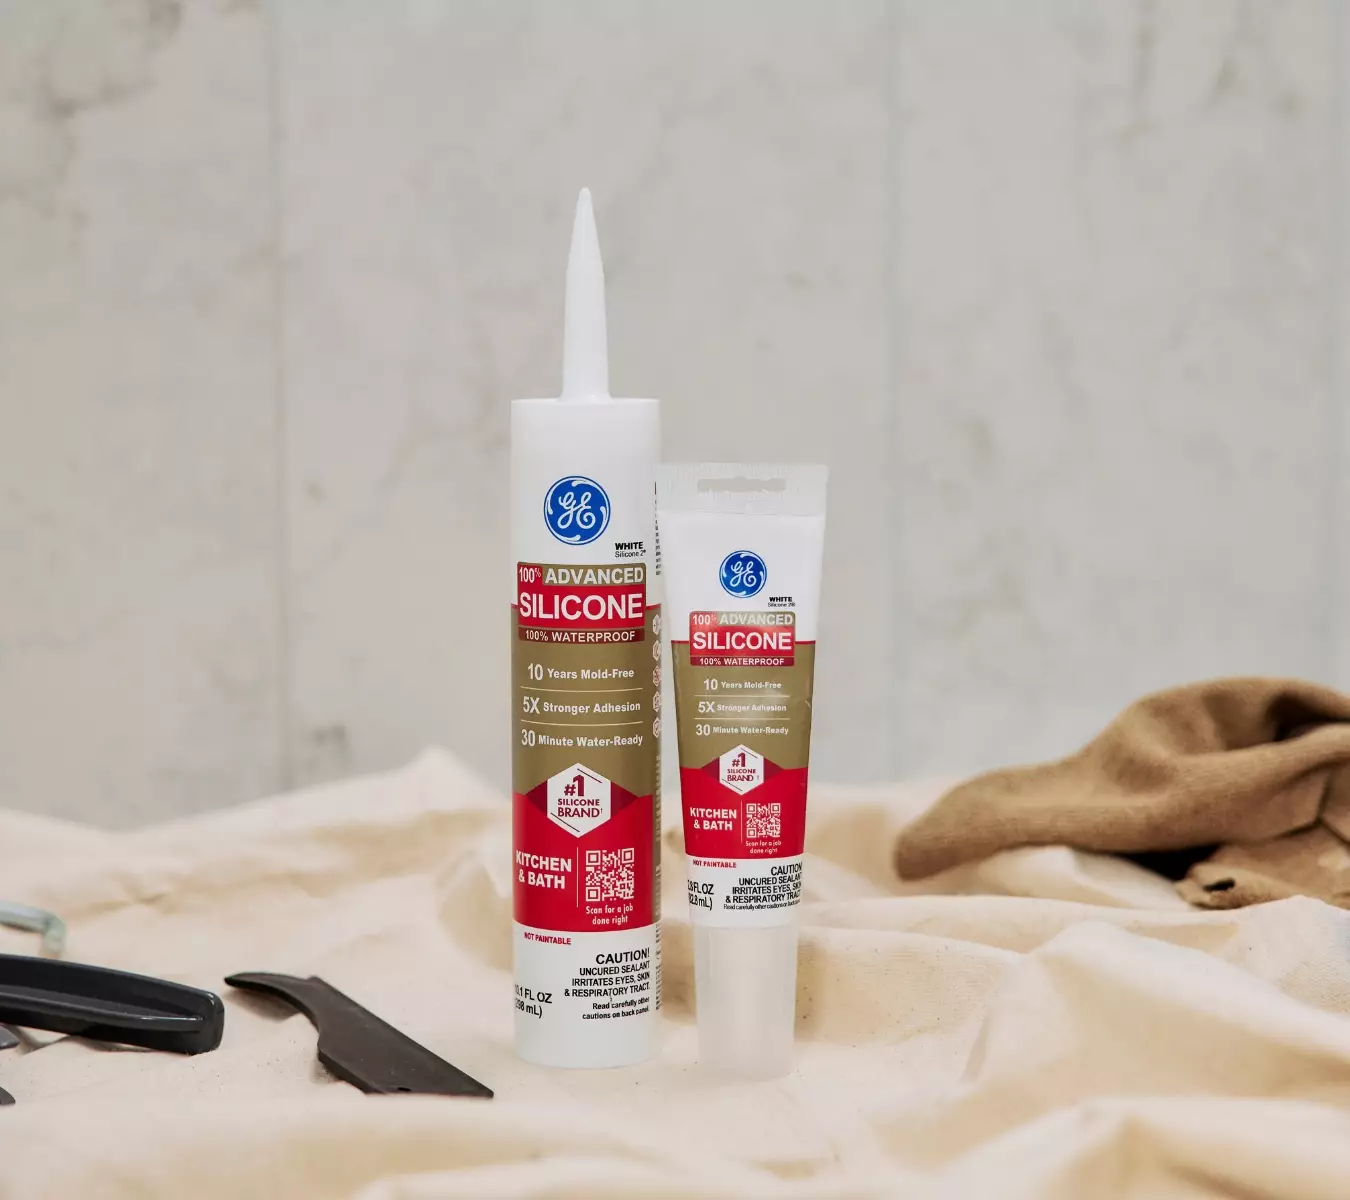
Once the old caulk is fully removed, you’ll want to choose the right sealant for the new application. For interior areas exposed to regular moisture, such as kitchens and bathrooms, GE Advanced Silicone Kitchen & Bath Sealant is a reliable choice. It stays flexible, resists mold and mildew, and forms a durable seal that holds up in high-humidity environments.
For exterior joints or areas exposed to temperature changes and weather, GE Supreme Silicone Window & Door Sealant provides added durability. It adheres well to common building materials and maintains its flexibility over time, helping prevent cracking or separation. And regardless of the application in question, you’ll have an easier time of it using the GE Sealant Smoothing Tool for clean tooling.
Some pro tips and common mistakes to avoid
For cleaner caulk removal, work in short sections rather than trying to remove the entire bead at once. Keep your blade angle shallow, so you loosen the sealant without gouging the surface underneath. Use steady control instead of force, especially in corners or tight joints where damage is easier to cause.
If the caulk is stubborn, slow down rather than scraping harder. One of the biggest mistakes is applying new caulk over old material or skipping the cleaning step afterward. Dull blades also make the job harder and can tear rather than lift the bead cleanly.
To get GE Sealants’ products for your home improvement project, visit these fine retailers in the U.S. or Canada.


