Note: This DIY article is provided as a general guide only and is not intended to take the place of product-specific installation procedures; always follow applicable manufacturers’ instructions. Depending on your home’s age and condition, location within the home, and other potential factors, repairs and/or upgrades or other services may be necessary prior to the beginning and/or completion of your project that may involve the services of a home improvement professional. This article does not include advice pertaining to local building codes and/or any related inspections.
Whether you’re installing a brand-new kitchen or making some much-needed updates, sealing certain areas properly is a critical step in preserving your hard work. Water damage, mold growth, and grime buildup can all result from unsealed or poorly sealed surfaces. That’s why understanding the most important places to use silicone sealant in the kitchen is a must for every homeowner.
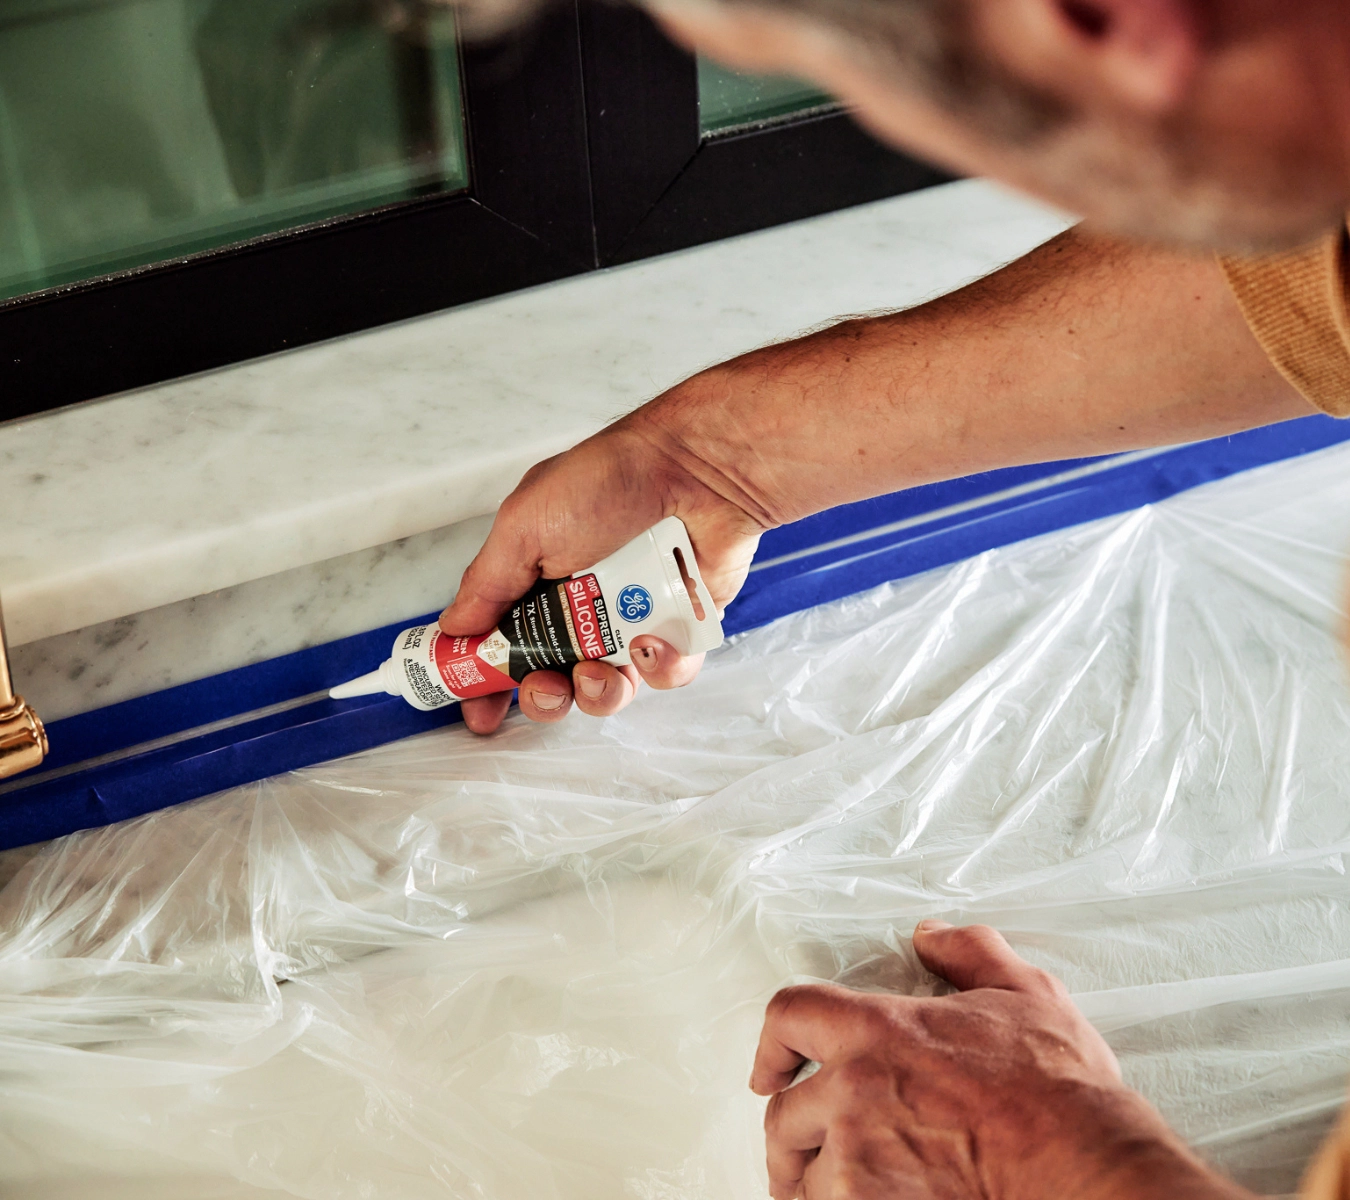
Be sure to use kitchen-grade silicone sealant (often labeled as mildew-resistant or kitchen and bath formula) for the best results.
Why use silicone sealant in the kitchen?
Silicone sealant is both waterproof and flexible, making it an ideal choice for the kitchen. Compared to other types of caulk, silicone sealant for kitchen projects offers superior adhesion and long-lasting protection around moisture-prone areas. Just be sure to use kitchen-grade silicone sealant (often labeled as mildew-resistant or kitchen and bath formula) for the best results.
8 important places to use silicone sealant in the kitchen
Here are the eight most important places to use silicone sealant in the kitchen, whether you’re doing a significant renovation or looking for a quick kitchen refresh.
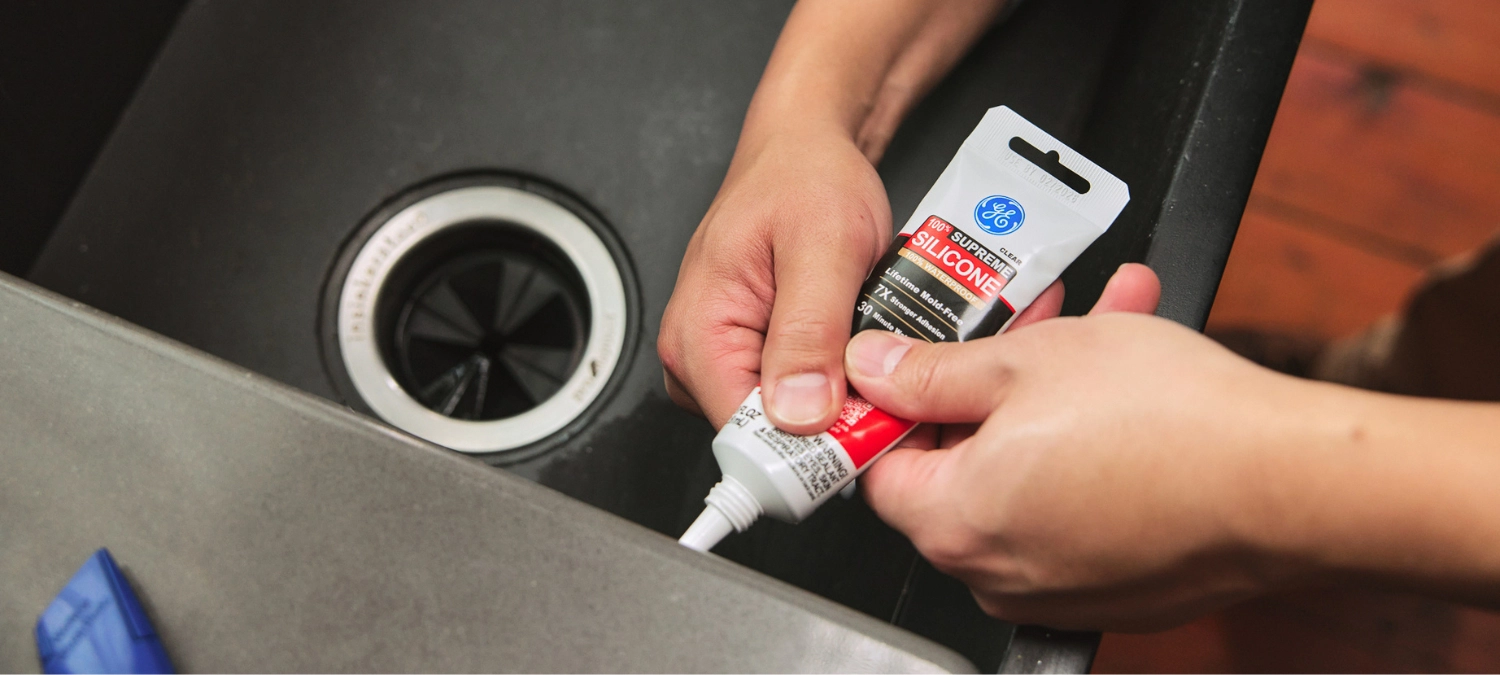
1. Around the sink installation
Arguably, the most critical place to seal in your kitchen is around the sink. This includes the outer edge where the sink meets the countertop (for drop-in models) or the seam beneath the counter (for under-mount sinks). Don’t forget to seal around accessories like soap dispensers or filtered water taps.
Water splashes and spills are unavoidable at the sink, and even the smallest gap can let water seep underneath. Over time, this moisture can damage cabinetry, encourage mold growth, and lead to warped countertops or swelling wood.
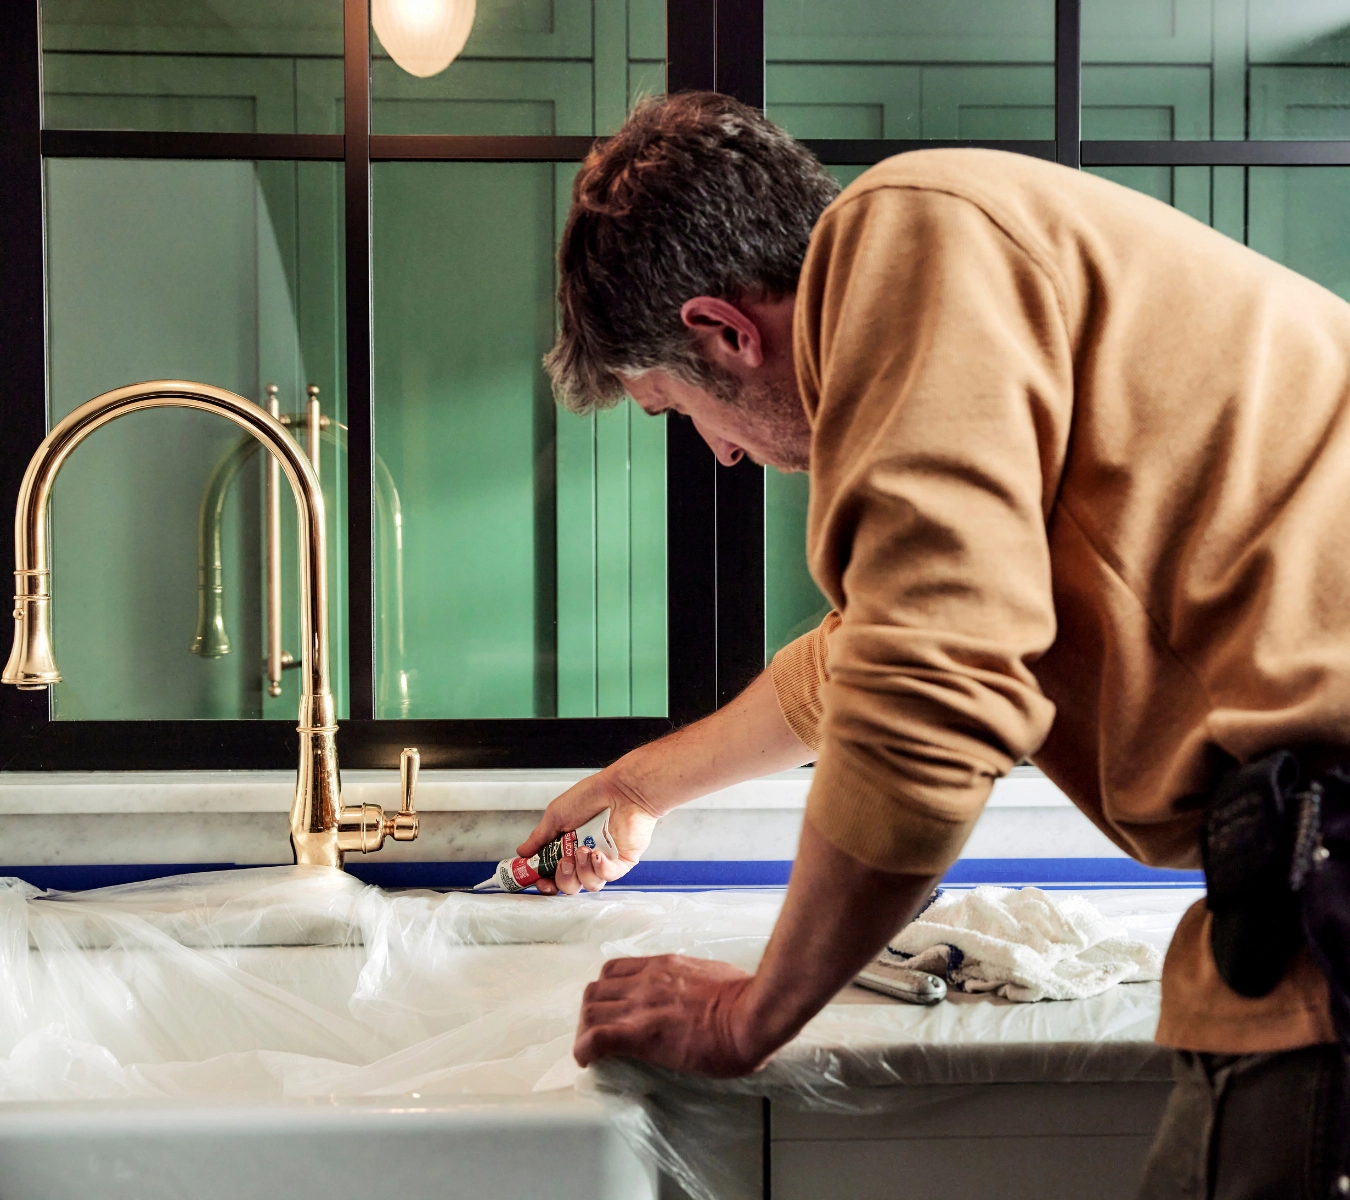
2. Where the faucet meets the countertop
While it may not seem like an obvious area to seal, applying silicone sealant around the base of the kitchen faucet is a small task that provides significant benefits. Faucets typically come with a gasket, but this alone doesn’t always create a perfect seal.
Water can collect around the faucet base, slowly leaking into the countertop and the cabinet below. This moisture may go unnoticed for a while, but it can damage particleboard, cause musty odors, and even lead to mold problems.
3. Countertop to backsplash joint
This is one of the most frequently overlooked, yet essential, locations when sealing a kitchen. The seam where the backsplash meets the countertop tends to trap food splatters, grease, and water from cleaning or cooking.
An unsealed joint allows moisture to seep behind the backsplash, potentially loosening tiles or damaging drywall. Sealing this gap with kitchen-grade silicone caulk protects the wall while giving your backsplash a clean, finished appearance.
4. Countertop seams
Larger countertops are typically installed in sections, meaning seams are inevitable. This is especially common with laminate, stone, and some other materials. If left unsealed, these tiny seams can collect dirt, crumbs, and moisture. They’re also prone to bacterial buildup. Over time, even invisible cracks can harbor mold or food residue. Sealing with silicone sealant makes cleanup easier and keeps your countertops looking seamless.
5. Backsplash edges and corners
You may have sealed the bottom of your backsplash, but don’t forget the edges and corners. Backsplash sealing is essential because these areas are prone to water splashes, particularly near the stove or sink, and can be challenging to clean. Over time, water and cooking residue can sneak behind the tiles at the edges and in vertical corners. This can loosen adhesive or cause staining on the walls.
6. Under-mount sink lip
For kitchens with an undermount sink, sealing beneath the lip is crucial. Since these sinks are mounted below the countertop, there’s a narrow gap between the sink and the underside of the counter surface. Water and soap suds from dishwashing can collect in this seam and seep down into the cabinet below. This could compromise the adhesive holding the sink or even damage the countertop.
7. Around appliances
While not always necessary, sealing between the edge of a countertop and nearby appliances (such as a range or dishwasher) can help create a clean look and block crumbs and liquids from falling into hard-to-reach gaps. Plus, they’re breeding grounds for food debris and grease buildup. If your appliance doesn’t need to be moved often, sealing these gaps can help maintain a cleaner kitchen.
8. Around the base of the kitchen island or cabinets
If your cabinets or island sit on a tile or hardwood floor, applying a bead of silicone sealant along the base adds protection. Spills, mopping water, and food debris can easily get underneath unsealed cabinet bases. Once moisture seeps under the cabinets, it isn’t easy to dry and clean. This can lead to swelling, warping, or mildew on the cabinet baseboards or flooring.
Kitchen caulking tips for a professional-looking finish
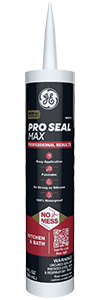
Now that you know where to seal in the kitchen, the product you choose matters just as much as the application. If you’re looking for a solution that combines strength, flexibility, and ease of use, GE Pro Seal Max Kitchen & Bath is a top-tier option worth having in your toolkit.
This 100% waterproof sealant blends the best of both worlds: the long-lasting performance of silicone sealant with the smooth application and paintability of acrylic latex. That means you get a tough, mold-resistant seal in moisture-prone areas without sacrificing the ability to match your finishes or decor.
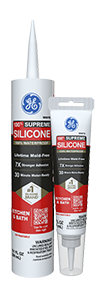
Alternatively, if you’re looking for a 100% silicone sealant, the GE Supreme Silicone Kitchen & Bath is another fantastic choice. It offers strong adhesion and moisture protection to ensure a tight seal that lasts. Since it’s not paintable, it comes in a variety of colors to complement your kitchen décor.
Here’s why both of these options are great:
- Mold and mildew resistant for cleaner, longer-lasting results
- Flexible so they won’t crack, shrink, or break down over time
- Backed by a lifetime guarantee for added peace of mind
Kitchen caulking tips for a professional-looking finish
Whether you’re a seasoned DIYer or this is your first time tackling a home project like this, it’s essential to make sure the job goes smoothly. Here are a few kitchen caulking tips to keep in mind:
- Use the GE Cartridge Opener and Smoothing Tool to easily open cartridges and squeeze tubes with one end and smooth sealant beads with the other.
- Apply painter’s tape on either side of a joint for crisp edges when applying silicone sealant.
- Don’t rush the process. Take your time to achieve a professional application.
- Allow at least 24 hours for the area to cure fully before exposing it to water.
By implementing these tips, you’re sure to get a sealant application you’ll be proud of.
Looking for the best silicone sealant for your next project? Locate a store near you in the U.S. or Canada.