

Note: This DIY article is provided as a general guide only and is not intended to take the place of product-specific installation procedures; always follow applicable manufacturers’ instructions. Depending on your home’s age and condition, location within the home, and other potential factors, repairs and/or upgrades or other services may be necessary prior to the beginning and/or completion of your project that may involve the services of a home improvement professional. This article does not include advice pertaining to local building codes and/or any related inspections.
Outdoor kitchens and patios have become a must-have for modern backyards, offering the perfect place to entertain, cook, and relax in warmer months. But when winter creeps in with freezing temperatures, snow, and ice, those same spaces can quickly suffer damage if not adequately protected. The good news is that you can extend your investment’s lifespan by winterizing outdoor kitchens and patios and ensuring your outdoor oasis is ready to enjoy again when spring arrives.
Your outdoor kitchen and patio are more than just an extension of your home. Protecting them from harsh winters ensures they’ll be ready to welcome family and friends when warm weather returns.
Why winterizing outdoor kitchens matters
Unlike indoor living spaces, outdoor kitchens and patios are exposed to the full force of the elements. When water seeps into cracks or joints in countertops, masonry, or wooden structures, it doesn’t simply sit there. It expands when temperatures drop below freezing. This freeze-thaw cycle can lead to:
- Cracks in countertops and stone features
- Loose or shifting brick and pavers
- Splitting or rotting wood posts
- Deterioration of grout and mortar joints
Left untreated, these minor issues can get worse, leading to expensive repairs or replacements come spring. Winterizing your space protects both the beauty and functionality of your outdoor retreat.
A step-by-step guide to winterizing outdoor kitchens and patios
Cracked stonework, split joints, and deteriorated wood posts are all too familiar when moisture sneaks into gaps and freezes. The following steps focus on one of the most crucial steps, using cold-weather sealant, to protect vulnerable joints, features, and structures.
-
Inspect all surfaces thoroughly
The first step in winterizing outdoor kitchens is a detailed inspection before the first freeze. Walk through your outdoor space and keep an eye out for:
- Gaps in countertop joints where water can penetrate
- Hairline cracks in stone or brick features
- Open seams where pergola or deck posts meet concrete
- Signs of shifting pavers or mortar deterioration
Use a flashlight for hard-to-see areas and run your hand over surfaces. Sometimes you’ll feel a gap before you see it. Early detection allows you to seal issues before winter weather worsens them.
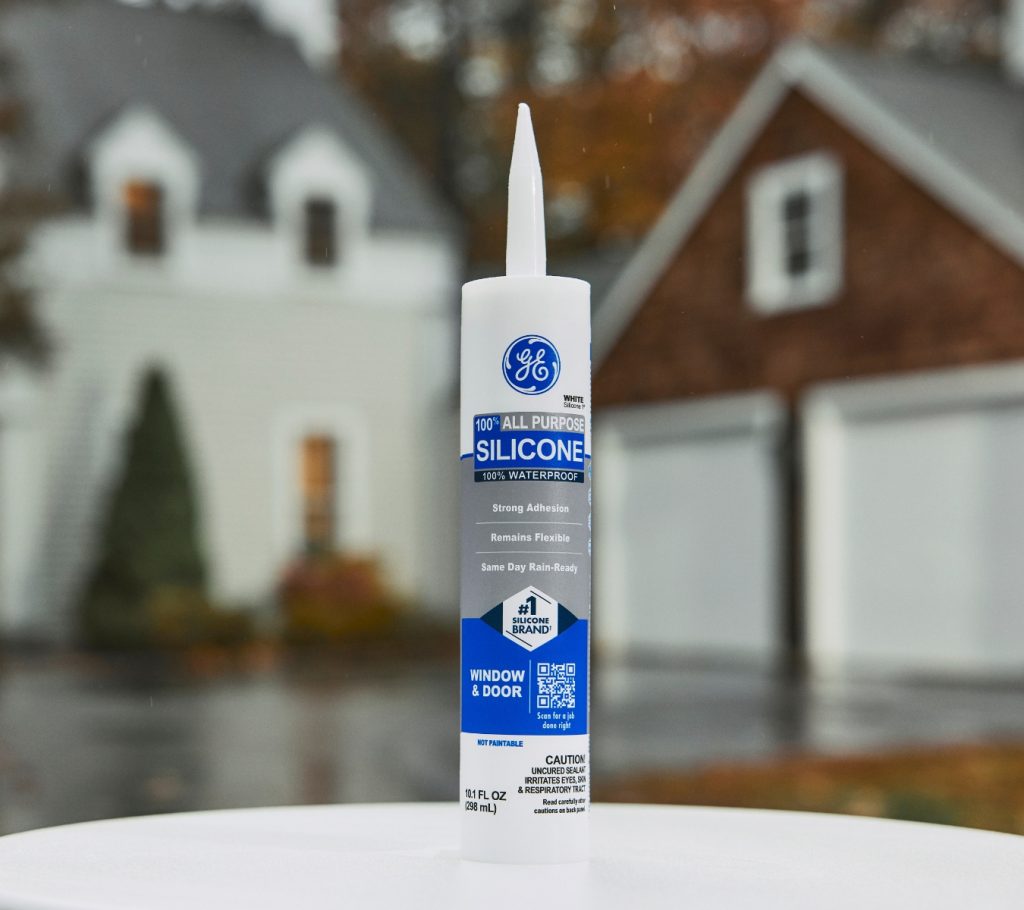
GE All Purpose Silicone Sealant, a powerful cold-weather sealant. -
Choose the proper cold-weather sealant
Not all sealants are created equal. For outdoor applications, especially in cold climates, you’ll want a cold-weather sealant formulated to withstand freezing and thawing without shrinking, cracking, or peeling.
Look for a sealant that offers:
- Flexibility: It should expand and contract with temperature changes.
- Waterproof protection: To keep moisture from seeping into joints.
- UV resistance: Even in winter, sunlight can break down lesser sealants.
- Strong adhesion: So it bonds securely to stone, brick, wood, and concrete.
Silicone-based sealants are popular choices for winter applications. The GE All Purpose Silicone Sealant is an excellent choice for most areas. It’s 100% weatherproof and resists UV degradation. It also adheres to various surfaces, including wood, granite, ceramic and porcelain tile, natural stone, and more.
-
Seal countertop joints
Countertops are a focal point of outdoor kitchens and one of the most vulnerable areas. Joints between granite, concrete, or tile slabs can easily collect water. Once temperatures dip, those joints can crack and compromise the structural integrity of your kitchen.
To protect them:
- Clean the surface: Remove dirt, grease, and debris with a mild cleaner.
- Dry thoroughly: Moisture trapped under sealant can weaken adhesion.
- Apply sealant evenly: Run a steady bead along the joint, then smooth it with a Sealant Smoothing Tool.
- Allowing curing time: Follow the manufacturer’s directions for curing and keep the space dry until it’s fully set.
Regularly checking countertop joints and resealing as needed prevents winter damage and extends the life of your counters year-round.
-
Protect stone and brick features
From pizza ovens to decorative walls, stone and brick add charm to outdoor kitchens and patios. Unfortunately, porous materials like these are especially prone to absorbing water. When that trapped moisture freezes, it can cause flaking, cracking, or spalling (surface chipping).
Here’s how to winterize these features:
- Fill visible cracks: Use a cold-weather sealant for masonry to fill gaps.
- Apply a breathable sealer: Unlike joint sealant, a masonry sealer penetrates stone or brick, creating a barrier against water while allowing the material to “breathe.”
- Pay attention to mortar joints: If mortar is crumbling, patch it before sealing.
Taking the time to seal stone and brick helps maintain their structural integrity and keeps them looking sharp season after season.
-
Seal pergola and deck posts
Pergolas, decks, and other wood structures bring shade and style to patios but are also highly vulnerable to moisture damage. Where posts meet concrete or stone footings, gaps often form. Water sneaks in, freezes, and eventually causes splitting or rot.
To prevent this:
- Inspect base connections: Check for gaps at the bottom of posts.
- Use cold-weather sealant: Apply it where wood meets stone or concrete.
- Seal exposed wood: Consider adding a protective wood sealant to prevent water absorption on surfaces.
This step can save you from costly repairs and help your structures last for years longer.
-
Don’t forget the patio surface
Patio surfaces are typically made of pavers, concrete, or stone. They also need attention before winter. Small gaps between pavers or hairline cracks in concrete slabs invite water damage.
- Pavers: Sweep polymeric sand into joints and mist lightly with water to lock them in place.
- Concrete slabs: Fill cracks with a flexible sealant that moves with temperature shifts.
- Stone patios: Apply sealant around edges where water often collects.
For the best results, try using the GE Concrete Silicone Sealant. It’s excellent for applying to concrete, mortar, and stone. Plus, it’s 100% waterproof, weatherproof, and permanently flexible.
-
Extra tips for winterizing outdoor kitchens
Sealing joints and surfaces is crucial, but don’t stop there. To fully winterize your outdoor kitchen:
- Shut off water lines: Drain faucets and plumbing to prevent frozen pipes.
- Protect appliances: Cover grills, refrigerators, and sinks with weatherproof covers.
- Store soft materials: Bring cushions, fabrics, and accessories indoors.
- Clear debris: Leaves and dirt trap moisture that can lead to damage.
Together, these steps ensure your outdoor space weathers the cold without issue.
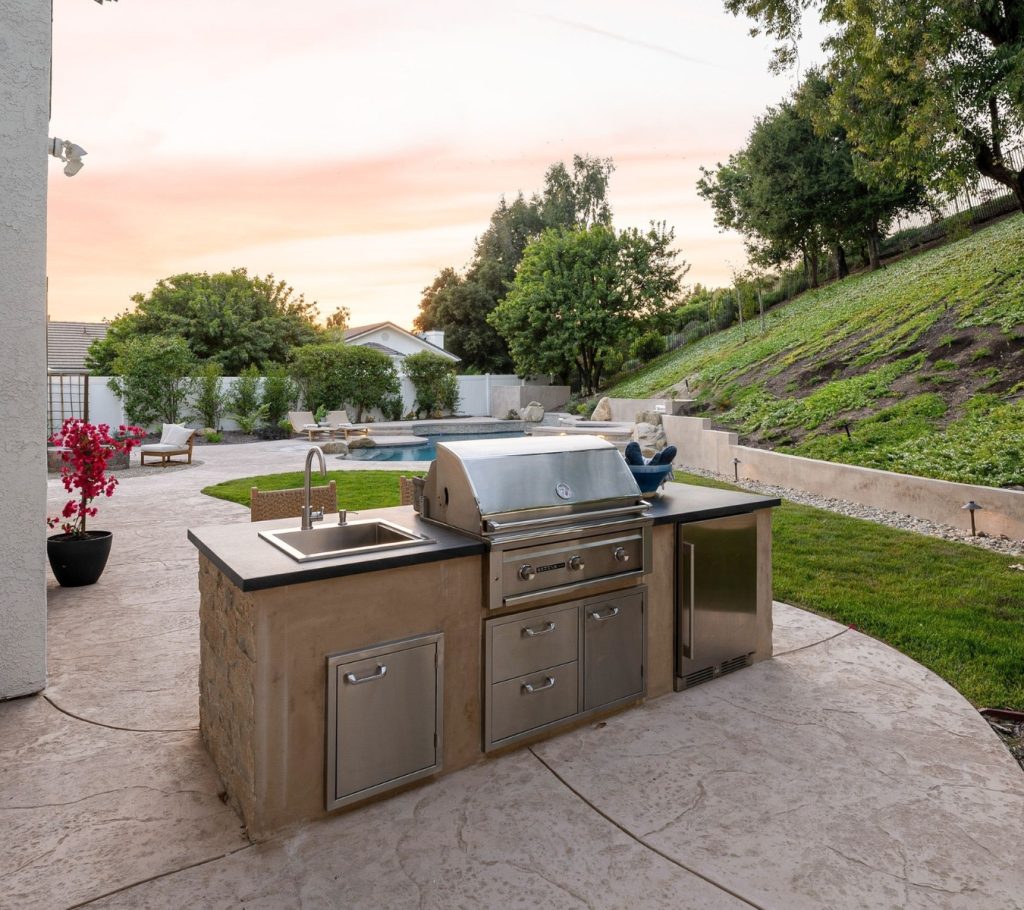
A sink and grill in an outdoor kitchen.


The long-term benefits of winterizing
While winterizing outdoor kitchens might seem like extra work, it’s an investment in protecting your property. Properly sealing and preparing your space offers:
- Cost savings: Avoid expensive repairs or replacements in the spring.
- Longevity: Extend the life of countertops, patios, and structures.
- Peace of mind: Enjoy winter knowing your space is protected.
- Year-round beauty: Keep your outdoor retreat looking polished no matter the season.
Use cold-weather sealant to protect your space
Your outdoor kitchen and patio are more than just an extension of your home. Protecting them from harsh winters ensures they’ll be ready to welcome family and friends when warm weather returns.
By sealing countertop joints, stone and brick features, pergola posts, and patio surfaces with a high-quality cold-weather sealant, you safeguard your space against the freeze-thaw cycle. Combine that with other winterizing steps, and you’ll enjoy peace of mind and long-term savings.
Looking for the best sealant for your next project? Find GE products at a store near you in the U.S. or Canada.


