

Note: This DIY article is provided as a general guide only and is not intended to take the place of product-specific installation procedures; always follow applicable manufacturers’ instructions. Depending on your home’s age and condition, location within the home, and other potential factors, repairs and/or upgrades or other services may be necessary prior to the beginning and/or completion of your project that may involve the services of a home improvement professional. This article does not include advice pertaining to local building codes and/or any related inspections.
Even a well-installed shower door can leak if small gaps are left unsealed around fixed joints, corners, or frame connections. Good bathroom waterproofing depends on identifying those leak points, using the right sealant in the right places, and avoiding the moving parts that need to stay clear. This guide walks through how to inspect a shower door, seal the areas that matter, and help prevent shower leaks over time.
A neat sealant bead and proper cure time will do more to prevent leaks than applying extra material. Use the GE Sealant Smoothing Tool to help control the bead and smooth it into place.
How shower door leaks lead to bigger bathroom problems
Small leaks around a shower door can create bigger problems than many homeowners expect. Water that escapes at the bottom edge, side jamb, frame joint, or fixed panel connection can lead to repeated puddling outside the shower, which puts nearby flooring, trim, and wall materials at risk.
Over time, that moisture can contribute to staining, mildew, mold growth, and damage that is harder to fix than the original leak. That is why shower door sealing is an important part of bathroom waterproofing. When the right joints are sealed properly, the shower contains water better, keeping the surrounding bathroom drier and easier to maintain.
Where shower doors usually leak
Most shower door leaks start at a few predictable spots. The bottom edge and sweep area are common trouble points because that is where water collects during regular use. Wall-to-frame joints can also open up over time, especially if the original seal has cracked, pulled away, or worn down.
Other leak-prone areas include:
- Corners where frame pieces meet
- Fixed glass panel edges
- Track exteriors on sliding doors
- Small gaps around hardware or side jambs
Not every damp spot means the same kind of failure, so it helps to identify exactly where water is escaping before you apply new sealant. A more targeted repair is usually the best way to prevent shower leaks without sealing parts that need to stay open or movable.
Shower sweep or silicone sealant? Use each where it belongs
Shower sweeps and silicone sealant do different jobs, so they should not be treated as interchangeable. A shower sweep is meant for moving door edges, especially along the bottom, where it helps control water as the door opens and closes.
Silicone sealant belongs at fixed joints between stationary surfaces, such as wall-to-frame connections, fixed panel edges, and corners where two nonmoving parts meet. Using each one where it belongs helps stop leaks without interfering with how the door functions. This is especially important on sliding and hinged doors, where the wrong seal in the wrong place can create a new problem instead of fixing the old one.
How to seal shower door leak points step-by-step
Start by running the shower briefly or checking after normal use so you can identify exactly where water is escaping. Mark the leak points before you begin. This helps you focus on the joints that actually need attention instead of resealing the entire door.
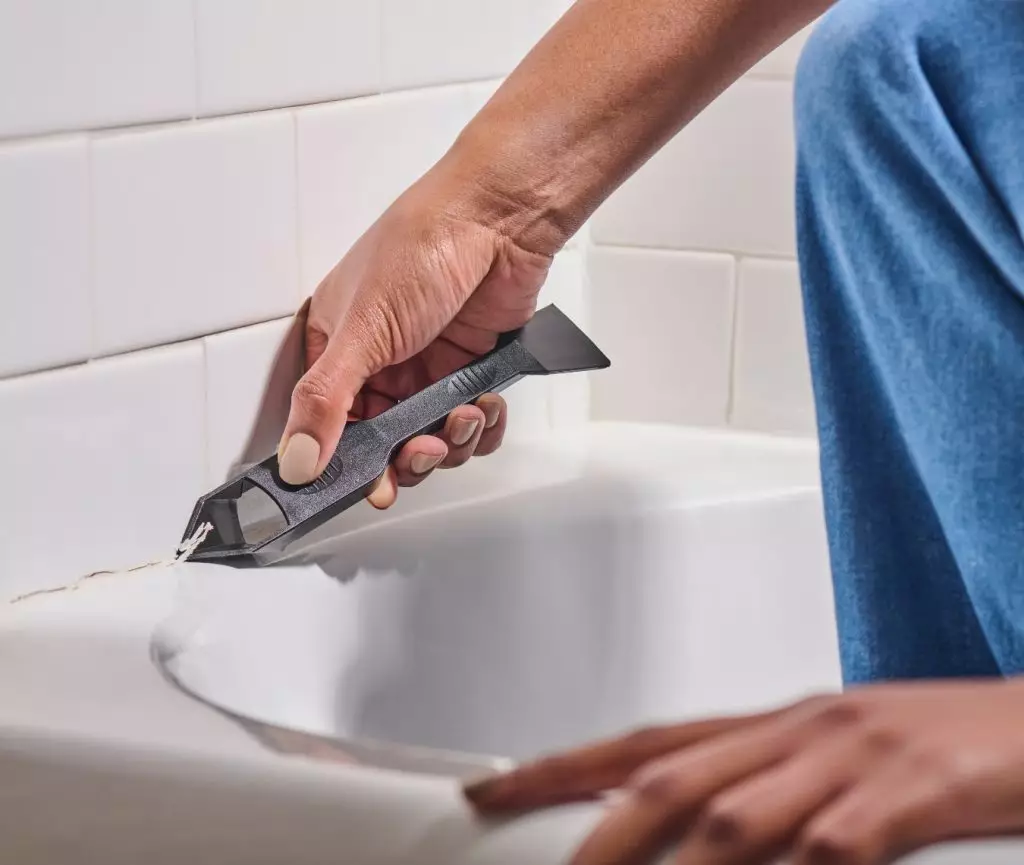
Next, remove any failed caulk, soap residue, mildew, or buildup from the area. The GE Sealant Remover Tool can help lift away old material more cleanly, especially at corners and narrow frame joints. Once the old material is gone, clean and dry the surfaces fully. Silicone bonds much better to a clean, dry joint than to residue or trapped moisture.
When the area is ready, apply silicone only at fixed joints, such as wall-to-frame connections, fixed panel edges, and stationary corners. GE Supreme Silicone Kitchen & Bath is the strongest fit here because it is designed for bathroom conditions and long-term water exposure. GE Advanced Silicone Kitchen & Bath is another good option for wet-area sealing where you need a durable, flexible bead.
Use the GE Sealant Smoothing Tool to help control the bead and smooth it into place. After sealing, let the silicone cure fully before using the shower again. A neat bead and proper cure time will do more to prevent leaks than applying extra material.
How to seal a glass shower door without creating new problems
When you seal glass shower door joints, the goal is to stop leaks without blocking parts that still need to move or drain. Apply silicone only where the glass or frame meets a fixed surface, such as a wall, curb, or stationary panel connection. Do not seal moving joints, sliding tracks that need to function, or built-in drainage paths that help water escape.
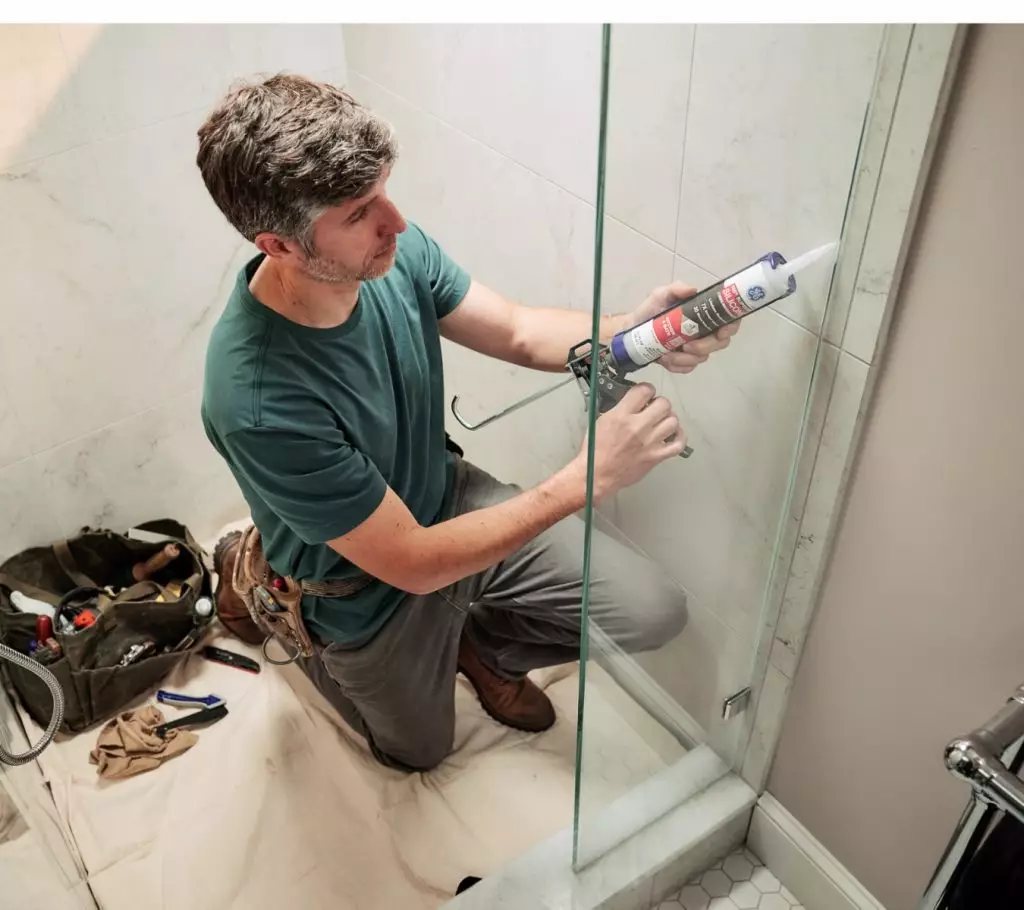
On frameless or mostly glass doors, neat application matters even more because the bead stays visible. A smaller nozzle cut and steady bead control usually give you a cleaner result. Before sealing, confirm that the leak is actually coming from a fixed joint and not from a worn sweep or misaligned door.
Tips to keep the seal looking clean and lasting longer
A cleaner, longer-lasting seal usually comes down to control. Cut the nozzle small so the bead matches the joint instead of flooding it with excess material. Apply steady pressure to keep the bead size consistent from start to finish.
Once the silicone is in place, tool it lightly and avoid going back over it too many times, which can smear the bead and pull material out of the joint. Cure time is important. Let the sealant set fully before using the shower again. It also helps to start with a dry area, since trapped moisture can interfere with adhesion and shorten the life of the seal.
Maintenance checks to prevent shower leaks
Check the shower door seal regularly, especially around sweeps, corners, frame joints, and fixed panel edges. Look for cracking, gaps, peeling, mildew buildup, or spots where water is starting to escape again. Catching those signs early is one of the simplest ways to prevent shower leaks before they turn into larger bathroom problems.
To get GE Sealants’ products for your home improvement project, visit these fine retailers in the U.S. or Canada.


