Note: This DIY article is provided as a general guide only and is not intended to take the place of product-specific installation procedures; always follow applicable manufacturers’ instructions. Depending on your home’s age and condition, location within the home, and other potential factors, repairs and/or upgrades or other services may be necessary prior to the beginning and/or completion of your project that may involve the services of a home improvement professional. This article does not include advice pertaining to local building codes and/or any related inspections.
Properly sealing kitchen windows and trim is one of the most crucial yet often overlooked steps in maintaining an energy-efficient and moisture-resistant kitchen. Windows are common entry points for drafts, water, and even pests, especially in kitchens where humidity and temperature fluctuations are frequent. Whether you’re renovating, replacing old windows, or just performing seasonal maintenance, this window caulking guide shares all the basics.
Sealing isn’t a one-and-done job. To maintain the benefits, inspect your kitchen window sealant annually. Seasonal changes, temperature fluctuations, and everyday wear and tear can weaken the seal.
Why sealing kitchen windows matters
Kitchens generate more moisture than many other rooms, primarily due to cooking, dishwashing, and inadequate ventilation. If your kitchen window sealant is cracked, missing, or improperly applied, it can lead to:
- Moisture damage to window frames and nearby trim
- Mold and mildew growth
- Drafts that increase energy bills
- Pest entry points
- Reduced overall comfort in the kitchen
In addition to protection, proper sealing also enhances the overall appearance of your kitchen. Clean, well-caulked window frames and trim give your space a polished, finished look by eliminating unsightly gaps, rough edges, or old, discolored caulk that can distract from your kitchen’s design.
Window caulking guide: sealing kitchen windows and trim

To ensure you’re successfully applying kitchen window sealant, follow this step-by-step guide.
1. Inspect the window frame and trim
Begin by taking a close look at the window and the surrounding trim. Look for cracked or brittle old sealant, dark spots from moisture, or gaps where the trim has separated from the wall. Run your hand along the edges to feel for drafts.
Even if nothing appears wrong visually, drafts and moisture penetration can still be present. Use a flashlight to inspect corners and look for signs of rot or mildew. Mark any problem areas so you can target them during the sealing process.
2. Remove old sealant
Before applying the new sealant, the old material must be removed entirely to ensure proper adhesion. Use a caulk removal tool to pry away the existing bead of caulk or sealant gently. The GE Sealant Removal Tool is perfect for this, allowing you to remove all types of sealant without damage.
This step may take time, especially if the old sealant is stubborn or brittle. After scraping it off, wipe the surface down with a mild cleanser to remove any residue. Ensure all particles and grime are removed before proceeding. Let the area dry thoroughly to ensure a clean, moisture-free surface.
3. Choose the proper sealant for the job
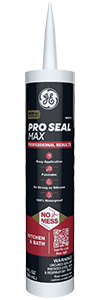
Your choice of sealant is critical. For kitchen environments where moisture is present and aesthetics are essential, we recommend GE Pro Seal Max Kitchen & Bath. This hybrid formula combines the superior durability of silicone sealant with the flexibility and paintability of acrylic latex. If you need to paint over the sealed area to ensure it complements your kitchen aesthetics, this is the ideal sealant.
GE Pro Seal Max Kitchen & Bath is waterproof, mildew-resistant, and ideal for sealing kitchen windows and trim. It bonds securely to a wide variety of materials, including wood, metal, drywall, tile, and more. This product ensures long-lasting protection while maintaining a clean finish that blends seamlessly into your décor. It’s also backed by a lifetime guarantee, giving DIYers peace of mind.
If paintability isn’t an essential feature for you and you’re more focused on moisture protection, we’d recommend a 100% silicone product. The GE Supreme Silicone Window & Door Sealant is a great choice, offering weatherproof protection that’s 100% more flexible than Class 25 sealants. It’s also shrink and crack-proof and has lifetime mold-free protection.
4. Apply painter’s tape for clean lines
Painter’s tape may seem like an extra step, but it creates a clean, professional look and prevents mess. Apply the tape along both sides of the seams you intend to seal. This includes the edge of the trim and the meeting point between the wall and the window frame.
Make sure the tape is pressed down firmly to prevent seepage under the edges. Leave a small gap for the sealant to fill. This barrier will help guide your bead and keep excess sealant off surrounding surfaces, saving time during cleanup.

5. Apply the sealant
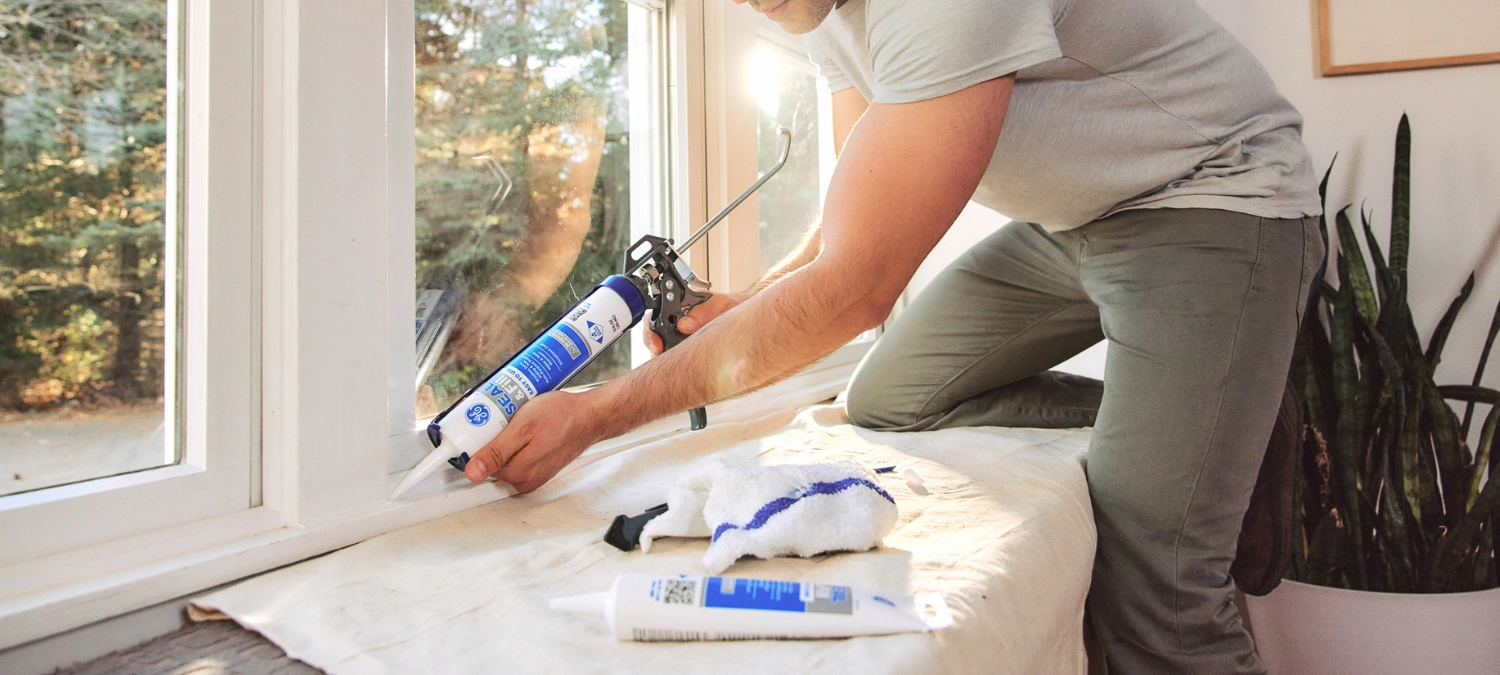
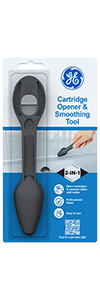
Load your kitchen window sealant into a caulking gun and cut the nozzle to the desired size. The GE Cartridge Opener and Smoothing Tool makes opening cartridges and squeeze tubes a breeze.
Start in one corner and apply a smooth, steady bead along the joint. Maintain consistent pressure and pace to achieve an even application. Fill the entire gap in one pass if possible. Once applied, use the GE Sealant Smoothing Tool or a wet fingertip to smooth the bead. This not only improves the appearance but ensures the sealant is fully pressed into the gap for optimal performance. Immediately remove the painter’s tape while the sealant is still wet to avoid peeling or jagged lines.
6. Don’t forget the trim
While most people focus on sealing the window itself, sealing trim in the kitchen is equally important. Look for gaps where the trim meets the wall, counter, or backsplash. These joints can collect moisture, which can eventually lead to damage or mold.
Apply a bead of silicone caulk or hybrid sealant to these edges, again using painter’s tape to guide your application if needed. Smooth the bead with the GE Sealant Smoothing Tool or a wet fingertip for a seamless look. Don’t neglect the bottom of the trim, especially if it’s close to the sink or a food prep area, where water and spills are more frequent.
7. Paint, if needed
If your trim or wall is painted, you’ll likely want to paint over the sealant once it cures. GE Pro Seal Max Kitchen & Bath’s hybrid formula is paintable, making it easy to achieve a uniform finish with the rest of your space when sealing kitchen windows.
Allow the sealant to fully cure (usually 24 hours, but check the label) before applying paint. Use a quality primer and topcoat to match the surrounding surfaces. Painting not only enhances the look but also adds an extra layer of protection to the sealed area.
8. Perform regular maintenance
Sealing isn’t a one-and-done job. To maintain the benefits, inspect your kitchen window sealant annually. Seasonal changes, temperature fluctuations, and everyday wear and tear can weaken the seal.
If you notice any cracks, gaps, or discoloration, remove the compromised sealant and reapply. Keeping a tube of GE Pro Seal Max Kitchen & Bath on hand ensures you’re always prepared for quick touch-ups. Routine maintenance extends the life of your windows and trim, prevents costly damage, and keeps your kitchen energy-efficient year-round.
FAQ
How often should I reseal kitchen windows?
You typically don’t need to reseal unless the existing seal is damaged. Check every few years for signs like cracks, peeling, or drafts, and reseal only if needed—many of our sealants are designed to last and even come with lifetime guarantees.
Can I use regular caulk for the kitchen window trim?
For best results, use a waterproof, mildew-resistant product, such as GE Supreme Silicone Window & Door Sealant, especially in areas prone to moisture.
What if I need to paint over the sealant?
Use a paintable hybrid like GE Pro Seal Max Kitchen & Bath. Always let it fully cure before painting.
Do I need to seal both inside and outside the window?
Yes, outside sealing keeps out rain and wind, while inside sealing helps control moisture and air. We created a guide on how to seal exterior window trim if you’d like more information.
Looking for the best silicone sealant for your next project? Locate a store near you in the U.S. or Canada.

