Note: This DIY article is provided as a general guide only and is not intended to take the place of product-specific installation procedures; always follow applicable manufacturers’ instructions. Depending on your home’s age and condition, location within the home, and other potential factors, repairs and/or upgrades or other services may be necessary prior to the beginning and/or completion of your project that may involve the services of a home improvement professional. This article does not include advice pertaining to local building codes and/or any related inspections.
Walls take a beating over time. From hanging decor to everyday wear, minor damage is hard to avoid. The good news is that most wall issues can be fixed quickly with the right materials and a few simple steps. This guide walks you through how to identify and repair the most common types of wall damage using DIY-friendly GE solutions.
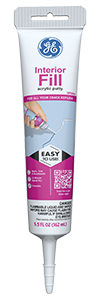
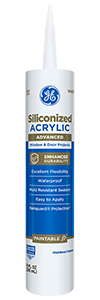
Apply a small amount of GE Interior Fill Acrylic Putty directly into the hole using a putty knife or GE’s Sealant Smoothing Tool. To seal minor drywall cracks before painting, use GE Siliconized Advanced Acrylic Window & Door Sealant.
Nail holes from wall decor
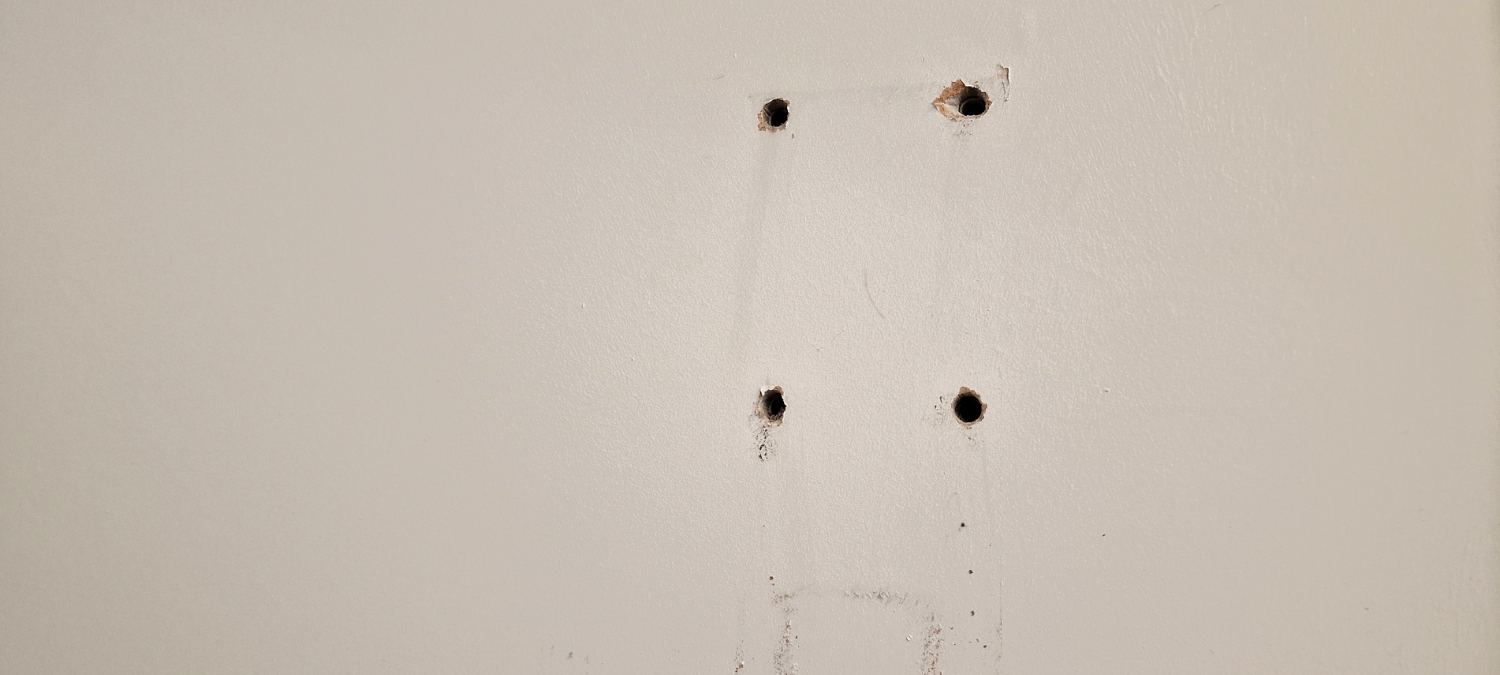
Nail holes are one of the most common types of wall damage, especially in living rooms, bedrooms, and hallways where framed art or shelves are frequently hung. These small holes may seem insignificant, but they can leave visible marks that disrupt a clean paint job or polished wall finish. Fortunately, they’re also the quickest to fix.
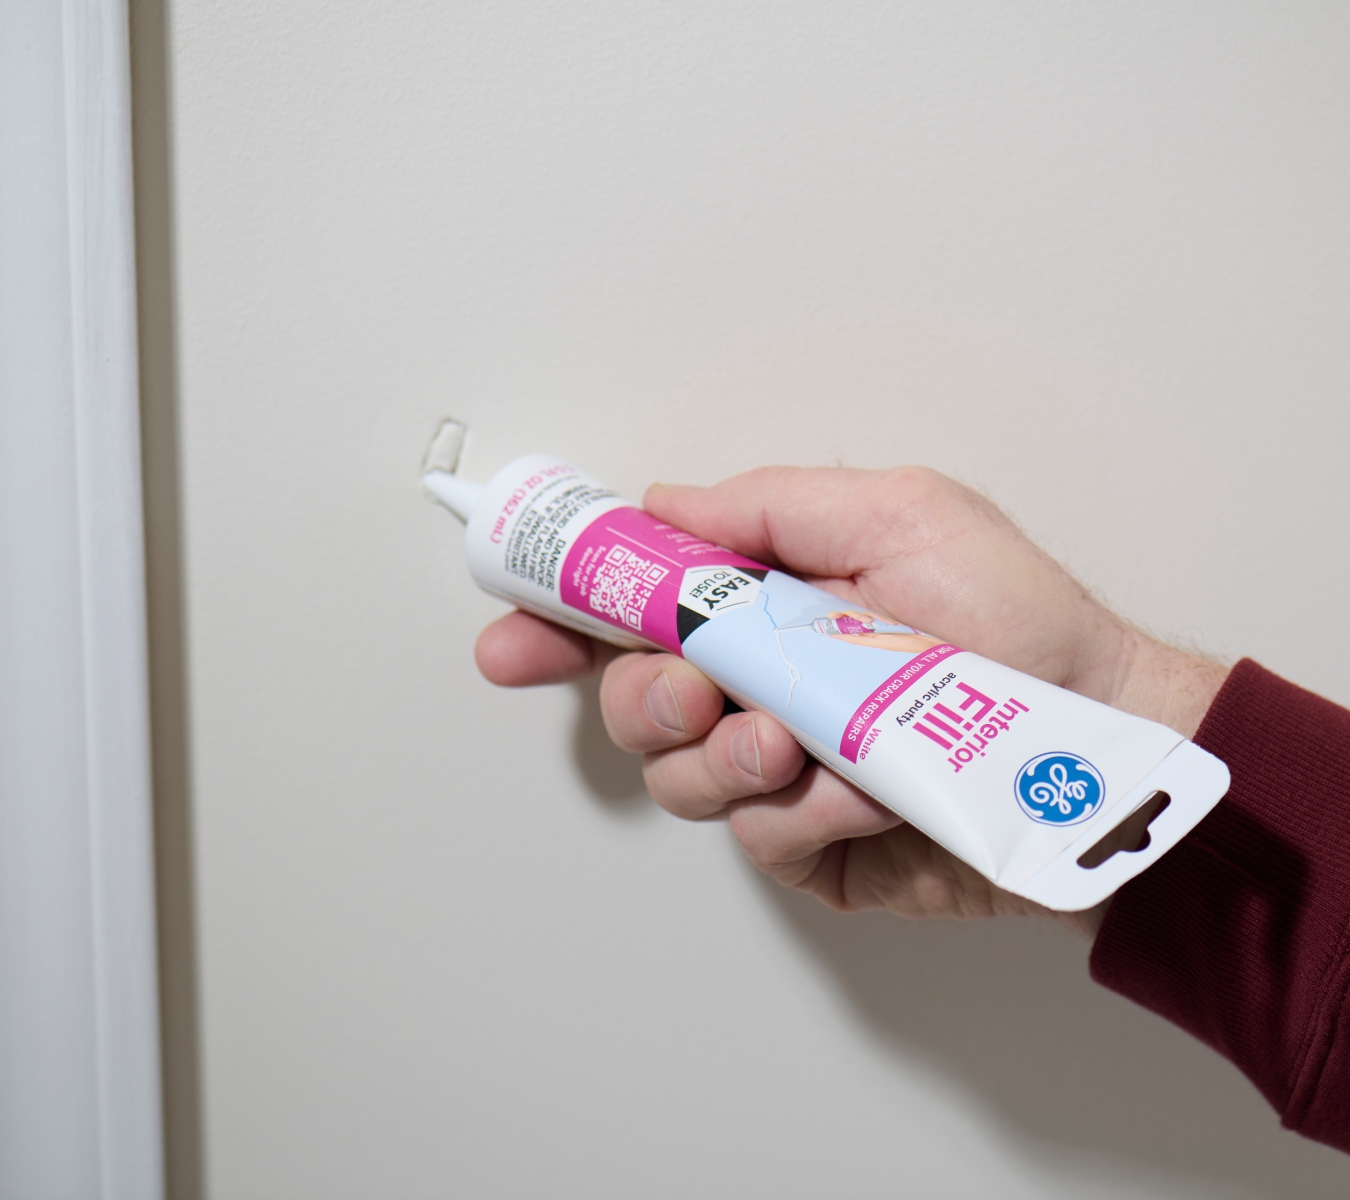
Start by wiping the area with a dry cloth to remove dust. Then, apply a small amount of GE Interior Fill Acrylic Putty directly into the hole using a putty knife. Smooth it flush with the wall surface and let it dry fully, usually within 30 minutes. Once dry, lightly sand to blend the repair with the surrounding wall.
Hairline cracks in drywall and plaster
Hairline cracks often form in drywall or plaster due to seasonal movement, settling, or humidity changes. While they’re usually cosmetic, leaving them untreated can allow moisture to seep in or cause the cracks to spread. Fortunately, these minor imperfections are easy to fix with the right materials.
Start by gently widening the crack with a utility knife or GE’s Sealant Smoothing Tool to create a clean, even groove. This helps the filler adhere better. Wipe away dust, then apply Interior Fill using a putty knife, pressing it firmly into the crack. Smooth the surface and allow it to dry completely, typically within 30 minutes.
After drying, sand the area until it blends seamlessly with the surrounding wall. If painting, use a paint-ready formula or apply a primer before adding color. Regular inspection and spot repairs like this help maintain a clean, finished look throughout the home.
Dents from furniture and doorknobs
Minor dents from furniture bumps or swinging doorknobs are common in high-traffic areas and often show up as shallow depressions in drywall. You can usually fix wall damage quickly with Interior Fill. Start by cleaning the area and lightly sanding to remove loose debris or flaking paint. Then use a putty knife to press the filler into the dent, feathering the edges so it blends with the wall surface.
Once dry, usually in about 30 minutes, you can sand the area smooth and apply paint. For deeper dents or repeated impact zones, consider adding a wall-mounted bumper or doorstop to prevent future damage. A smooth repair not only restores the look of the wall but also prevents uneven paint absorption and visible patches after painting.
Scuffed or dirty wall patches
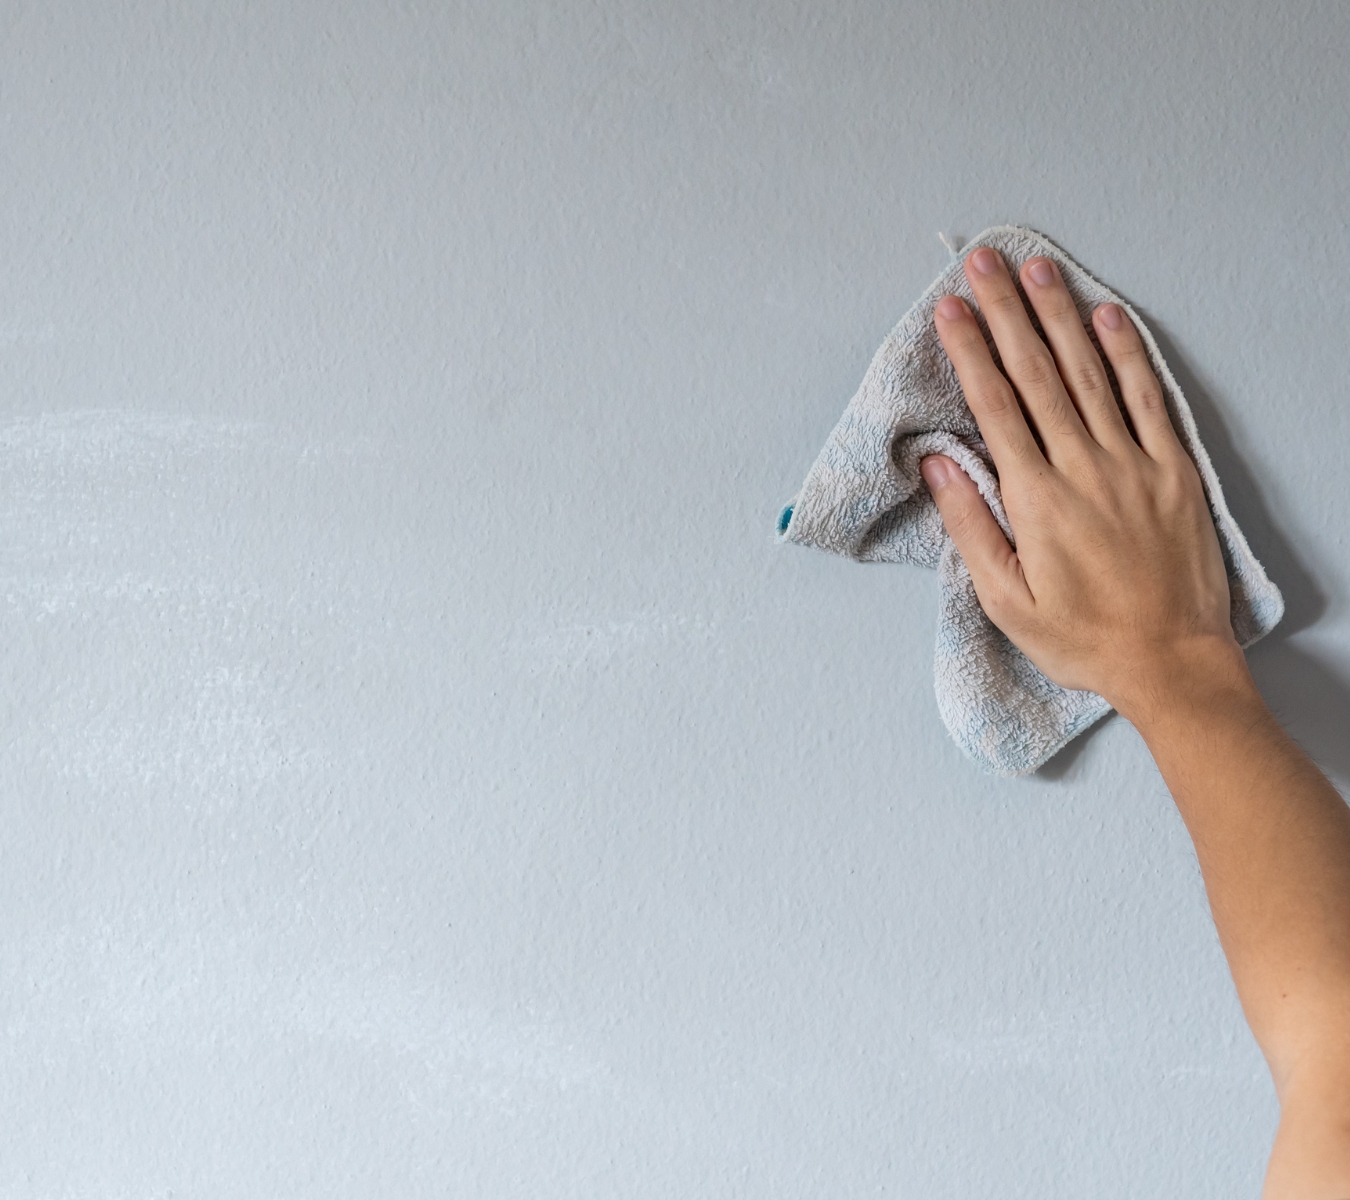
Scuffs and grime from shoes, bags, or pets are common in entryways, stairwells, and hallways. If cleaning with mild soap and water doesn’t restore the finish, you may need to repaint. If you’re sealing before painting, choose a paintable sealant like GE Siliconized Advanced Acrylic Window & Door Sealant. If you’ve already painted or are sealing a finished surface, GE Advanced Silicone Window & Door Sealant is a durable, long-lasting option for trim or baseboard gaps.
After sealing, let the product cure completely as directed. If you plan to paint over it, confirm that the sealant is labeled “paint-ready” before applying a primer.
Peeling or flaking paint
Peeling or flaking paint is often caused by moisture, poor surface prep, or incompatible paint layers. Start by scraping away all loose paint using a putty knife or paint scraper, then sand the area to smooth any rough edges. If moisture is the culprit, especially near windows, trim, or baseboards, seal any nearby gaps to help prevent future damage. Remember to use a paintable sealant if you’ll be painting over the area, or a durable silicone sealant if the surface is already finished.
Clean the surface thoroughly with a damp cloth and allow it to dry completely. Apply a quality primer suited for the wall material before repainting. This step ensures proper adhesion and helps block stains or moisture. For best results, match your new paint to the original color or repaint the entire section to blend the finish. Addressing peeling early prevents larger areas from deteriorating and maintains a clean, polished wall surface.
Final touches before painting
Before you repaint, take time to check each repair for smoothness and consistency. Run your hand over patched areas to feel for uneven spots. Lightly sand if needed, then wipe down the surface with a clean, dry cloth to remove any residual dust. At this stage, use painter’s tape to mask off adjacent trim, outlets, or wainscoting for clean edges.
If you’ve used sealant before painting, check the label to know when it will be paint-ready. For most minor fixes, a quality stain-blocking primer is essential to prevent patch bleed-through. Once the primer dries, apply your topcoat evenly using a roller or brush.
To get GE Sealants’ products for your home improvement project, visit these fine retailers in the U.S. or Canada.

