
Note: This DIY article is provided as a general guide only and is not intended to take the place of product-specific installation procedures; always follow applicable manufacturers’ instructions. Depending on your home’s age and condition, location within the home, and other potential factors, repairs and/or upgrades or other services may be necessary prior to the beginning and/or completion of your project that may involve the services of a home improvement professional. This article does not include advice pertaining to local building codes and/or any related inspections.
Outdoor concrete takes a beating from the elements—especially in summer when heat and UV exposure can cause expansion, cracking, and surface wear. Without proper sealing, driveways, patios, and walkways are vulnerable to moisture intrusion and long-term damage. This guide walks you through the concrete sealing process step by step, using GE silicone sealants to help protect your surfaces before seasonal stress sets in.
Seal early and protect longer. GE Concrete Silicone Sealant provides permanent flexibility and weatherproof protection for concrete driveways, patios, and walkways. Pair it with seasonal maintenance and the GE Sealant Remover Tool to keep your outdoor concrete looking strong and sealed year after year.
Choose the right sealant
Not all sealants are intended to withstand outdoor conditions, so selecting the right one is essential for long-term protection. For concrete surfaces exposed to sun, rain, and heavy foot traffic, a 100% silicone sealant offers superior performance over acrylic or polyurethane alternatives. Look for a product specifically designed for masonry and concrete to ensure proper adhesion and durability.
Learn more about the superior durability of silicone sealants for DIY home repairs.
GE Concrete Silicone Sealant is engineered for exterior use, offering permanent flexibility and weatherproof protection. It resists cracking, shrinking, and UV breakdown—key issues for concrete in exposed environments. This sealant bonds well to concrete, brick, and stone and remains watertight even in extreme temperatures.
Use it on joints in driveways, walkways, patios, and around concrete stairs. It’s also effective for sealing hairline cracks or expansion joints that allow for material movement. While silicone may have a higher upfront cost than some alternatives, its longevity and performance make it a smart investment for protecting outdoor concrete surfaces from seasonal damage.
For seasonal outdoor sealing on non-concrete surfaces—such as windows, doors, siding, and trim—you can use GE All Purpose Silicone Sealant. This 100% silicone, weatherproof sealant is versatile for non-concrete areas also exposed to harsh weather conditions.
Check conditions and prepare your surfaces
Concrete sealing tips to check before you begin include choosing a dry, mild day—ideally around 70°F—with no rain in the forecast for at least 24 hours. While GE Concrete Silicone Sealant becomes water-ready in just 30 minutes, a clear forecast gives you time to clean, apply, and cure without interruption. Avoid sealing in temperatures below 32°F, as low temps can impact adhesion and cure time.
If you’re sealing new concrete, allow it to cure fully for at least 30 days. For older concrete, start by removing dirt, mold, and debris using a broom or pressure washer. If using water, let the surface dry completely before sealing. Use a wire brush to remove any loose material or old sealant, especially in cracks or joints.
Apply sealant correctly
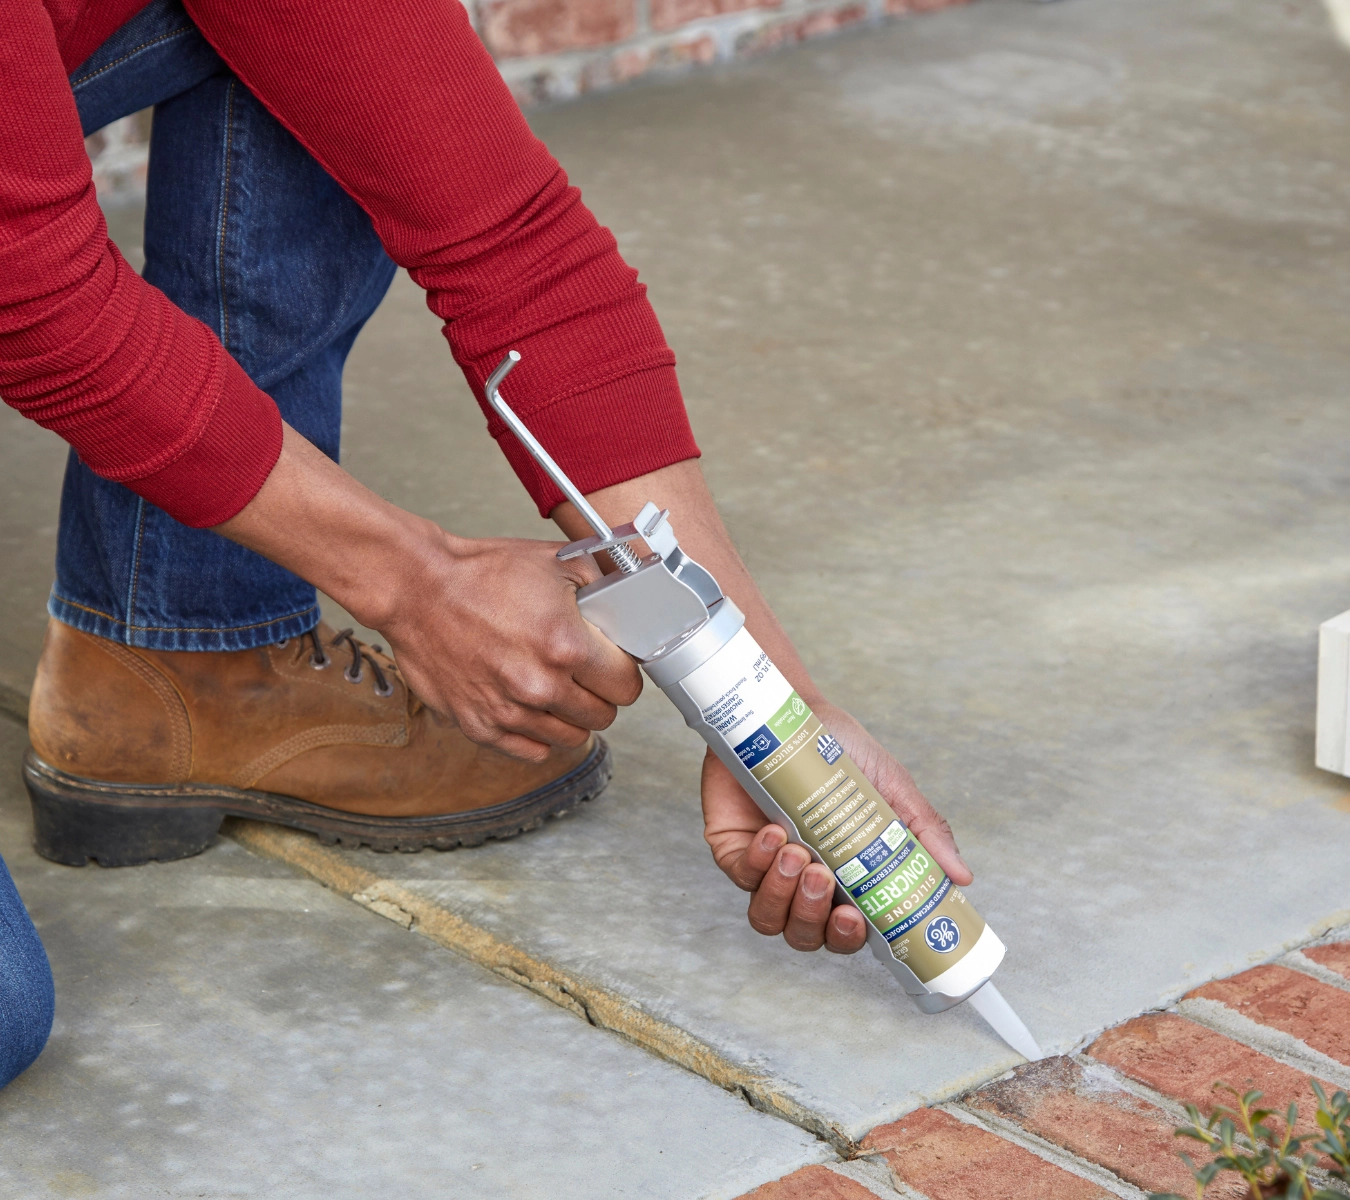
Once the surface is clean and dry, it’s time to apply the sealant. Use a standard caulk gun and a tube of GE Concrete Silicone Sealant. Begin by cutting the nozzle at a 45-degree angle, making the opening slightly smaller than the gap you’re sealing. Pierce the inner foil seal, then load the cartridge into the caulk gun.
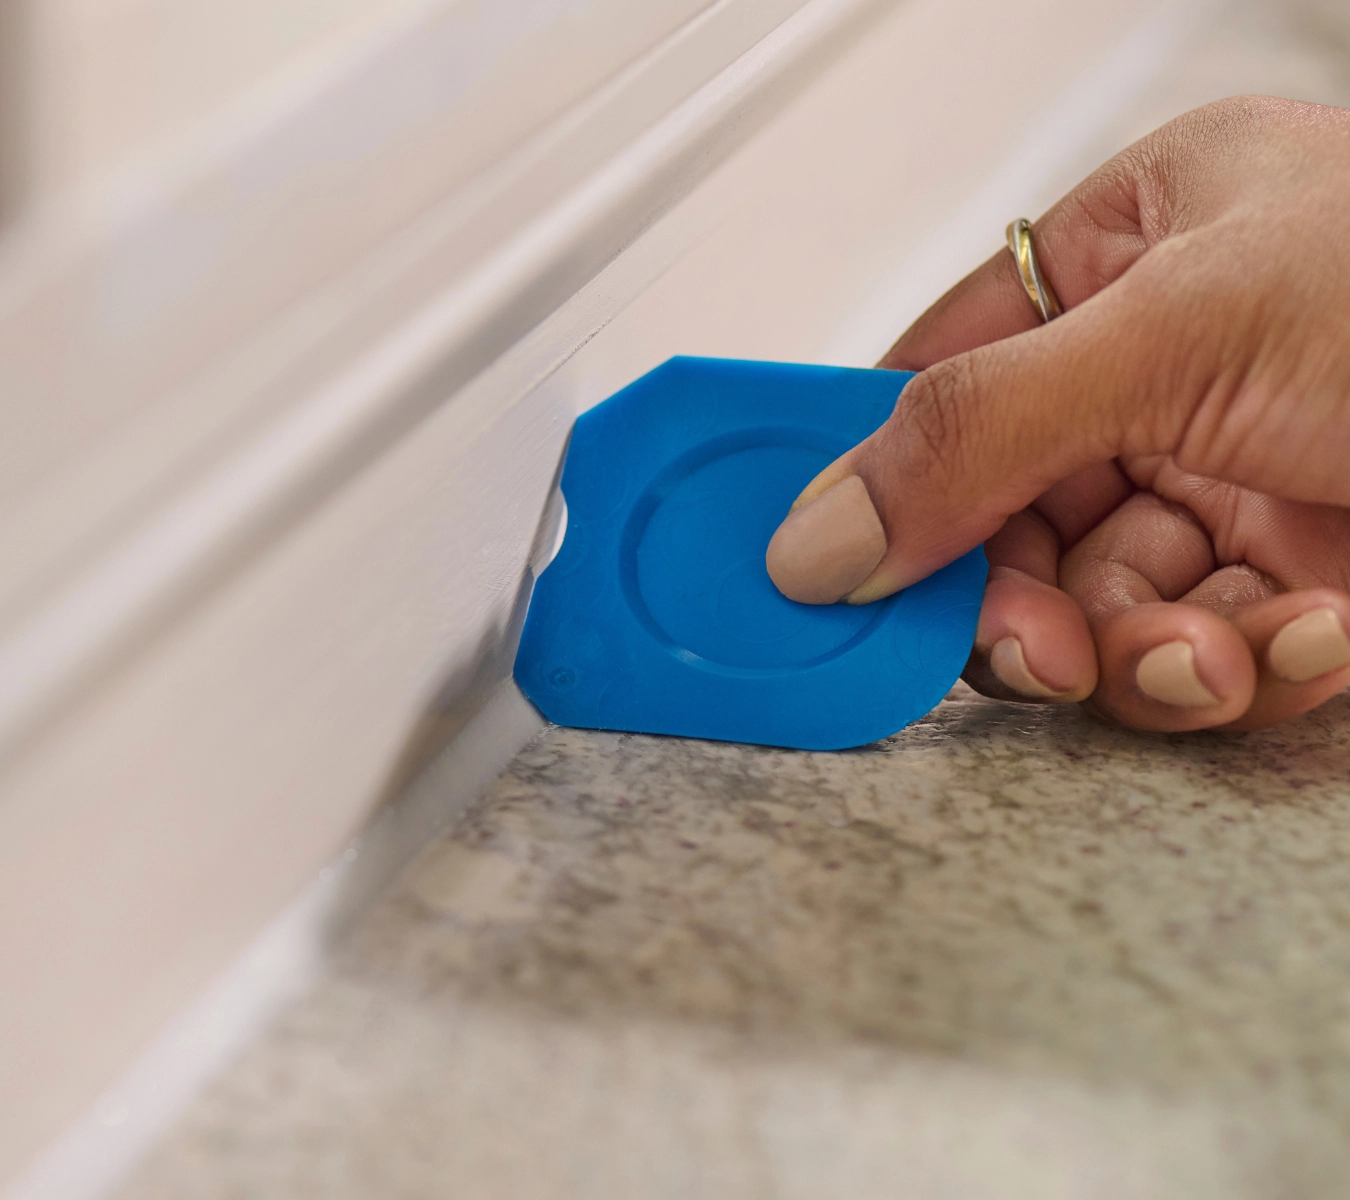
Hold the gun at a consistent angle and apply steady pressure to lay a uniform bead along the joint or crack. For best results, apply sealant in manageable sections to maintain control and ensure proper adhesion. After each bead is applied, immediately smooth it using GE’s Smoothing Tool or a gloved finger. This step improves surface contact and gives the joint a clean, professional finish.
Start with a small area to make sure the bead flows properly and the surface accepts the sealant. Once you’re confident with the application rate, continue across the remaining sections. Always follow the product’s instructions for application thickness and coverage.
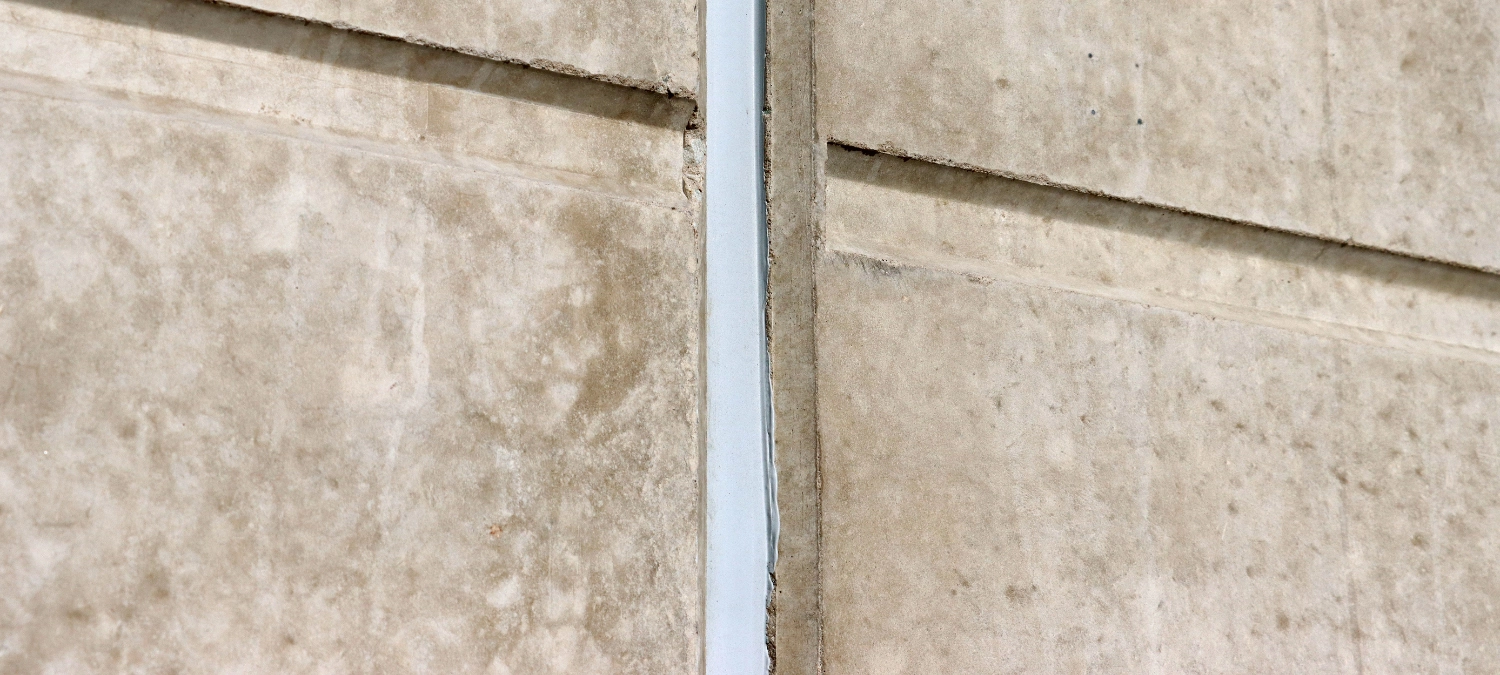
If gaps are larger than half an inch deep, insert a backer rod to reduce sealant waste and ensure proper joint depth. Also, remove any surface coatings or repellents that may interfere with adhesion. Once cleaned and dry, test a small area to confirm compatibility—especially if your concrete has been previously treated. A little extra prep up front helps ensure the sealant bonds properly and performs well over time.
To protect a concrete driveway or walkway, consider placing cones, tape, or signage to keep others from disturbing the fresh seal. For contractors, clearly communicate cure times and post-application care to clients to avoid premature wear. Proper curing ensures the sealant adheres fully and performs as intended—flexing with temperature changes and preventing moisture from penetrating your concrete surfaces.
Need cleanup tips? Learn how to remove sealant from your hands after a job.
Maintain and monitor
Sealing your concrete is only part of the long-term protection plan—regular maintenance is just as important. Start by checking sealed joints every 6 to 12 months for signs of wear, such as cracking, peeling, or separation from the surface. High-traffic areas and spots exposed to direct sun or standing water may degrade faster and need attention sooner.
Keep the sealed areas clean and free of debris that could weaken the bond over time. When it’s time to reseal, remove the old sealant—with GE’s recommended Sealant Remover Tool—and reapply. By monitoring and maintaining these joints consistently, you’ll extend the life of your concrete surfaces and save on repair costs.
To get GE Sealants’ products for your home improvement project, visit these fine retailers in the U.S. or Canada.


