The line you leave shows how much you care about the work. A sealant smoothing tool makes that line uniform from corner to corner. This guide shows you how to keep control with less time on rework.
Why your finish quality determines pro results
Finish quality starts with how the bead seats into the joint.
Firm pressure sets the silicone sealant against both sides so it bonds well and moves with the surface. When you control that contact, the joint stays tight even under daily flex. Then the details show: tile lines stay true and corners close clean. Light runs smoothly along the edge instead of catching on ridges.
A consistent radius proves the joint was tooled right, not rushed. You see it, and the client does too.
Where the sealant smoothing tool beats finger methods
You’ve likely seen how a fingertip can drag sealant off an edge or leave uneven shine in the light.
In visible wet seams around sinks, tubs, and showers, that small variation can stick out.
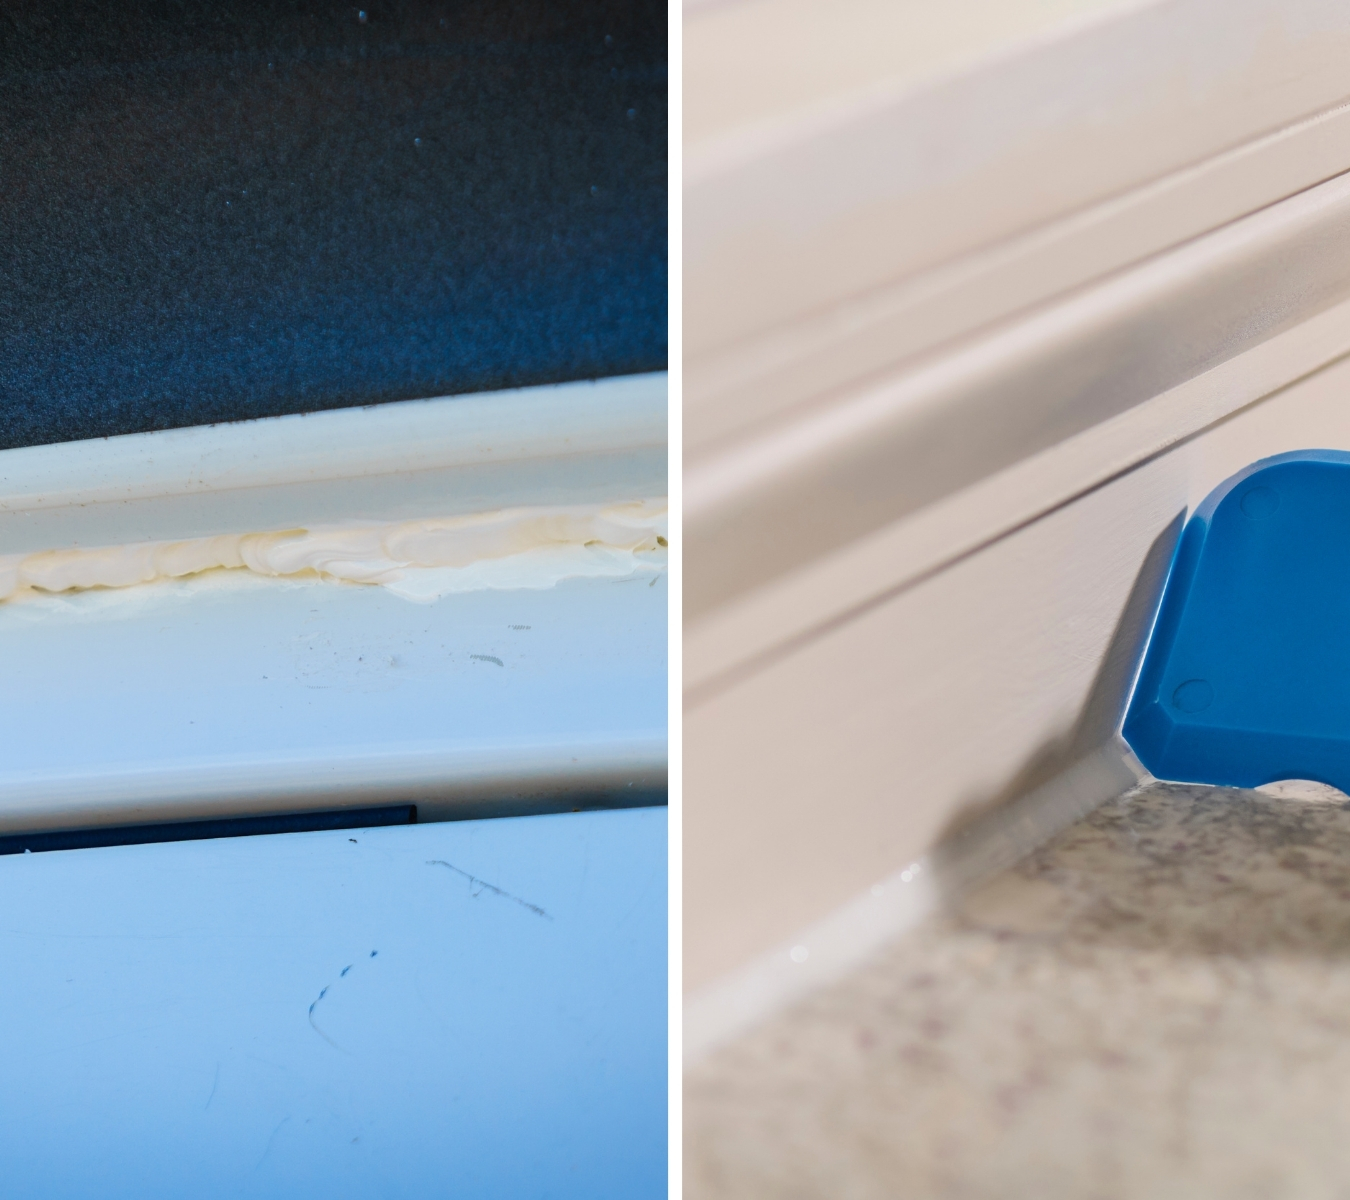
A sealant smoothing tool fixes the geometry. Its profiled edge keeps the radius steady and pressure even. On long runs, the line stays continuous instead of widening when hand fatigue sets in.
Across surfaces (tile, glass, acrylic, or metal), the tool keeps contact where a finger can skip or smear. And because every installer uses the same edge, the finish looks identical from one crew to the next.
Pro workflow: how to smooth sealant with the GE Sealant Smoothing Tool
Every clean joint follows the same rhythm: prep, apply, tool, inspect. The GE Sealant Smoothing Tool gives you control only when every step supports it.
Proper surface prep, the right chemistry, then the GE Sealant Smoothing Tool. This sequence keeps the finish predictable.
Prep
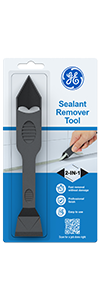
Cut out failed material with the GE Sealant Remover Tool, then wipe the joint dry so the bead bonds clean.
Mask when the surface demands a sharp line or when the substrate won’t forgive a slip: glass, polished stone, and tight color transitions. On smooth, easy-wipe surfaces, steady hand control can replace tape without risk.
Tip sizing and application
Cut the nozzle to match the joint width and angle the tip at a 45-degree angle. That angle controls how the bead fills corners and keeps the flow consistent. Use the cutter built into the GE Cartridge Opener & Smoothing Tool for a clean, even cut that keeps flow predictable.
A cut that’s too wide can flood corners, while one that’s too narrow may leave voids that weaken the seal. Keep a steady pull on the gun so the bead runs continuously and the tooling stage stays predictable.
Lubrication by chemistry
For silicone sealant, moisten the GE tool lightly (not the bead) and follow the product TDS for approved lubricants. Acrylic or hybrid sealants may take a mild water-based mist. Again, confirm in the product’s TDS.
Always test first on stone or coated metal, since certain finishes can mark or cloud under moisture. Your goal here is to reduce drag without changing how the material bonds.
One-pass tooling
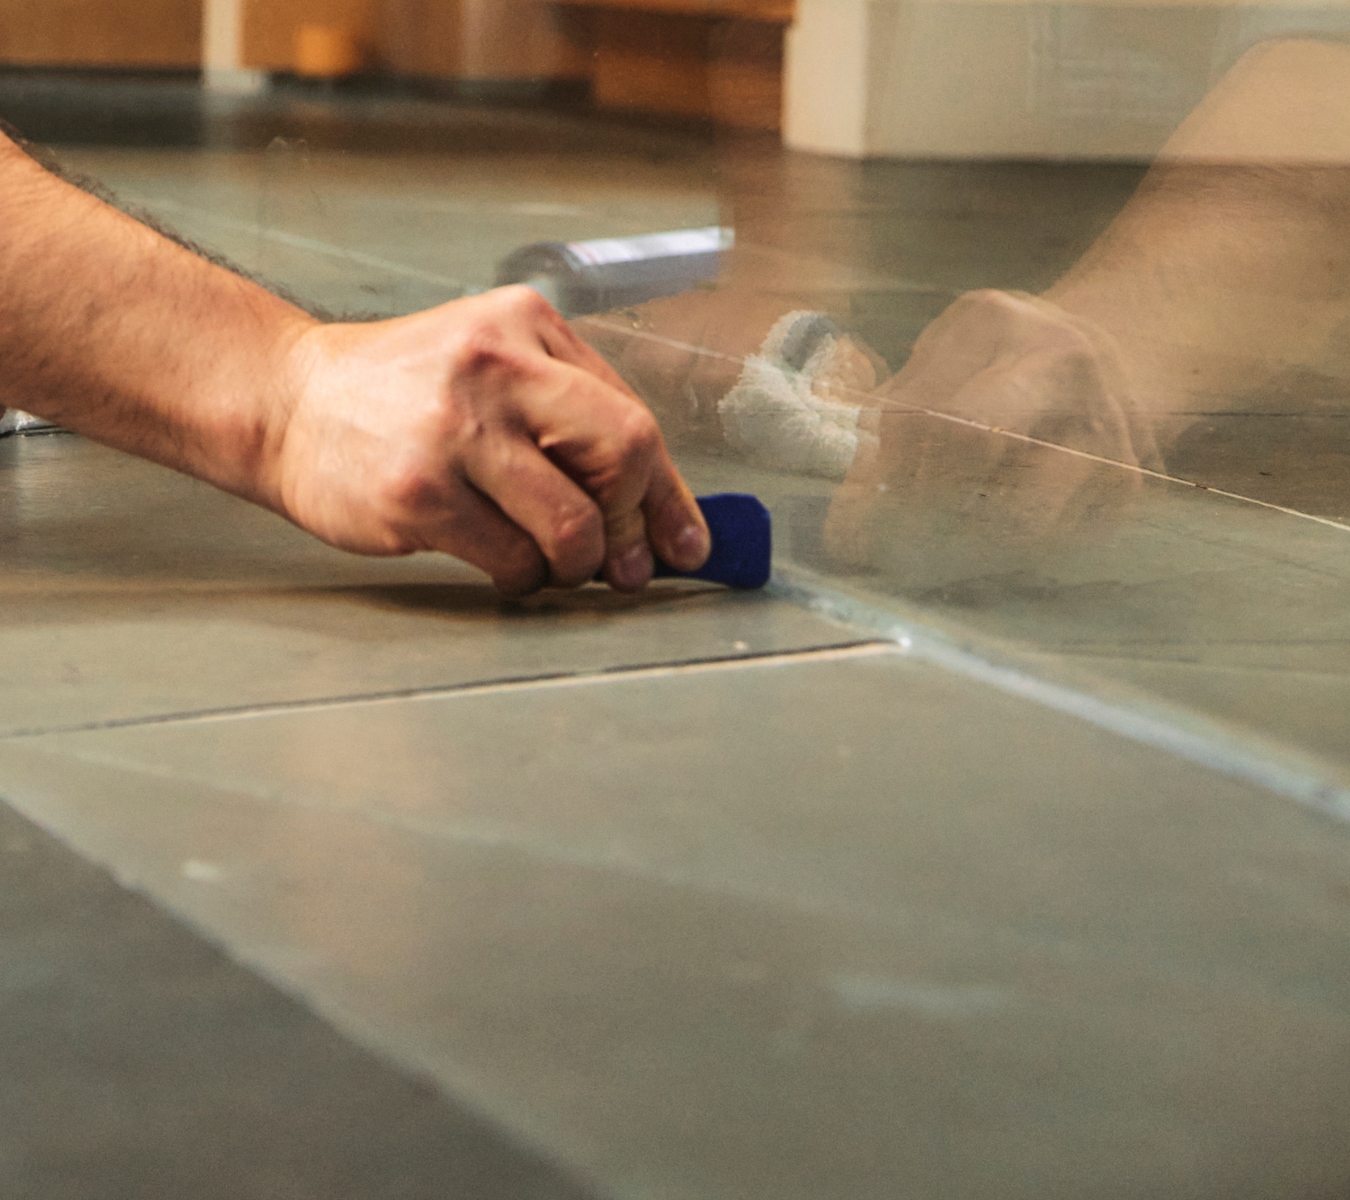
Hold the tool at its working angle and pull in a smooth, single motion so the bead seats and profiles evenly. Collect excess on the edge and wipe the blade as needed between passes.
Plan to do this in minimal passes to define the line. Too many passes can disturb the surface and lift the finish.
Corners and terminations
Tooling corners can be a bit tricky, so rely more on control than speed here. Roll the tool slightly through each turn to keep the radius continuous and aligned.
At fixtures, taper off with a clean pull instead of building excess at the stop. The bead should finish as cleanly as it starts.
Cleanup and inspection
If you used tape, pull it immediately after tooling to prevent tearing the edge, then wipe once with a clean rag. Check the line under some light to confirm one continuous radius with no ridges or breaks. The joint should appear even from any angle.
Tool care
Rinse the tool before the sealant cures and keep the working edge free of nicks or buildup. Then store it flat or in its pouch between jobs.
Before your next use, inspect the edge because any damage will likely transfer to the bead.
Prevent rework by spotting defects early
Before the sealant cures, check for these signs:
- Wavy lines or ridges: Come from uneven pressure or a tilted angle. The tool’s profiled edge can lock the pull path so the bead tracks straight and holds a uniform curve.
- Smeared margins: Happens when a fingertip drags residue across tile or tub faces. The tool channels excess back into the joint instead of spreading it where it doesn’t belong.
- Voids or shallow spots: Shows up when the bead skims over the surface instead of bonding to it. Even pressure along the smoothing tool’s face can help drive the sealant deep into both sides of the joint for full contact.
- Stop marks: Appears where a pass restarts or the pull hesitates. One continuous draw with the GE Sealant Smoothing Tool’s curved edge can remove that flattened spot and leave the line smooth from end to end.
The GE Sealant Smoothing Tool helps correct these issues before they set. When the light hits right, you should see one clean radius and tight contact along the entire seam.
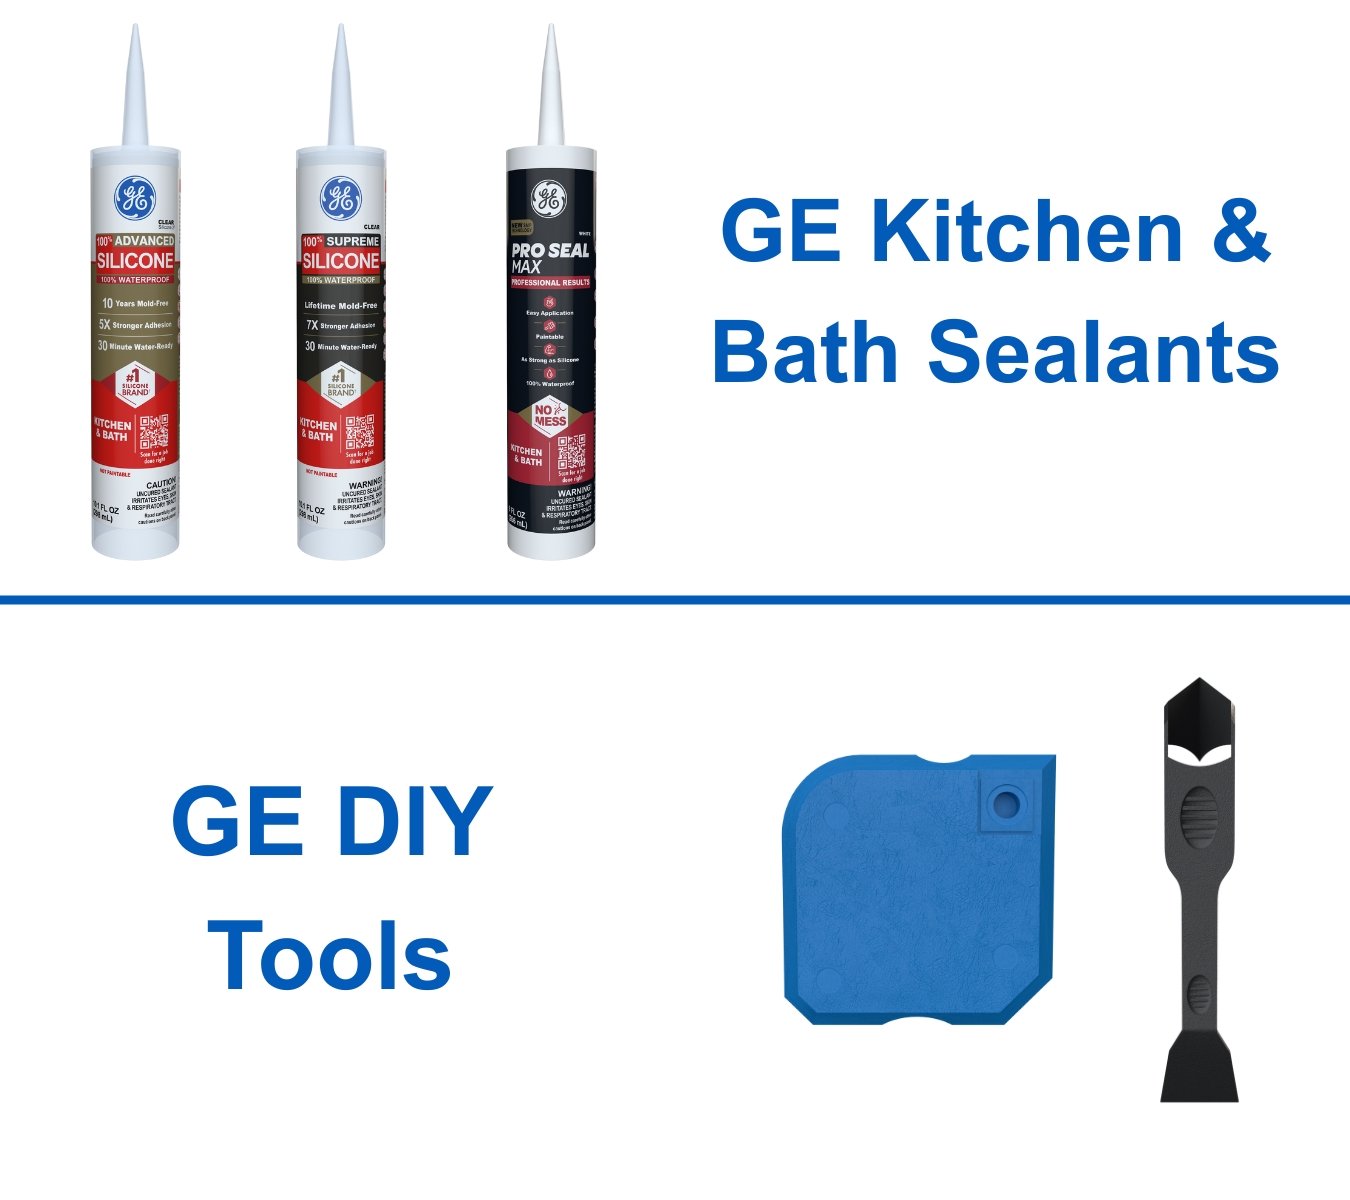
Match the sealant smoothing tool with the right GE Kitchen & Bath silicone sealant
Choose the sealant that matches where the joint lives and how you need it to perform.
Good: GE Advanced Silicone Kitchen & Bath
This 100% silicone is built for the joints that never stay dry. Advanced Silicone Kitchen & Bath bonds tightly to tile, glass, and metal, forming a flexible seal that moves without breaking. It’s water-ready in 30 minutes under normal room conditions.
Better: GE Supreme Silicone Kitchen & Bath
This is a premium 100% silicone sealant made for heavy-use areas. Supreme Silicone Kitchen & Bath holds its color and elasticity through daily cleaning and resists mold where moisture lingers. It’s also water-ready in 30 minutes, giving you reliable turnover on back-to-back jobs.
Best: GE Pro Seal Max Kitchen & Bath
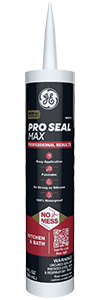
Pro Seal Max Kitchen & Bath is a silane-modified hybrid that works where wet meets paint. It bonds to more surfaces than silicone alone and cures fast. It’s water-ready immediately and paint-ready in 60 minutes for latex coatings.
Check each product’s Technical Data Sheet for full cure details and humidity factors before you start.
The right chemistry locks the bead you tool today so it still looks sharp months later.
A clean line pays for itself. When every crew uses the same smoothing tool, jobs can finish faster and look consistent across installs. The uniform bead means fewer punch-list notes and no callbacks for uneven joints or smeared edges. Find the GE Sealant Smoothing Tool and sealants at a retailer near you in the U.S. or Canada.


