Note: This article is provided as a general guide only and is not intended to take the place of product-specific installation procedures; always follow applicable manufacturers’ instructions. Depending on your home’s age and condition, location within the home, and other potential factors, repairs and/or upgrades or other services may be necessary prior to the beginning and/or completion of your project that may involve the services of a home improvement professional. This article does not include advice pertaining to local building codes and/or any related inspections.
Sealing your shower is essential for maintaining a functional, hygienic, and visually appealing bathroom. It also helps prevent costly water damage and mold-related issues.
We will dive into the importance of sealing your shower and how to seal a shower in eight steps.
When sealing showers, you will want to opt for 100% silicone sealant. Silicone is flexible and durable. It also repels water and moisture, which makes it ideal for high-moisture areas like showers.
Why do you need to seal your shower?
Your shower is regularly exposed to moisture and often receives very little ventilation, which is a recipe for bacteria and mold growth. Cracks and holes are even more susceptible to mold because they trap bacteria and are usually more difficult to thoroughly clean.
Sealing your shower places a waterproof sealant around the edges where water is often trapped, becoming a breeding ground for bacteria.
By sealing your shower, you:
- Prevent water damage: Properly sealing your shower prevents water from seeping into areas it shouldn’t be. Water causes structural damage and leads to costly repairs.
- Prevents mold growth: Trapped moisture creates the perfect environment for mold and mildew to thrive. Sealing your shower prevents water from becoming trapped in those areas, making cleaning the bathroom easier.
- Improves durability: Using a flexible and durable sealant helps protect showers. It prevents too much movement and prolongs your shower’s lifespan. For instance, sealant around your shower faucet can help hold it in place by closing gaps.
- Improves aesthetics: Sealing a shower with fresh sealant can improve your bathroom’s appearance. It gives the bathroom crisp, clean lines, preventing unsightly water stains and mold growth.
What part of a shower do you need to seal?
According to most plumbing codes, you must use sealant around areas where pipes meet the wall. However, you do not need to stop there.
Here are all the areas to seal around and inside your shower:
- Seal around the edges of your shower door where the door meets the walls and floor. Sealing a shower door prevents water from leaking out from the cracks.
- Seal around the edge where your shower meets the wall.
- Seal around plumbing holes, gaps, and areas where pipes meet the floor or wall.
- Seal in the corners and seams where walls touch each other or the floor.
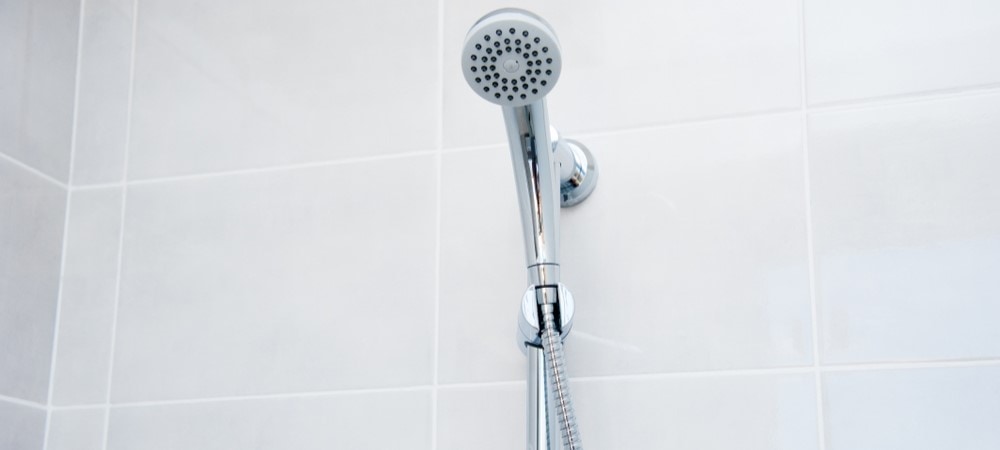
- Seal around fixtures such as the shower head, faucet handles, drain, and spout.
- Seal the grout between shower tiles on the wall or floor because grout is very porous if left untreated.
If you see an area prone to mold growth, you should consider putting sealant in it to protect and preserve it. You can also fill in gaps and cracks around your shower with sealant.
8 Steps to Properly Seal a shower and Shower Door
Use these eight steps to guide your shower sealing process. These steps cover the most common method of sealing a shower. Always check your sealant’s specific instructions for application and cure time and adjust these steps as necessary. You will also want to check with your local code for regulations and laws.
-
Step 1: Remove old sealant
Before applying new sealant, remove any old caulk or sealant around your shower. The old sealant will cause your new sealant not to adhere fully to the surface. Use a razor blade, putty knife, or specialized removal tool to scrape away the old sealant carefully.
-
Step 2: Clean all the surfaces
Once all old sealant is off, thoroughly clean the area. You want to remove all dirt, grime, soap scum, and mold from the area. A scrub brush will be more effective than simply wiping the area clean. After cleaning the area, let it fully dry before beginning to apply new sealant.
-
Step 3: Inspect for damage
As you clean the area, inspect it for any damage. Damage in your shower includes cracks, gaps, loose tiles, and damaged grout. Repair any damage and clean the area before applying sealant. If there are gaps, you can also use sealant to fill some of the smaller of those gaps.
-
Step 4: Choose the proper sealant
Sealant, caulk, and every option in between can feel endless! Which is best for your shower project?
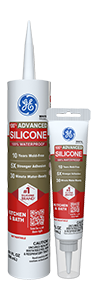
When sealing showers, opt for 100% silicone sealant. Silicone is flexible and durable, standing up to your shower’s regular use. It also repels water and moisture, which makes it ideal for high-moisture areas like showers.
-
Step 5: Apply the sealant
Cut your sealant’s tip at a 45-degree angle, which gives you the best angle for applying an even bead. You will want your tip to be slightly smaller than the area you are filling and increase your bead size by squeezing the caulk gun harder. This gives you more control over your bead’s thickness.
Follow your sealant’s instructions for loading it into your caulk gun and apply it at an angle.
Seal a shower drain, fixtures, door frame, grout, and areas where walls meet plumbing, other walls, or the floor.
Fill in the edge or gap entirely in a steady bead, trying not to stop between the line’s application so it remains as even as possible.
-
Step 6: Smooth the sealant
As soon as you finish an area, smooth the line. You can use a caulking tool or a wet finger to smooth the bead. Avoid using soap to smooth sealant, which can impact the sealant’s integrity.
You won’t want to wait too long before smoothing it as the sealant might begin to dry.
Smoothing the bead helps it adhere to the surface and gives it a crisp finish.
-
Step 7: Let it cure
Allow the sealant to cure according to the tube’s instructions. The cure time will vary depending on brand and sealant type. Some of GE’s sealants can be ready for water exposure in just a few hours.
Most sealants will require a total of 24 hours before it’s fully cured.
-
Step 8: Maintain the sealant
The average sealant will last about five years. However, GE sealants can last years longer if you properly care for the sealant.
Regularly cleaning the area of grime and soap scum will prevent damage to your sealant. If you notice small areas that are damaged, clean the area and add Re-New sealant. Re-New allows you to patch up sealant with new silicone without having to remove the previous sealant.
Sealing your shower requires quality silicone sealant that withstands excessive moisture. GE’s high-quality sealant is flexible and durable. It prevents leaks, mold growth, and bacteria buildup even in a high-use area like your bathroom shower.
Check out locations near you to find the closest retailer stocked with GE bathroom sealant.


