

Note: This DIY article is provided as a general guide only and is not intended to take the place of product-specific installation procedures; always follow applicable manufacturers’ instructions. Depending on your home’s age and condition, location within the home, and other potential factors, repairs and/or upgrades or other services may be necessary prior to the beginning and/or completion of your project that may involve the services of a home improvement professional. This article does not include advice pertaining to local building codes and/or any related inspections.
Crisp lines come from control, not luck. Learn how to caulk trim with the same control pros rely on. You’ll learn how to pick the right sealant, tape with precision, and shape a clean bead before it skins. Follow these caulking tips, and you won’t need to redo the job.
Choosing the right sealant for trim (interior and exterior)
Picking the right product is the first step to clean, lasting trim. When deciding how to caulk trim, match the sealant to where the trim is located and whether it will be painted.
Plan to paint? Choose a paintable sealant. 100% silicone is not paintable.
Interior, painted trim
- GE Siliconized Multi-Purpose Acrylic Window & Door Caulk: Best for small, low-movement gaps on baseboards, crowns, and casings.
- GE Siliconized Advanced Acrylic Window & Door Sealant: Better flexibility (Class 25). Paintable, typically paint-ready in about 30 minutes. Produces cleaner paint lines.
- GE Pro Seal Max Window & Door: Hybrid, paintable, paint-ready in about an hour, rain-ready immediately. One of the best caulks for trim that meets mixed materials or needs premium durability.
Interior, not painting (rare)
- If trim is stained or clear-finished and will remain unpainted, use a color-matched 100% silicone, such as GE Supreme Silicone Window & Door Sealant, for maximum waterproofing and flexibility. Otherwise, use a paintable acrylic or hybrid for painted trim.
Exterior, painted trim (weather-exposed)
- Pro Seal Max Window & Door: Preferred choice for long runs. Hybrid performance, paintable, immediate rain-ready.
- Exterior Seal Acrylic Caulk: Paintable, squeeze-tube format. This is ideal for quick DIY touch-ups.
Exterior, not painting
- GE Supreme Silicone Window & Door Sealant: 100% silicone. Provides unmatched waterproofing and weatherproofing, but cannot be painted, so choose color carefully at purchase.
Gather your tools
To caulk trim like a pro, prep is as important as the bead itself. Gather these tools and set up before you cut the nozzle:
- Painter’s tape: Straight, parallel lines guide the bead and prevent smears.
- Microfiber rags and denatured alcohol: Wipe down dust and oils from non-porous surfaces.
- GE Sealant Remover Tool: Lifts old material cleanly without gouging the trim.
- GE Cartridge Opener & Smoothing Tool or GE Sealant Smoothing Tool: For neat finishing without finger smears.
- Backer rod: Fills joints deeper than 1/4 inch to control bead depth.
- Caulk gun
Step-by-step: how to caulk trim without making a mess
Caulking trim is less about speed and more about sequence. Each move, from cutting the nozzle to applying the bead, to tooling and pulling tape, has a window where it works best.
-
Remove old caulk and clean
Old caulk left in the joint will break the bond and make the new bead fail early.
Start by pressing the pointed end of the GE Sealant Remover Tool into the seam until it bites, then pull it through. Flip to the flat end to scrape residue.
Vacuum the gap, wipe non-porous surfaces with alcohol, and let them dry before sealing.
-
Mask the joint for clean edges
Run painter’s tape along both sides of the gap, keeping the lines straight and parallel. Press the edges down firmly, as any lift will let the caulk bleed under. The tape sets your boundary, so the bead tools flat and the pull reveals a sharp paint line without smears.

Cutting the GE sealant nozzle at a 45-degree angle to seal gaps and cracks. -
Cut the nozzle and load the gun
Cut the nozzle at a 45° angle, opening just smaller than the gap, then puncture the inner seal. Seat the cartridge in the gun, set light pressure, and test on scrap.
A small, angled cut gives you control. Make it too big, and you’ll flood the joint.
-
Apply a steady, controlled bead
Hold the gun at a 45° angle with the tip resting lightly against both sides. Move at a steady pace, keeping constant pressure on the trigger. Aim to fill the joint, not flood it.
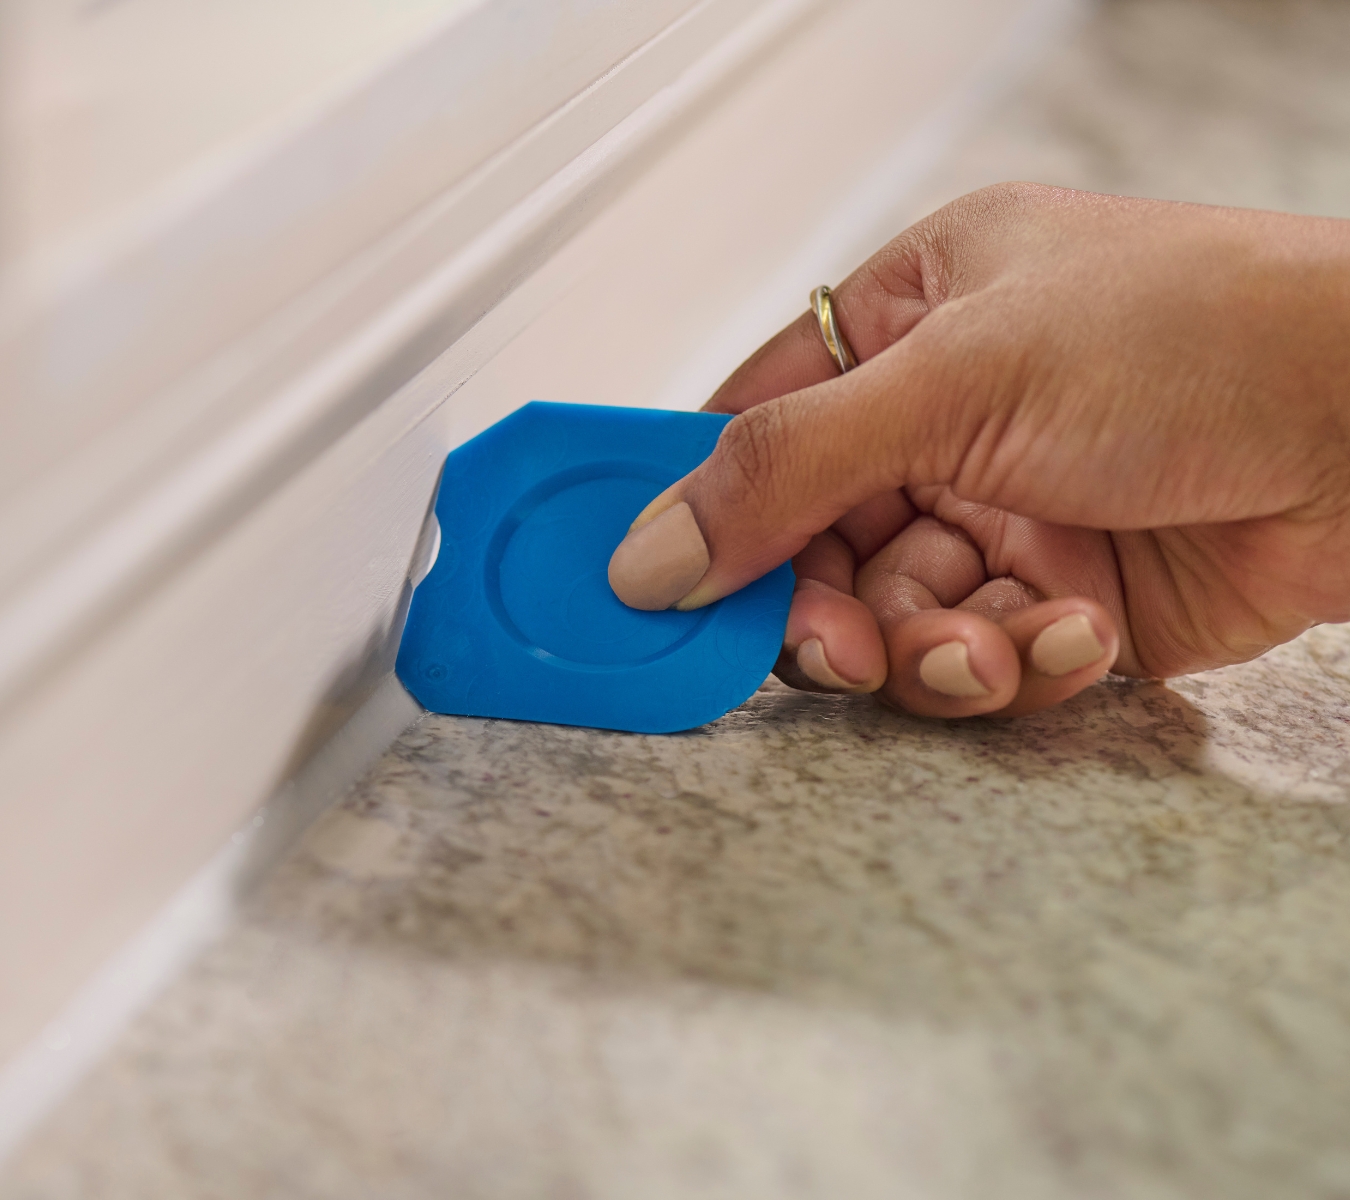
Tooling caulk bead with GE Sealant Smoothing Tool for smooth, paint-ready finish. -
Tool the bead (no smears)
Run your GE Sealant Smoothing Tool in short, light passes to shape the bead. Wipe the tool after each stroke. For acrylics, a damp tool helps, but hybrids and silicones need dry-tooling.
Proper tooling presses sealant into the joint and leaves a clean surface for paint or weather.
-
Pull the tape before skin forms
Lift the painter’s tape back over itself at a 45° angle while the bead is still wet. This keeps edges sharp and prevents tearing.
If a string of caulk follows, snap it off cleanly with the smoothing tool. The reveal should show a crisp, straight joint.
-
Let it cure and paint at the right time
Check the label for timing. For example, Siliconized Advanced Acrylic is paint-ready in about 30 minutes, Pro Seal Max Window & Door is ready to paint in about 1 hour, while Supreme Silicone Window & Door is not paintable, so choose a color accordingly.
Let the bead cure undisturbed; paint or expose to weather only when conditions match the spec.


Pro caulking tips to avoid a mess (and rework)
Even with tape and the right product, small choices make the difference between clean lines and a redo. Keep these caulking tips in mind:
- Keep bead depth about half the joint width. Use a backer rod for gaps over 1/4 inch.
- Work in 2-to-3-foot sections so you can tool and de-tape before the sealant skins.
- Keep the room at 65°F to 75°F when possible. Cold thickens sealant and raises smear risk.
- Cap the nozzle during breaks and store cartridges tip-down to keep material fresh.
Troubleshooting clean-line issues
Even with care, mistakes happen. Here’s how to read the joint and correct it:
- Stringing or smears: The bead was too thin or tooled too late. Slow down on your next joint and leave a slightly wider tape gap.
- Voids or air pockets: Keep steady trigger pressure and hold the nozzle in light contact with both sides of the joint.
- Cracks after painting: Use a Class 25+ paintable sealant and set bead depth with a backer rod.
- Poor adhesion: Clean the surface again. If you are sealing mixed materials, switch to a hybrid.
Get pro-looking trim the first time. Pick a sealant that matches your project. Find them at a retailer near you in the U.S. or Canada and finish your trim with confidence.


