

Note: This DIY article is provided as a general guide only and is not intended to take the place of product-specific installation procedures; always follow applicable manufacturers’ instructions. Depending on your home’s age and condition, location within the home, and other potential factors, repairs and/or upgrades or other services may be necessary prior to the beginning and/or completion of your project that may involve the services of a home improvement professional. This article does not include advice pertaining to local building codes and/or any related inspections.
Cleaning up after a sealing job is easier when you match the method to the type of caulk, the surface, and how long the material has been sitting there. Fresh residue on skin, tools, and nearby surfaces is usually much simpler to remove than cured sealant, but the safest cleanup method is not always the same for each situation. This guide explains how to clean caulk off hands, remove sealant from tools and equipment, and avoid the kinds of messes that are hardest to fix later.
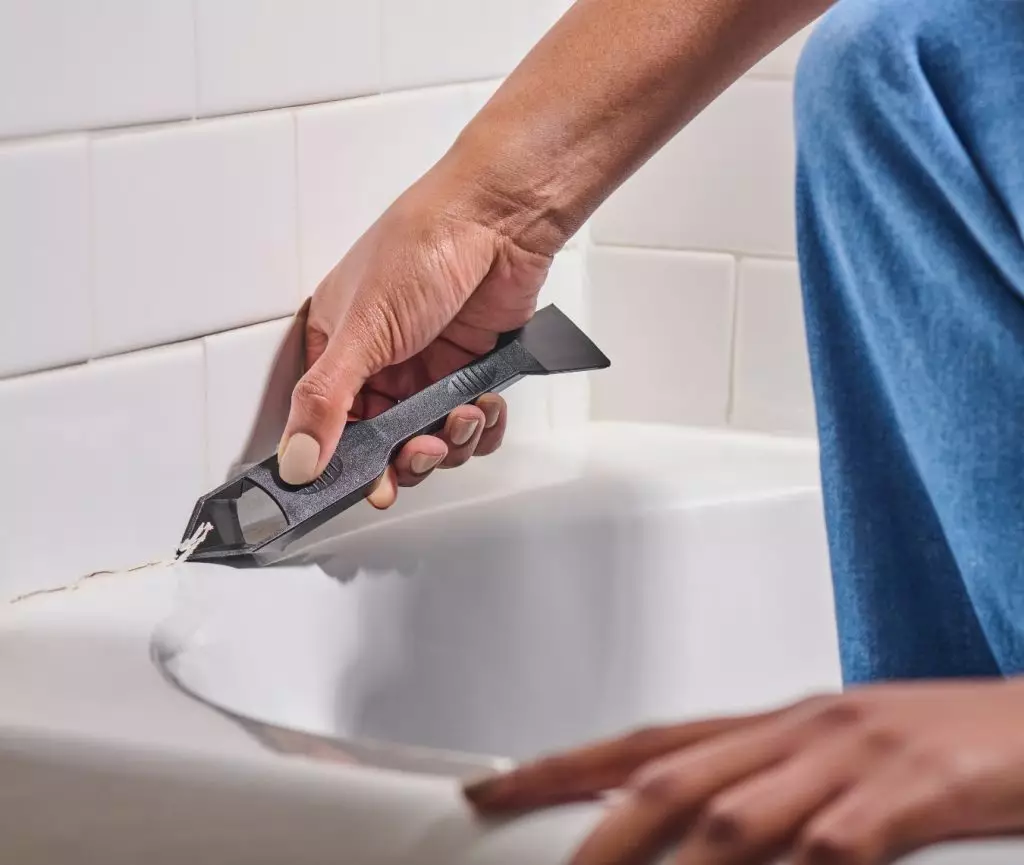
Removing cured silicone is a mechanical task and takes a bit of patience. The GE Sealant Remover Tool can help lift away cured or failed material from tools and equipment without as much guesswork, while for application, a shaping tool such as GE’s Sealant Smoothing Tool can help produce a cleaner bead with less excess to remove later.
Why sealant cleanup is not one-size-fits-all
Sealant cleanup depends on both the product and the timing. Silicone, hybrid, acrylic, and latex formulations do not all behave the same way once they get on skin, tools, or nearby surfaces, so one cleanup method will not fit every mess.
Fresh residue is usually easier to wipe, wash, or peel away before it skins over or starts to cure. However, once the sealant has set, cleanup often becomes more surface-specific and may require more careful scraping or a dedicated remover. The easiest approach is to match the method to the mess, starting with the gentlest effective option before moving to stronger cleanup steps.
Start with the easiest win: clean up fresh sealant fast
Fresh sealant is always easier to deal with than cured material, so the best first step is to act quickly. Before the product starts to skin over, wipe away as much excess as you can with a paper towel, rag, or disposable cloth without spreading it farther.
From there, check the label to see what the product recommends for cleanup. In some cases, soap and water may be enough while the sealant is still fresh, especially on skin or washable tools. In other cases, a different method may be needed depending on the formula. The key is not to assume every product cleans up the same way.
How to clean caulk off hands safely
When you need to clean caulk off your hands, start by removing as much excess material as possible without spreading it around. If the sealant is still fresh, wipe it away with a paper towel or rag first. If it has started to set, gently rub or peel off what you can before moving on to washing.
Next, check the product label. For some fresh messes, soap and warm water may be enough if you catch them early. Wash thoroughly but avoid scrubbing so hard that you irritate your skin.
If residue remains, use a skin-safe follow-up method such as mineral or baby oil only if needed. This is often the best next step when you need to remove sealant from hands without making the cleanup harsher than necessary. Start with the gentlest effective option and work slowly.
Avoid harsh solvents on skin unless the product guidance clearly says they are safe for that use. Products that may work on tools or equipment are not always appropriate for the hands. If the sealant has fully cured, some remaining bits may need to wear off naturally rather than be forced off aggressively.
How to remove silicone sealant from tools and equipment
For caulk guns, smoothing tools, scrapers, utility knives, and similar equipment, start by wiping away fresh excess with a rag or paper towel before it spreads or hardens. If residue remains, follow the product guidance for cleanup while the material is still fresh.
Cured silicone needs a different approach for removal. At this point, removal is usually more mechanical and takes more patience. The GE Sealant Remover Tool can help lift away cured or failed material from tools and equipment without as much guesswork. For application and finishing tools, it also helps to keep cleanup in mind before the mess starts. A shaping tool such as GE’s Sealant Smoothing Tool can help produce a cleaner bead with less excess to remove later. In general, fresh residue calls for fast wipe-down cleanup, while cured silicone usually needs scraping, peeling, or a dedicated removal approach.
How to remove silicone sealant from nearby surfaces without spreading the mess
When sealant lands on a finished wall, trim, tub, glass panel, countertop, or floor, the goal is to lift it away without smearing it further or damaging the surface underneath. Start by removing excess carefully with a scraper or similar tool rather than rubbing it around with a wet cloth.
If you need to remove silicone sealant after it has started to set, work slowly and keep the tool angle controlled so you do not scratch the finish. Surface compatibility makes a difference here. A method that works on glass may not be safe for painted trim, sealed stone, or delicate finishes. Avoid aggressive chemicals unless the product guidance and the surface both support them. However, in most cases, patience and gentle mechanical removal are safer than a stronger solvent.
Make cleanup easier next time
Once the sealant has cured, cleanup usually becomes slower and more surface-specific. At that point, removal often depends on patient scraping, peeling, or a product-safe remover rather than a quick wipe-down. The easier approach is to prevent as much mess as possible from the start. Wear gloves, use masking tape where clean lines matter, protect nearby surfaces with a drop cloth, and keep rags nearby for quick wipe-ups.
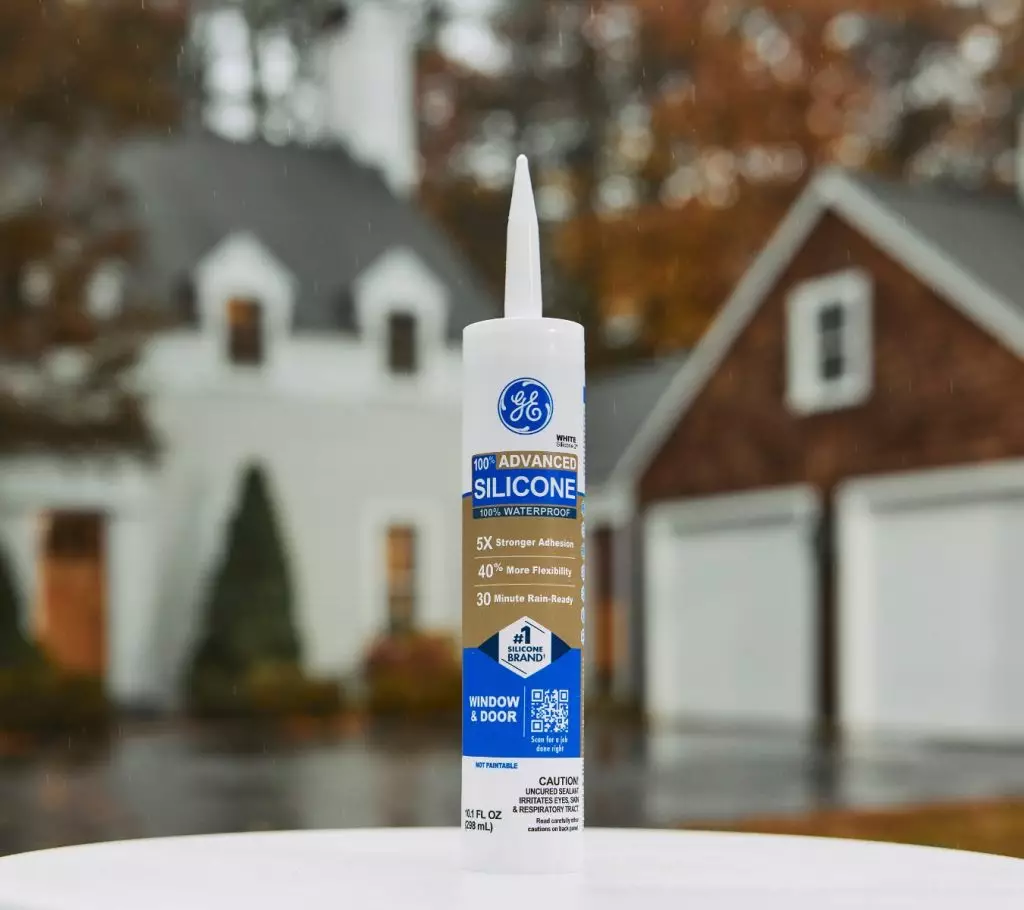
It also helps to cut the nozzle correctly and keep a smoothing tool ready, so you do not leave more excess than necessary. Before starting, check the label on products such as GE Advanced Silicone Window & Door or GE Supreme Silicone Kitchen & Bath, so you understand the cleanup guidance, cure timing, and the best window for removing fresh residue.
To get GE Sealants’ products for your home improvement project, visit these fine retailers in the U.S. or Canada.


