Note: This DIY article is provided as a general guide only and is not intended to take the place of product-specific installation procedures; always follow applicable manufacturers’ instructions. Depending on your home’s age and condition, location within the home, and other potential factors, repairs and/or upgrades or other services may be necessary prior to the beginning and/or completion of your project that may involve the services of a home improvement professional. This article does not include advice pertaining to local building codes and/or any related inspections.
Spring cleaning is the perfect occasion to tackle a bathroom refresh and give one of the most-used rooms in your home a cleaner, more updated feel. With a few simple DIY upgrades—like resealing fixtures, whitening grout, and replacing old sealant—you can dramatically improve both appearance and function. These easy, affordable projects are a great way to start your spring cleaning with lasting impact.
Remove and replace old sealant
Old, discolored, or cracked sealant around your tub, shower, or sink can make your bathroom look worn and unclean—and it may no longer be keeping moisture out effectively. Over time, even the best sealants can degrade due to daily exposure to water, humidity, and cleaning products. Replacing deteriorated sealant is one of the easiest and most worthwhile steps in a bathroom refresh.

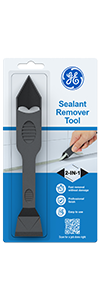
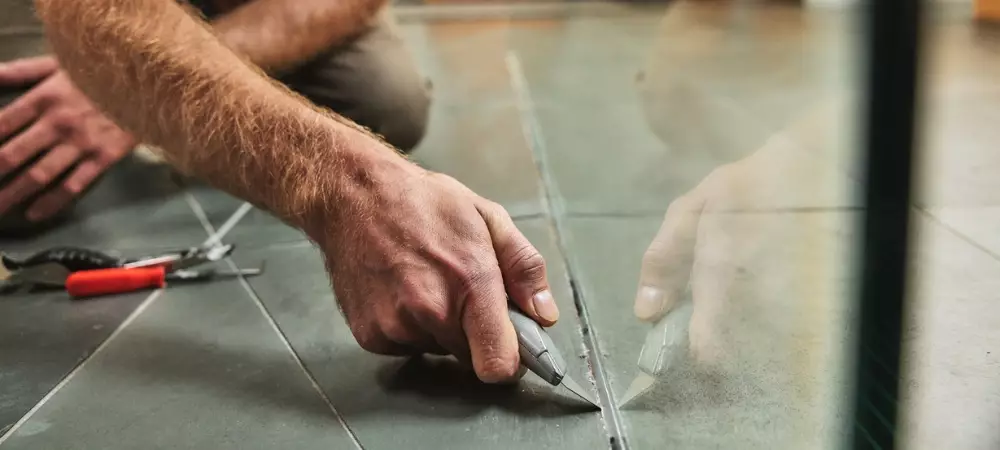
Start by removing the old sealant using GE’s new Sealant Remover Tool, which is designed to safely lift away silicone without damaging surfaces. Once removed, clean the area thoroughly with soap and water, then wipe it dry to ensure proper adhesion. Avoid applying new sealant over damp or dirty surfaces, as this can lead to poor bonding and future leaks.
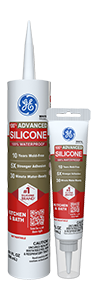
Apply a bead of high-performance silicone, such as GE Advanced Silicone 2® Kitchen & Bath Sealant, along the seams where your tub or sink meets the tile or countertop. This sealant is waterproof, mold-resistant, and permanently flexible—ideal for wet environments. Use a smoothing tool or gloved finger to smooth the bead and create a clean, professional look.
Reseal around bathroom fixtures
Even if your sink and shower fixtures are in good shape, the sealant around them can break down over time, allowing water to seep into walls or under surfaces. If left unaddressed, this can lead to hidden moisture damage, mold growth, and costly repairs. As part of your spring bathroom refresh, take time to inspect and reseal these high-moisture areas.
Focus on spots where faucets meet countertops, shower head escutcheons, and the base of sink fixtures. If the sealant is cracked, peeling, or pulling away from the surface, it’s time for a replacement. Remove any old material using a sealant remover tool, clean the surface thoroughly, and allow it to dry completely.
Apply a bead of waterproof, mold-resistant silicone—using GE’s new Smoothing Tool—for long-lasting protection. Smooth the bead for a clean, tight seal that blends in with your fixture. Once cured, the resealed area will help keep moisture out and maintain the clean look of your bathroom.
Additionally, you can learn how to seal and install undermount sinks.
Whiten and seal grout lines
Grout lines play a big role in your bathroom’s appearance, and over time, they can darken or stain due to soap, moisture, and everyday use. Whitening and sealing grout is a simple, budget-friendly way to brighten tile surfaces and extend their lifespan.
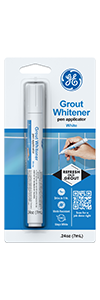
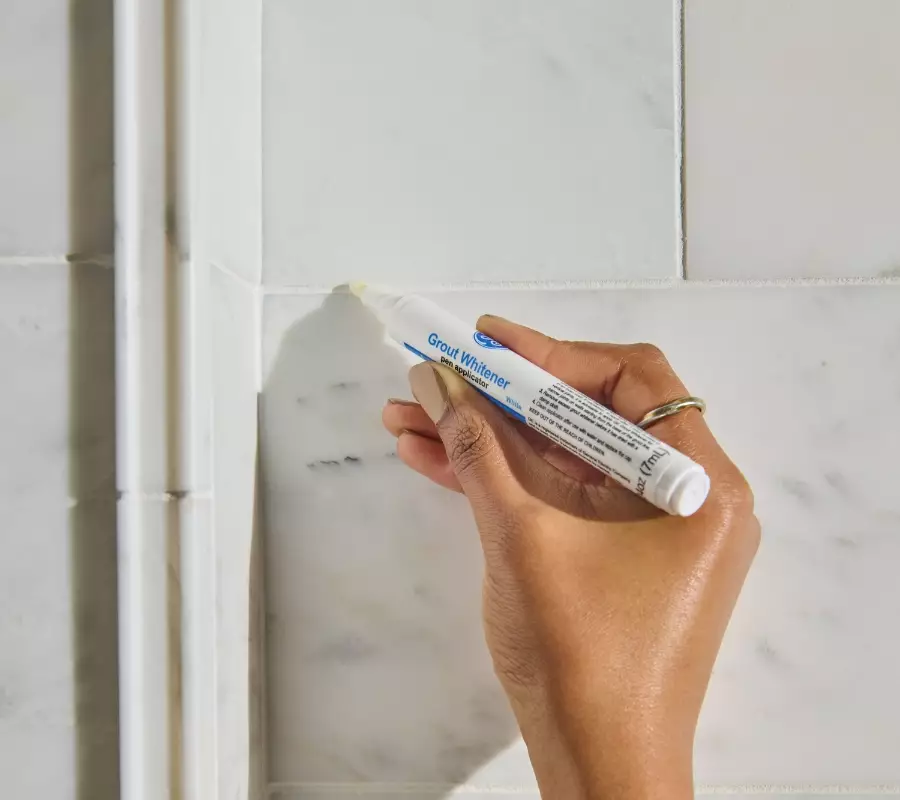
Start by cleaning grout lines with a grout cleaner or a mixture of vinegar and water. Use a stiff-bristle brush to scrub away dirt, mildew, and discoloration. For heavily stained grout, consider using GE’s new Grout Whitening Pen to restore a clean, uniform look.
Want to make old grout look new again? GE’s Grout Whitening Pen is an easy-to-use solution for refreshing old grout and sealant. It applies directly over existing 100% silicone to create a clean, waterproof finish—perfect for a quick bathroom refresh without the mess of removal. Ideal for high-moisture areas like showers and backsplashes.
Once the grout is fully dry, apply a grout sealer to help protect it from future stains and moisture. Grout sealers are typically available in brush-on or spray formats and add a water-resistant barrier that keeps grout looking newer for longer. Focus on tiled walls, backsplashes, and floors in high-moisture areas like showers and around sinks.
Check out our post to know the secret to sealing a shower door correctly every time.
Update hardware and accessories
Swapping outdated or worn hardware is a fast, low-cost DIY bathroom upgrade for a more modern bathroom look without making sweeping, structural changes. Consider replacing items like towel bars, cabinet handles, drawer pulls, toilet paper holders, and even your faucet if it’s showing signs of wear.
When selecting new hardware, look for finishes that match or coordinate with existing elements in your bathroom for a cohesive design. Brushed nickel, matte black, and chrome are popular, versatile choices that can instantly elevate the space. Most hardware upgrades require only basic tools, such as a screwdriver or adjustable wrench, making them approachable even for beginner DIYers.
If you’re changing out a faucet, check the sealant around the base once it’s installed. Applying a fresh bead of silicone sealant helps prevent water from getting under the fixture and keeps the installation looking clean and professional.
Deep clean mirrors, tiles, and fixtures
A thorough deep clean can dramatically improve the look and feel of your bathroom, making it feel fresher and more inviting. After resealing and updating hardware, finish your bathroom refresh by targeting high-visibility surfaces like mirrors, tile, and metal fixtures.
Start with the mirrors—use a streak-free glass cleaner or a vinegar-water solution to remove smudges, water spots, and residue. For tile, focus on removing soap scum and mildew with a non-abrasive cleaner that’s safe for grout and finishes. A soft-bristle brush or microfiber cloth works well for scrubbing without scratching surfaces.
Pay special attention to faucets, showerheads, and drain trim. Mineral buildup and water spots can make metal fixtures look dull. A mix of white vinegar and water can help dissolve buildup and restore shine. Rinse all surfaces thoroughly and dry them with a clean towel to prevent water marks.
To get GE Sealants’ products for your home improvement project, visit these fine retailers in the U.S. or Canada.