
Note: This DIY article is provided as a general guide only and is not intended to take the place of product-specific installation procedures; always follow applicable manufacturers’ instructions. Depending on your home’s age and condition, location within the home, and other potential factors, repairs and/or upgrades or other services may be necessary prior to the beginning and/or completion of your project that may involve the services of a home improvement professional. This article does not include advice pertaining to local building codes and/or any related inspections.
A new sink can refresh the look of a kitchen quickly, but a clean installation depends on more than just dropping the sink into the opening and tightening a few clips. If you want to install a new sink successfully, the fit, the plumbing connections, and the perimeter seal all need specific attention. This guide explains how to install a drop-in sink in simple steps and shows how careful sink installation helps prevent water leaks around the rim over time.
Old residue, grime, and all failed sealant should come off before the new sink goes in. A clean opening gives the new perimeter seal a better surface to bond to and helps reduce the chance of leaks around the rim later.
What to check before you buy the sink
Before you buy a new sink, confirm that it will actually fit the opening and the cabinet below it. If you are replacing an existing drop-in sink with the same general style, matching the current cutout is usually the easiest path. You should still measure the countertop opening and check the cabinet width so the new sink does not create clearance problems underneath.
It also helps to verify the sink depth, since a deeper basin can affect the space available for plumbing or disposal components. Check the faucet-hole configuration as well, especially if you plan to reuse your current faucet or add accessories like a sprayer or soap dispenser. Finally, confirm that the sink is appropriate for the countertop material and the way the cutout will be supported.
When this is a DIY job and when to bring in help
A simple drop-in sink replacement is typically manageable for non-expert DIYers when the existing cutout works, the plumbing stays in place, and the old sink comes out without trouble. The job becomes more complicated when countertop cutting is required, plumbing components must move, or a garbage disposal creates extra clearance or reconnection issues. As a good general rule, consult professional help if you find yourself uncertain about:
- Shutoff valves
- Nearby electrical components
- Condition of the plumbing itself
Sink Installation: what you need to get started
Before installation starts, gather the things you’ll need so you can get the job done efficiently once the old sink is out. These usually include:
- New drop-in sink
- New faucet if you are replacing it
- Caulk gun
- Adjustable wrench
- Screwdriver
- Pliers
- Bucket and towels
- Tape measure
Keep these within easy reach before you disconnect anything. This is also the right time to set out the tools that help with sealing and cleanup. GE’s Sealant Remover Tool is useful if the old sealant is still bonded around the sink rim. Likewise, GE’s Sealant Smoothing Tool can help you finish a cleaner perimeter bead once the new sink is in place.
Remove the old sink and prep the opening
Start by shutting off the water supply and disconnecting the supply lines under the sink. Keep a bucket and towels nearby because some water usually remains in the lines or drain components. If the setup includes a garbage disposal, remove that next so the sink can come free more easily.
Then, loosen the mounting clips that hold the sink to the countertop. If the sealant is still holding the rim in place, cut through it carefully before trying to lift the sink out. Once the sink is removed, clean the opening thoroughly. Old residue, grime, and all failed sealant should come off before the new sink goes in. A clean opening gives the new perimeter seal a better surface to bond to and helps reduce the chance of leaks around the rim later.
How to install a drop-in sink: step-by-step
Follow these eight steps to nail your sink installation on the first go:
-
Dry-fit the sink
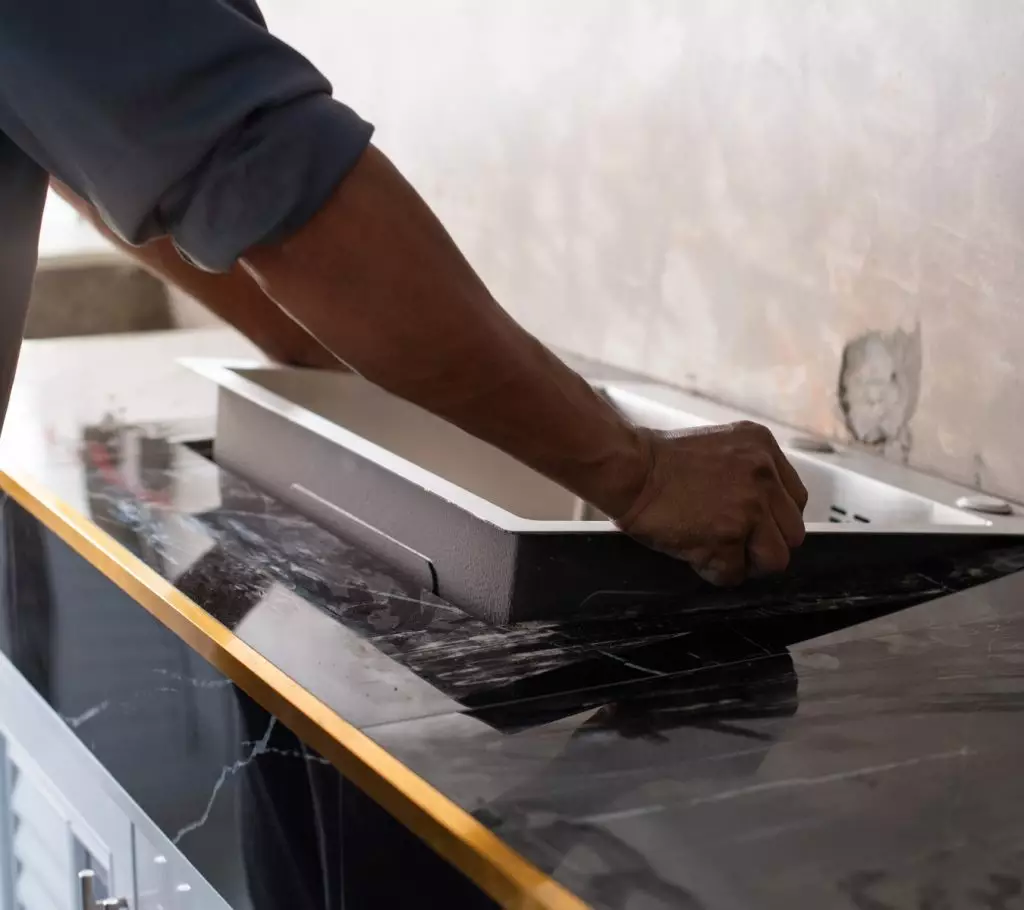
Hands lowering a white drop-in sink with a raised rim into a black countertop cutout. Set the sink into the countertop opening before you apply any sealant. This lets you confirm that the rim covers the cutout evenly and that the basin clears everything below the counter.
-
Check the alignment and faucet-hole layout
Make sure the sink sits squarely and that the faucet-hole configuration works for the faucet and any accessories you plan to install.
-
Apply the sealing bead under the rim
Lift the sink back out and run a continuous bead where the rim will contact the countertop. Keep the line consistent so the perimeter will be protected once the sink is seated.
-
Lower the sink carefully into place
Set the sink into the opening and press it down into position without shifting it more than necessary.
-
Secure the clips evenly
Tighten the mounting clips gradually from below instead of fully tightening one side first. This helps the sink seat more uniformly around the cutout.
-
Install the faucet and accessories
Attach the faucet and any additional components according to their instructions before finishing the rest of the assembly.
-
Reconnect the supply lines and drain components
Reconnect the water lines, drain, and garbage disposal if the setup includes one.
-
Test for leaks
Turn the water back on and check both the plumbing connections underneath and the sink perimeter above. A proper sink installation should leave the sink seated evenly, the plumbing secure, and the rim ready to resist water intrusion.
Choosing the right GE sealants for the job
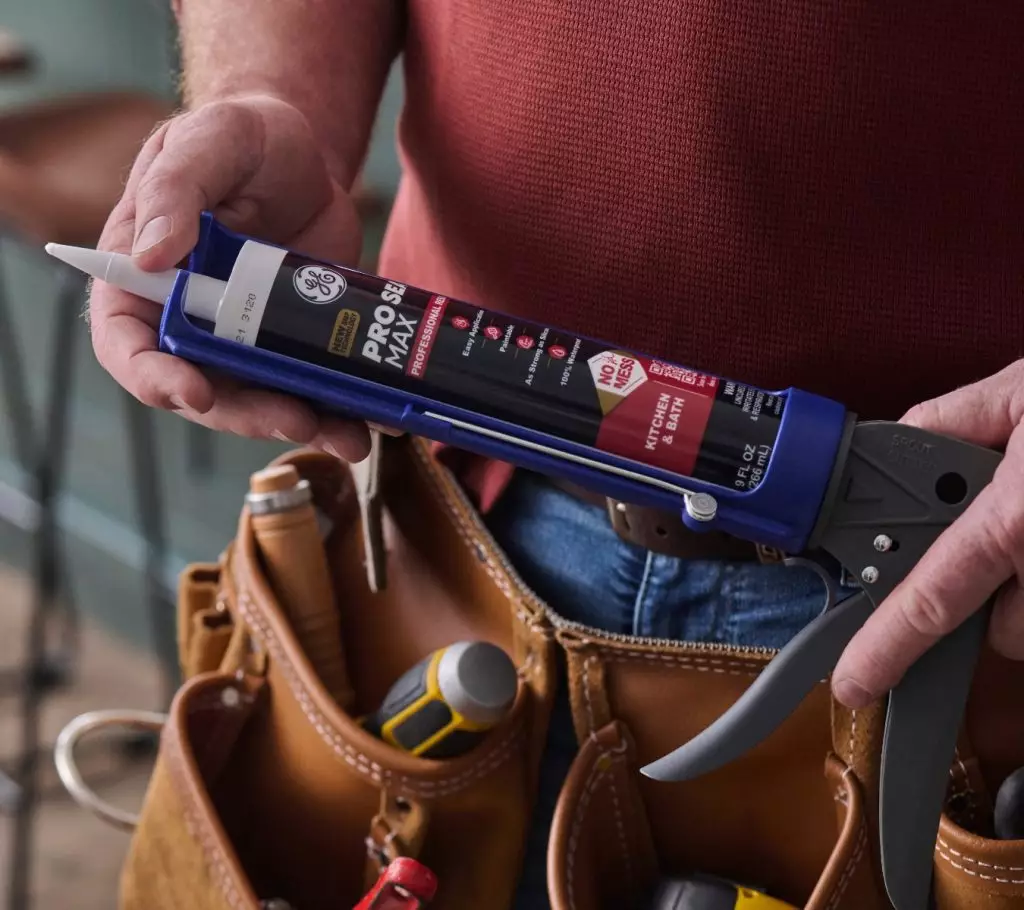
For a kitchen sink perimeter, GE Pro Seal Max Kitchen & Bath is the top recommendation when you want a paintable, 100% waterproof seal that stays flexible in an interior moisture-prone area. It is low-odor and formulated to resist mold and mildew growth, which makes it a strong fit around the rim where splashing and cleanup are routine.
GE Advanced Silicone Kitchen & Bath is the better option when you want a 100% silicone, 100% waterproof seal around sinks and other wet-area joints. It stays permanently flexible and offers 30-minute water readiness with 10-year mold-free product protection.
To get GE Sealants’ products for your home improvement project, visit these fine retailers in the U.S. or Canada.


