

Note: This DIY article is provided as a general guide only and is not intended to take the place of product-specific installation procedures; always follow applicable manufacturers’ instructions. Depending on your home’s age and condition, location within the home, and other potential factors, repairs and/or upgrades or other services may be necessary prior to the beginning and/or completion of your project that may involve the services of a home improvement professional. This article does not include advice pertaining to local building codes and/or any related inspections.
Undermount sinks give the countertop a cleaner look and make it easier to wipe crumbs and water straight into the basin. Installing an undermount sink successfully requires proper support from below and careful sealing where the rim meets the underside of the countertop. This guide explains how to seal a kitchen sink, align the basin, and install a kitchen sink in a way that helps prevent leaks over time.
When you want a paintable, 100% waterproof seal in a moisture-prone interior space, GE Pro Seal Max Kitchen & Bath is the top recommendation for undermount sink installation. It stays permanently flexible, has a low-odor formula, and is designed to resist mold and mildew growth around sinks, countertops, backsplashes, fixtures, plumbing, and tile.
What makes undermount sinks different from drop-in sinks
An undermount sink sits below the countertop instead of resting on top of it. There is no raised rim above the surface, which gives the counter a cleaner look and makes it easier to wipe water or debris straight into the basin. Cleaner wiping surfaces are one reason many homeowners prefer undermount sinks. The tradeoff is that the installation is less forgiving.
A drop-in sink supports itself at the rim, while an undermount sink depends on stable support below the counter and a properly sealed connection at the sink edge. Because of this, installing undermount sink setups usually takes more planning and more careful execution than a standard drop-in replacement.
What to plan before you start
Before you start, confirm that the sink size works with the countertop cutout and the cabinet space below it. If the cutout already exists, make sure the new sink is compatible with that opening and with the reveal you want at the edge.
It also helps to check the countertop material and the support method required for the sink, since undermount installation depends on secure attachment beneath the counter. Confirm the faucet and accessory layout as well so the sink, faucet holes, drain components, and any extras all work together. Finally, be realistic about the difficulty of the project. Some undermount sink jobs are manageable for a DIYer, while others are better handled by a professional.
What tools and materials you need
Before you start, gather:
- Sink to install
- Faucet and drain parts if you are replacing them
- Caulk gun
- Adjustable wrench
- Screwdriver
- Pliers
- Tape measure
Keep towels and a bucket nearby as well, since some water usually remains in the lines or drain assembly when the old sink comes out.
If the undermount sink will need temporary support during installation, have clamps or another support setup ready before you begin. This is also the right time to set out the tools that will help with sealing. GE’s Sealant Remover Tool or a putty knife can help remove old sealant cleanly from the underside of the counter, while GE’s Sealant Smoothing Tool can help with cartridge setup and final bead shaping.
Remove the old sink and prep the underside of the cutout
Start by shutting off the water and disconnecting the supply lines and drain assembly. If the setup includes a garbage disposal, remove that next so the sink can come free more easily. Once the plumbing is out of the way, release any clips, brackets, or supports holding the sink in place.
If old sealant is still bonding the sink to the countertop, cut through it carefully before trying to lower the basin. After the sink is out, clean the underside of the countertop cutout thoroughly. Old sealant, grime, and loose residue should all be removed before the new sink goes in. A clean underside gives the new sealant a better surface to bond to and sets up the next phase of installation more cleanly.
Step-by-step: how to install an undermount sink
Follow these steps for a thorough undermount sink installation:
-
Dry-fit the sink under the cutout
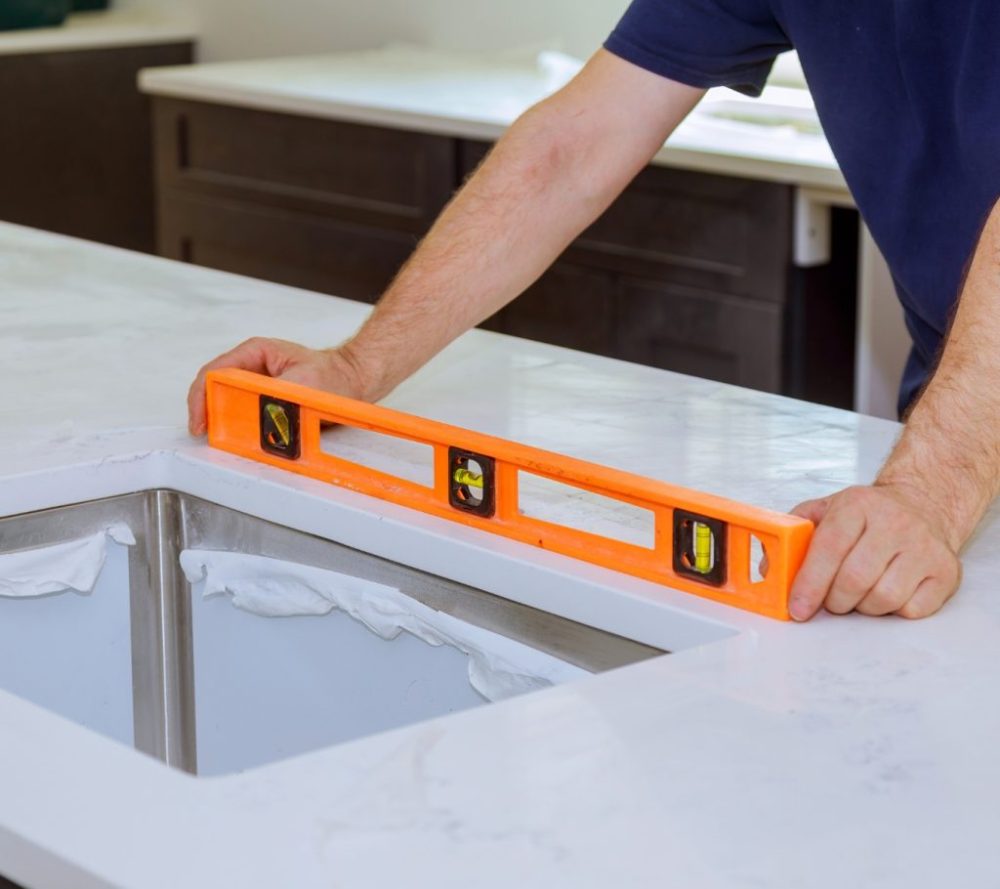
A Level used to verify alignment of a countertop sink cutout before an undermount sink is secured. Before applying any sealant, hold the sink in place below the opening and make sure the basin fits the cutout and cabinet space the way you expect.
-
Confirm the reveal and alignment
Check how the sink edge lines up with the countertop opening and make any adjustments before hardware or sealant go in.
-
Prepare the mounting hardware or support system
Set up the clips, brackets, rails, or temporary support method you will use so the sink can be held securely once lifted into place.
-
Apply sealant at the sink rim
Run a continuous bead where the sink rim will contact the underside of the countertop. Keep the line even so the perimeter will seat consistently.
-
Lift and secure the sink in place
Raise the sink carefully into position and press it into alignment without shifting it around more than necessary.
-
Tighten the supports evenly
Work gradually around the sink so the basin seats uniformly instead of pulling harder on one side.
-
Install the faucet, drain, and accessories
Complete the hardware setup once the sink is supported and aligned properly.
-
Reconnect the plumbing and test for leaks
Turn the water back on and check both the drain assembly and supply connections before calling the job complete.

Choosing the right GE sealant for the job

When you want a paintable, 100% waterproof seal in a moisture-prone interior space, GE Pro Seal Max Kitchen & Bath is the top recommendation for this kind of installation. It stays permanently flexible, has a low-odor formula, and is designed to resist mold and mildew growth around sinks, countertops, backsplashes, fixtures, plumbing, and tile.
If you don’t need to paint over the seal and just require the strongest grade, 100% silicone moisture protection, GE Advanced Silicone Kitchen & Bath is the better option. It also stays permanently flexible and offers 30-minute water-ready performance with 10-year mold-free product protection.
To get GE Sealants’ products for your home improvement project, visit these fine retailers in the U.S. or Canada.

