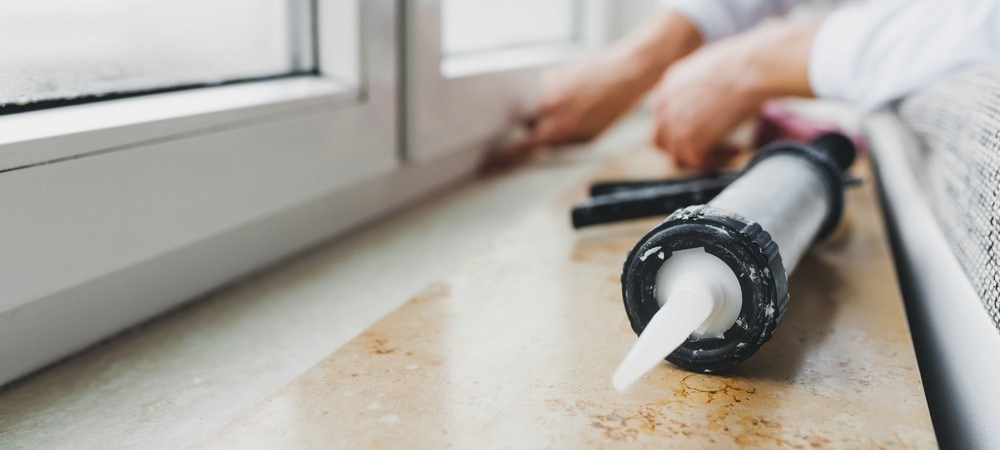
The sealant tube is designed to make sealing a breeze. However, before you can jump right into your task, you need to know how to open a tube of silicone sealant properly. Knowing how to open a tube of sealant not only gives you more control over your bead but also ensures you can reseal the tube for later use, saving you valuable money and avoiding waste.
Learn pro tips for cutting, prepping, and resealing a tube of sealant for optimal efficiency at your job.
Note: This DIY article is a general guide and is not intended to replace product-specific installation procedures; always follow applicable manufacturer’s instructions. Depending on your home’s age and condition, location within the house, and other potential factors, repairs and/or upgrades or other services may be necessary prior to the beginning and/or completion of your project that may involve the services of a home improvement professional. This article does not include advice pertaining to local building codes and/or any related inspections.
What types of sealant tubes are there?
You will find two primary types of sealant tubes: cartridge and squeeze tubes.
The cartridge tubes go in your cartridge gun. They are perfect for big jobs like sealing windows, bathtubs, flooring, and more. They often do not have resealable caps and require cutting to open the tip at the ideal size to fit your job.
The squeeze tubes are for smaller jobs, like touching up small areas or sealing small cracks. They do not go in your cartridge gun. Instead, you use them by hand. They often come with a resealable cap because smaller jobs will most likely not use the entire tube.
While most of the tips we’ll cover are for the cartridge-style tube, they also work for the squeeze tube. Even though you have a resealable cap, you may end up with excess air in your tube that might dry it out faster. Taking the extra steps to bleed out air and properly seal the tube saves the excess.
How to cut open a tube of sealant
How you cut open a tube of sealant determines its flow and your ability to seal it afterward for reuse. A properly cut sealant tube will have a steady, small flow, giving you greater control over your sealant beads.
Use these tips to learn how to open up a tube of sealant.
How wide should the cut be?
Because the sealant tube has a tapered tip, the closer you cut to the tip, the narrower your bead will be. If you have a more significant job, like large gaps, a cut further back will allow a larger flow.
Generally, keep your cut smaller than your desired bead size and the area. Then, add more width by applying pressure when squeezing the cartridge gun handle to increase your bead size as needed.
What angle should the cut be?
Cut your sealant tube at a 45-degree angle near the tip for more control and a smoother bead.
Always cut your tube at an angle. A 45-degree angle will align best with the tilt of your cartridge gun. That way, you will have a steady bead.
How should you cut the sealant tube?
There are several ways to cut the tip of a sealant tube:
- Use the hole in the side of your cartridge gun to cut the seal. Place the tube at a 45-degree angle and squeeze the trigger to cut the tip.
- If you don’t have a cartridge gun, use a sharp knife (like a utility blade or painter’s knife) or scissors to cut the tip of the tube at an angle.
Many sealant tubes also have a foil seal. This provides extra security against air, allowing the sealant to last longer. After cutting the tip, you will also need to puncture this internal seal.
- Use a nail or stiff wire to push into the sealant’s seal.
- Use the seal punch underneath your cartridge gun to puncture a hole in the inner foil seal.
Now your sealant tube is ready to load and use in your cartridge gun for your sealant project!
How to save an open tube of sealant
After you complete a small job, there’s a chance you’ll have some sealant left over. If you have a steady stream of clients, you can save yourself resources by properly opening and resealing the sealant tube to reuse at the next job.
Follow these three steps to help preserve your sealant longer
-
Step 1: Thoroughly clean the nozzle
You will want to remove as much excess sealant as you can from the outside of your tube. A damp cloth will work well to clear up the nozzle.
-
Step 2: Remove excess air
Because you already used some sealant, air will be inside the tube. That air can dry your sealant, even if you properly seal the outside.
To reduce the amount of air trapped inside the tube, push a small amount of sealant right to the tip, trying not to leave any mess on your freshly cleaned external nozzle. Some pros will even squeeze a small amount out to help seal the cap back on and limit any leakage.
-
Step 3: Close the tip
Once the outside is clean and excess air is out, you will want to close the hole you cut to prevent air from entering and drying out the sealant faster.
Here are a few of the top ways professionals reseal their sealant tubes:
- Place the cap back on the tube if it has an airtight cap like the squeeze tubes.
- Place the tip you cut off upside down inside the tube again.
- Push a 2-inch nail or screw into the opening to seal it.
- Wrap cling wrap around the nozzle and secure it with a rubber band.
- Seal the tip using electrician or plastic tape.
How to store a tube of sealant
Storing your resealed tube of sealant properly extends its life. Typically, a quality tube that you have not opened yet will last for several years. Once you open the sealant tube, its shelf life depends on how much air exposure it has. A well-sealed sealant tube could last for months, while a poorly sealed tube that leaks air into the tube may only last days.
Here are a few storing tips:
- Keep your tubes upside down. This reduces the amount of air that leaks in through the cut tip.
- Store the tube in a location between 40 degrees and 80 degrees.
- Prevent storing the silicone sealant in high moisture or humidity areas.
- Keep your silicone sealant tubes away from UV radiation and sunlight.
If you are using a tube you sealed after a previous project, we highly recommend doing a test strip before using it on a client’s area. That test strip will let you see any bumps, hardening, or failure to cure, which signals that air leaked into the tube during storage. If it beads properly and cures, you can use that tube again.
Choosing high-quality sealant ensures your sealant has a longer shelf life and is less likely to have air leaks. GE’s professional, quality sealants are easy to use and reseal, saving you valuable resources and materials.
Find a store near you carrying one of our many sealants.


