
Note: This DIY article is provided as a general guide only and is not intended to take the place of product-specific installation procedures; always follow applicable manufacturers’ instructions. Depending on your home’s age and condition, location within the home, and other potential factors, repairs and/or upgrades or other services may be necessary prior to the beginning and/or completion of your project that may involve the services of a home improvement professional. This article does not include advice pertaining to local building codes and/or any related inspections.
Cracked caulk allows moisture to seep behind walls, spreads mold, and loosens fixtures. With the right tools and a waterproof bathroom sealant, you can recaulk your bathroom in a weekend and stop small problems from turning into big ones.
Why recaulking your bathroom matters
Using a sealant protects the parts of your bathroom you don’t see. Around tubs, behind sinks, and along shower seams, it blocks water from seeping into walls, subfloors, and framing. When it cracks or peels, moisture gets in—and that’s where mold takes hold, wood softens, and drywall begins to break down. You’ll spot the early warnings: yellowing lines, brittle edges, dark spots that keep coming back. That’s when it’s time to recaulk your bathroom with the right materials to keep damage from spreading.
Many sealants fail because they’re improperly used. Acrylic caulk doesn’t last in steam-heavy areas. It shrinks, cracks, and washes out over time. A proper bathroom sealant (100% waterproof silicone) holds its line, flexes with movement, and won’t grow mold. GE’s Kitchen & Bath silicones are built for this kind of work. Once they’re down, they stay sealed.
To recaulk your bathroom, start with a clean, dry joint. Silicone won’t grip if there’s dust, soap film, or leftover sealant.
What you’ll need to do the job right
Treat this like any small job site: set up clean, get your tools within reach, and prep once to do it right.To replace old caulk, you’ll need the right scraper and cleanup tools before any new sealant goes in.
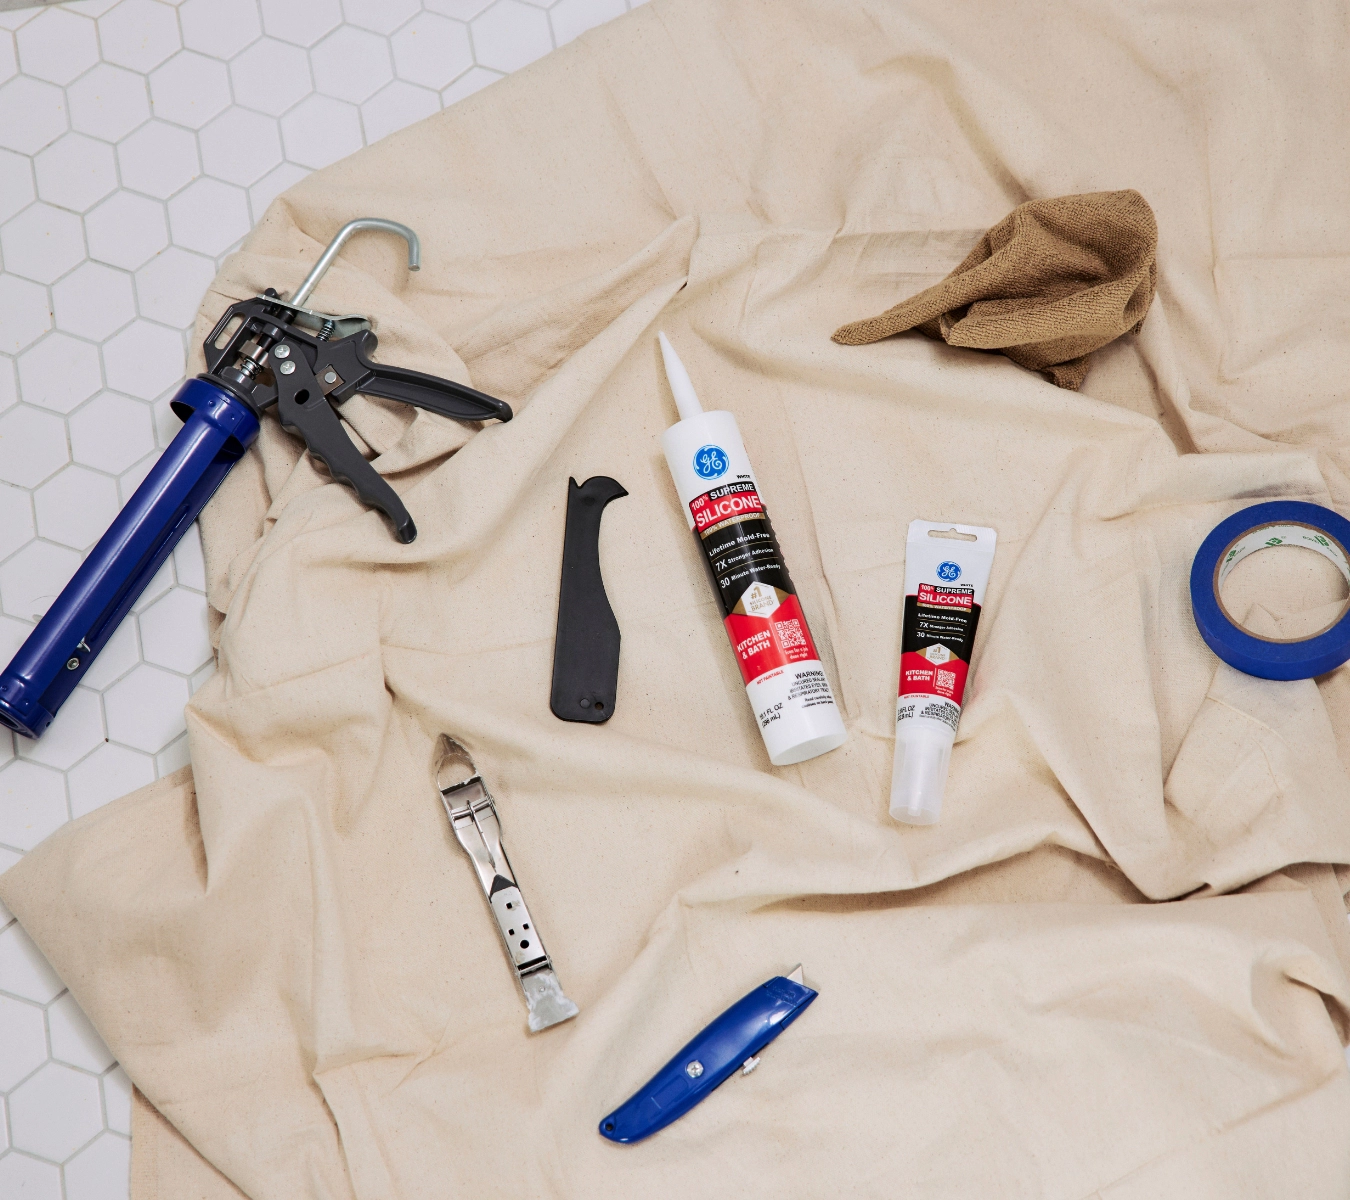
Tools & supplies
- GE Supreme Silicone Kitchen & Bath Sealant: It’s made for high-moisture areas like tubs, showers, and sinks—and is built to stay sealed.
- Sealant Remover Tool: for scraping up old, stubborn caulk
- Cartridge Opener & Smoothing Tool: cuts cartridges cleanly and shapes a smooth, even bead
- Caulk gun (manual or dripless)
- Isopropyl alcohol
- Rags or paper towels
- Disposable gloves
- Painter’s tape
Step-by-step: how to recaulk your bathroom
Follow these four steps to strip the old caulk, prep the surface, and lay down a long-lasting seal.
- Remove the old caulk Start by clearing every inch of the old bead. Use a sealant remover tool or a utility blade to score along the edges, then pull the caulk free in strips. Work slowly—especially around tile seams or trim—so you don’t gouge the surface underneath.
Once the bulk is off, go back with a plastic scraper or your remover tool to lift any leftover residue. This is where mold, soap scum, and mildew tend to hide. Wipe the area down with isopropyl alcohol and let it dry completely.
If you rush this step, nothing else will hold. Take the time to replace old caulk. New silicone won’t bond over dirt, leftover bathroom sealant, or moisture.
- Prep the surface Once the old caulk is gone, it’s time to get the joint ready for a lasting bond. Every seam should be dry, dust-free, and clean. Any leftover soap film or moisture will weaken adhesion and shorten the life of the seal.
Use painter’s tape to mask off each side of the joint. It gives you a clean edge and keeps bathroom sealant from spreading onto tiles or fixtures. Keep the tape tight to the line. Just a small gap is enough to guide your bead.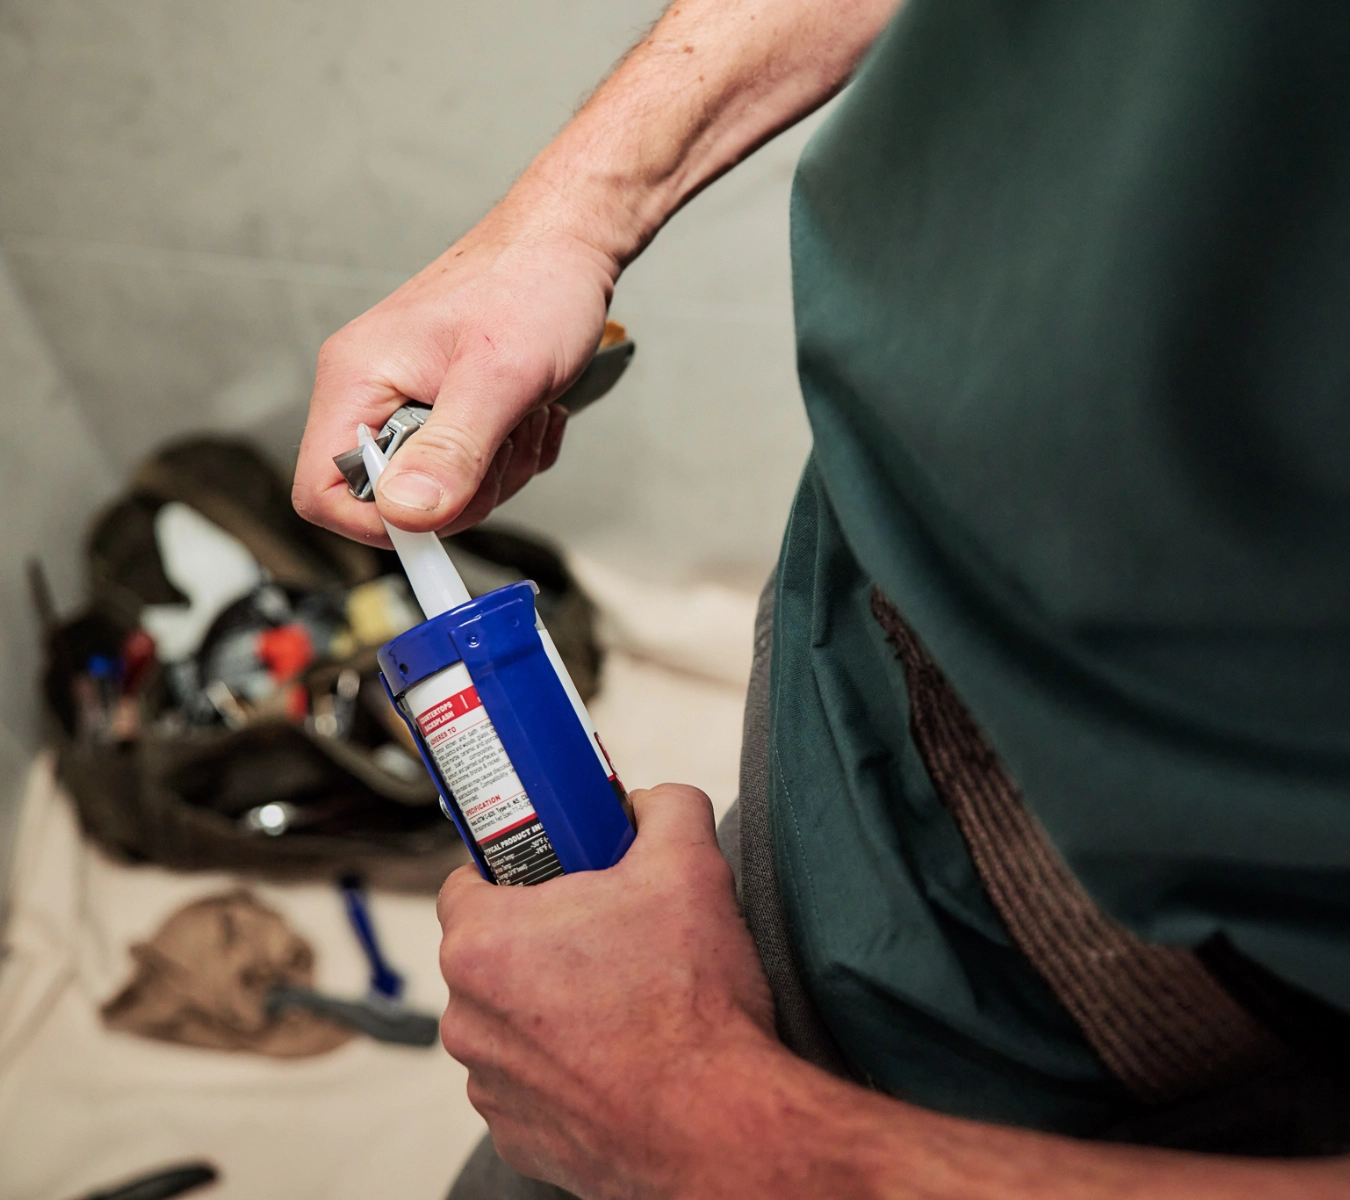
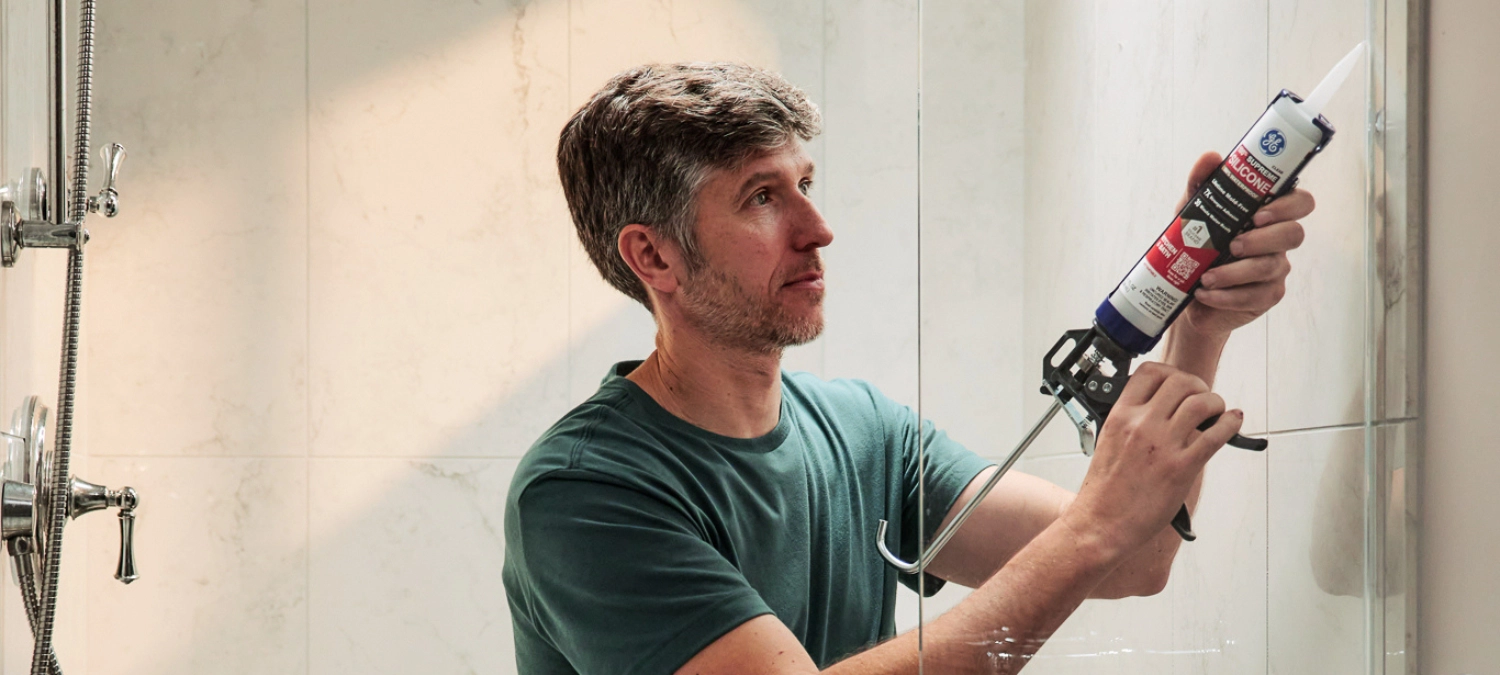
Image of a hand cutting the nozzle of a GE silicone sealant cartridge at an angle before application. - Apply the new bathroom sealant Cut the nozzle’s tip at a 45-degree angle, matched to the width of your joint—narrow for backsplashes, wider for tubs, or shower corners. Load the cartridge into your caulk gun, then run a slow, steady bead along the taped joint. No gaps. No stops. Keep the pressure even so the silicone flows consistently.
Corners and seams are where most failures happen—because that’s where the stress is. GE Supreme Silicone Kitchen & Bath Sealant stays flexible in those spots, even when walls shift or steam builds up. That flexibility is rated Class 50 under ASTM C920, which means the bead won’t crack, separate, or pull back once it cures. - Smooth and let it cure Right after you finish the bead, smooth it in one clean pass—either with a gloved finger or the GE Smoothing Tool. Press gently and keep a steady angle to shape the seal and push it into the joint. Once the bead looks clean and even, pull the painter’s tape while the sealant is still wet.
GE Supreme Silicone Kitchen & Bath Sealant is water-ready in 30 minutes, but give it a full 24 hours to cure completely. Once set, the seal is permanent, waterproof, and backed by a lifetime mold-free guarantee.
Avoid these common mistakes when recaulking your bathroom
Even a good bathroom sealant won’t save a bad application. Here are the most common missteps that lead to peeling, mold, or water leaks:
- Don’t caulk over mold or soap scum. It weakens the bond and traps moisture underneath.
- Don’t use acrylic in wet zones. It can shrink, crack, and break down under steam and standing water.
- Don’t touch or wet the sealant before it cures. That 24-hour window is what locks the seal in place.
- Don’t apply thick, lumpy beads. They won’t cure evenly, and you’ll end up scraping it all out again.
Fixing these mistakes takes more time than avoiding them. Do it right the first time, and your bathroom stays sealed.
Need GE silicone for your next project? Find a store near you in the U.S. or a store near you in Canada.


