

Silicone sealant is a versatile material commonly used for sealing gaps and joints in various surfaces, from bathrooms to windows. However, its removal can be a daunting task if not approached correctly. Whether you’re repairing a leak or taking on a major renovation for a client, knowing how to properly remove silicone sealant efficiently is essential.
In this comprehensive guide, we’ll explore various methods and tips to teach you how to remove silicone sealant.
Understanding silicone sealant
Before diving into removal techniques, it’s crucial to understand what silicone sealant is and how it works. Silicone sealant is a durable, flexible material commonly used in construction and household applications. It forms a waterproof seal when applied to surfaces, preventing water and air leakage. Silicone sealants come in various formulations each with its specific properties and applications.
Some key characteristics and properties of silicone sealant include:
- Flexibility: Silicone sealants remain flexible over a wide range of temperatures, from extreme cold to high heat, without losing their sealing properties. This flexibility allows them to accommodate movement and vibrations without cracking or becoming brittle.
- Chemical Resistance: Silicone sealants exhibit excellent resistance to many chemicals, including water, acids, alkalis, and solvents. This chemical resistance makes them suitable for use in environments where exposure to chemicals is common, such as bathrooms and kitchens. This is also why silicone sealants are particularly difficult to remove.
- Adhesion: Silicone sealants adhere well to a wide variety of materials, including glass, metal, plastic, ceramic, and most building materials like wood and concrete. Proper surface preparation is essential to ensure good adhesion and long-lasting performance.
- Mold and Mildew Resistance: Silicone sealants are naturally resistant to mold and mildew growth, thanks to their moisture-resistant properties. This makes them an excellent choice for sealing areas prone to moisture accumulations, such as showers, bathtubs, and sinks.
Silicone is an incredibly versatile and flexible substance. When used as a sealant, silicone is 100% waterproof, flexible, chemical resistant, and mold and mildew resistant.
Tools and materials for silicone sealant removal
Before you begin the removal process, gather the necessary tools and materials. Here’s what you’ll need:
- Utility knife or razor blade
- Silicone sealant remover or solvent
- Plastic scraper or putty knife
- Rubbing alcohol
- Clean cloth
- Gloves
- Safety goggles
- Ventilation mask (if using solvent-based remover)
Types of Silicone Sealant Solvents
There are several solvents commonly used to remove silicone sealant. These solvents work by softening and dissolving the silicone, making it easier to remove from surfaces. It’s important to note that some solvents may be more effective for certain types of silicone sealants or specific applications. Use these solvents carefully and always test them first to make sure they won’t damage the underlying surface.
Here are some of the commonly used solvents for removing silicone sealant:
- Mineral spirits
- Isopropyl alcohol (rubbing alcohol)
- Acetone
- Xylene
- Methyl ethyl ketone (MEK)
- Toluene
- Commercial silicone sealant removers
How to remove silicone sealant: 3 different methods
Now that you have everything ready, let’s explore the different methods for removing silicone sealant:
-
Manual Removal
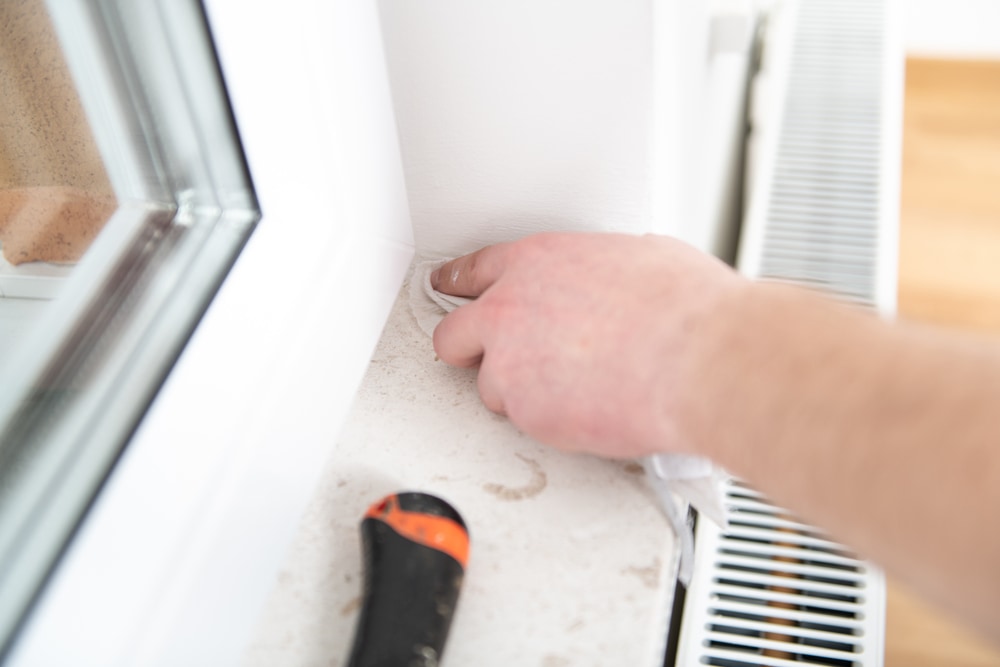
Manual removal involves physically cutting and scraping away the silicone sealant using a utility knife or razor blade. Follow these steps:
- Use the utility knife or razor blade to carefully cut along the edges of the silicone sealant, creating a clean line.
- Once the sealant is scored, use a plastic scraper to putty knife to gently pry and lift the sealant from the surface.
- Work slowly and methodically to avoid damaging the surrounding areas.
-
Chemical Removal
For stubborn or old silicone sealant, a combination of manual and chemical removal methods may be necessary. Here’s how to combine both techniques effectively:
- Start by scoring the sealant with a utility knife or razor blade as described in the manual removal method.
- Apply a silicone sealant remover or solvent to the scored sealant, following the chemical removal method.
- After 15 minutes to an hour, test a small area to see if the sealant is soft enough to scrape away. If it isn’t, continue to wait. Otherwise, use a plastic scraper or putty knife to scrape away the soft sealant.
- Repeat the process as needed until the sealant is removed.
Carefully follow the directions when using a silicone sealant solvent. -
Combination Method
For stubborn or old silicone sealant, a combination of manual and chemical removal methods may be necessary. Here’s how to combine both techniques effectively:
- Start by scoring the sealant with a utility knife or razor blade as described in the manual removal method.
- Apply a silicone sealant remover or solvent to the scored sealant, following the chemical removal method.
- After 15 minutes to an hour, test a small area to see if the sealant is soft enough to scrape away. If it isn’t, continue to wait. Otherwise, use a plastic scraper or putty knife to scrape away the soft sealant.
- Repeat the process as needed until the sealant is removed.
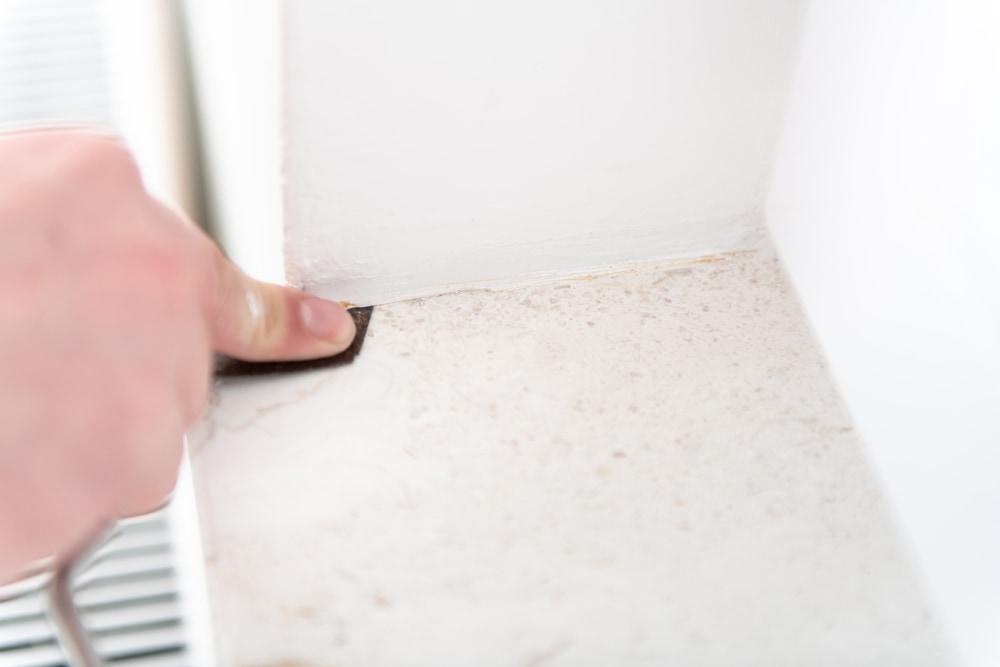
After the sealant has softened, scrape it away with a putty knife.


Tips for sealant removal success
In addition to the above procedures, these tips will help improve your sealant removal outcomes:
- Always read and follow the manufacturer’s instructions when using silicone sealant removers or solvents.
- Wear appropriate safety gear, including gloves, safety goggles, and a ventilation mask when working with chemical removers or solvents.
- Test any new removal method or product on a small, inconspicuous area first to ensure compatibility with the surface.
- Work slowly and carefully to avoid damaging the surrounding areas.
- After removing the silicone sealant, clean the surface with rubbing alcohol and a clean cloth to remove any remaining residue.
Use GE sealants to finish the job with professional results
Removing silicone sealant doesn’t have to be a daunting task. With the right tools, materials, and techniques, you can effectively remove old or unwanted sealant from various surfaces with minimal effort. Whether you prefer manual removal, chemical removal, or a combination of both, following these tips and methods will help you master the art of silicone sealant removal with ease. So roll up your sleeves, gather your tools, and say goodbye to old sealant – you’ve got this!
Check out our extensive lineup of GE caulks and sealants to choose the best product for your renovation project.

