Note: This DIY article is provided as a general guide only and is not intended to take the place of product-specific installation procedures; always follow applicable manufacturers’ instructions. Depending on your home’s age and condition, location within the home, and other potential factors, repairs and/or upgrades or other services may be necessary prior to the beginning and/or completion of your project that may involve the services of a home improvement professional. This article does not include advice pertaining to local building codes and/or any related inspections.
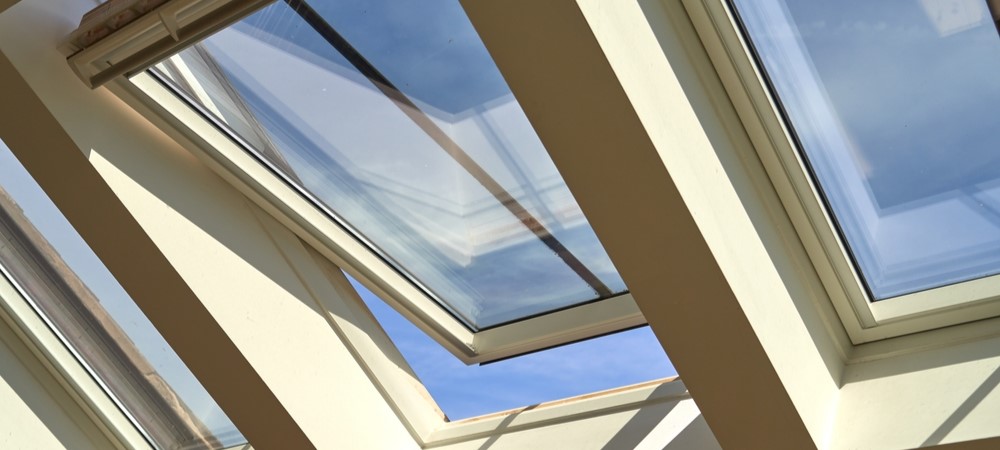
Also known as the window of the roof, your skylight plays a crucial role in letting light in while keeping the elements out. This article provides you with step-by-step instructions to help you reseal skylight leaks. Read on to arm yourself with the knowledge required to restore the integrity of your roof.
Skylight damage often occurs between the flashing and skylight pane surfaces. Leaks often develop from damage to the rubber gasket surrounding the skylight. To carry out skylight seal repair, you should consider reapplying sealant to the damaged surface.
Understanding skylight seal repair: Types of skylights
There are several reasons why you might want to install a skylight in your home. True to their association with being the windows of the roof, skylights can function as both a medium for facilitating indoor lighting and allowing the movement of air and humidity. Stemming from these functions are two types of skylights:
Inoperable skylights
Also known as fixed skylights, these types of skylights do not open to the outside and, therefore, do not function with a ventilatory capacity. Most skylights found in living spaces or high ceilings are usually of this nature.
Operable skylights
This category encompasses all skylights that are capable of opening to the outside. Common in areas susceptible to humid conditions, such as the kitchen or bathroom, operable skylights facilitate the regulation of temperature and humidity when necessary and can swing open or shut. You may also find them in attics, where they free the circulation of damp air.
How to reseal skylight leaks
Skylights have several working parts, all of which can be affected by long-term wear and tear from the elements during their lifespan. Whether the leak develops from the flashing, panes, or weep holes, understanding the source of the leak is among the first steps in sealing a skylight from the inside. Below is a step-by-step guide on how to seal the roof around a skylight.
-
Identify the source of the leak
As mentioned earlier, skylights can leak from multiple locations throughout their working mechanism. The most common areas susceptible to leakage are the flashing and panes.
Skylight pane leaks
When inspecting the skylight for leaks, you should watch out for beads of moisture arranged in a linear pattern. This often indicates that there is a crack in the panes. You should also check the rubber gasket surrounding the skylight for any signs of damage. For operable skylights, ensure there is no debris obstructing the skylight from closing effectively.
Flashing leaks
Flashing provides a watertight seal over the surrounding of the panes, and occasionally the sealant between the skylight and flashing may degrade. Flashing is usually identified as the culprit for skylight leaks when innate problems with the panes and the surrounding rubber gasket are ruled out. This is because it is nearly impossible to notice leaks from water seeping underneath the flashing.
Tell-tale signs that confirm the leak may be coming from faulty flashing include curling around the edges or breaks and tears along the structure of the flashing. Additionally, the appearance of the flashing may offer a clue to its structural integrity.
Skylight seal repair is usually easier when the leak is identified as being part of the upper part of the roof slope than on the lower part since the lower parts tend to have water around the roof deck.
Condensation leaks
Sometimes the leak from your skylight may be caused by condensation originating from a difference in temperature between the indoor and outdoor atmospheres. Condensation may be identified as beads of moisture with no particular arrangement on the inner surface of the skylight. They may be repaired by opening the skylight (when possible) or assessing the weeping holes for damage or obstruction.
-
Remove old sealant
Once you have identified the source of the leak and assessed that a repair would be more feasible than a complete replacement of the skylight, then the next step in skylight seal repair is to remove old sealant that may be between the flashing and skylight. Sealing a skylight from the inside may be strenuous, depending on the height of the roof, but often requires the following materials:
- Sealant
- Caulking gun
- Utility knife
- Rags or paper towels
- Ladder
- Gloves and goggles
Using the utility knife, you should carefully remove any sealant to ensure that the new sealant adheres properly.
-
Clean the surface
Using rags or paper towels, wipe down the area you identified as needing new sealant. Any dirt or old sealant may impede the bonding strength of the new sealant. Once satisfied with the cleaning process, you should allow the area to dry appropriately before attempting to add new sealant.
-
Apply the sealant
Cut the sealant nozzle at 45 degrees and place it in the caulking gun (this allows for smooth delivery of the sealant). With the caulking gun in hand, start applying the sealant to the surface for skylight seal repair. Begin with the corners (it makes it easier to maintain a straight stream) and with even pressure apply the sealant in one continuous stream and fill the gap between the flashing and skylight.
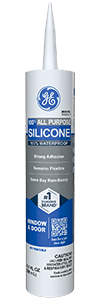
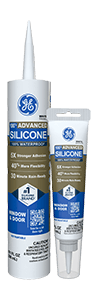
High-quality silicone sealant works wonders when trying to reseal skylight leaks because of its physical and chemical properties. It protects the indoors from moisture that may accumulate outside.
-
Smooth the sealant
Using a finishing tool or your gloved finger, you may then smooth the bead of the applied sealant. Running the gloved finger over the bead may also allow you to wipe away any excess sealant that may interfere with the functionality of the skylight once the sealant dries and cures. To answer the question “how to seal the roof around a skylight,” allow the sealant to dry and cure.
Drying may take a few minutes or hours, but curing usually takes longer, taking the better part of 24-48 hours.
Wrapping up
The proper time for curing allows the sealant to achieve peak bonding strength by giving the material time to settle and strengthen. Once this final process is complete, you should monitor the skylight for any signs of leakage that may suggest that another repair is needed, or that a complete replacement of the skylight is necessary.
Light must remain the only thing that seeps through your skylight. To avoid water damage and excessive energy bills, ensure you carry out routine maintenance of the skylight and reapply sealant when necessary. Follow the steps highlighted in this article to restore peak skylight functionality.
To find GE products near you, check out our Where to Buy page.


