Note: This DIY article is provided as a general guide only and is not intended to take the place of product-specific installation procedures; always follow applicable manufacturers’ instructions. Depending on your home’s age and condition, location within the home, and other potential factors, repairs and/or upgrades or other services may be necessary prior to the beginning and/or completion of your project that may involve the services of a home improvement professional. This article does not include advice pertaining to local building codes and/or any related inspections.
Kitchen and bath fixtures are exposed to water every day, making them common points for leaks, mold, and corrosion. Without proper sealing, moisture can seep beneath faucets, drains, and trim, leading to expensive damages. This guide shows you how to seal and maintain your fixtures to help prevent water intrusion and extend their lifespan.
Why you should seal kitchen and bath fixtures
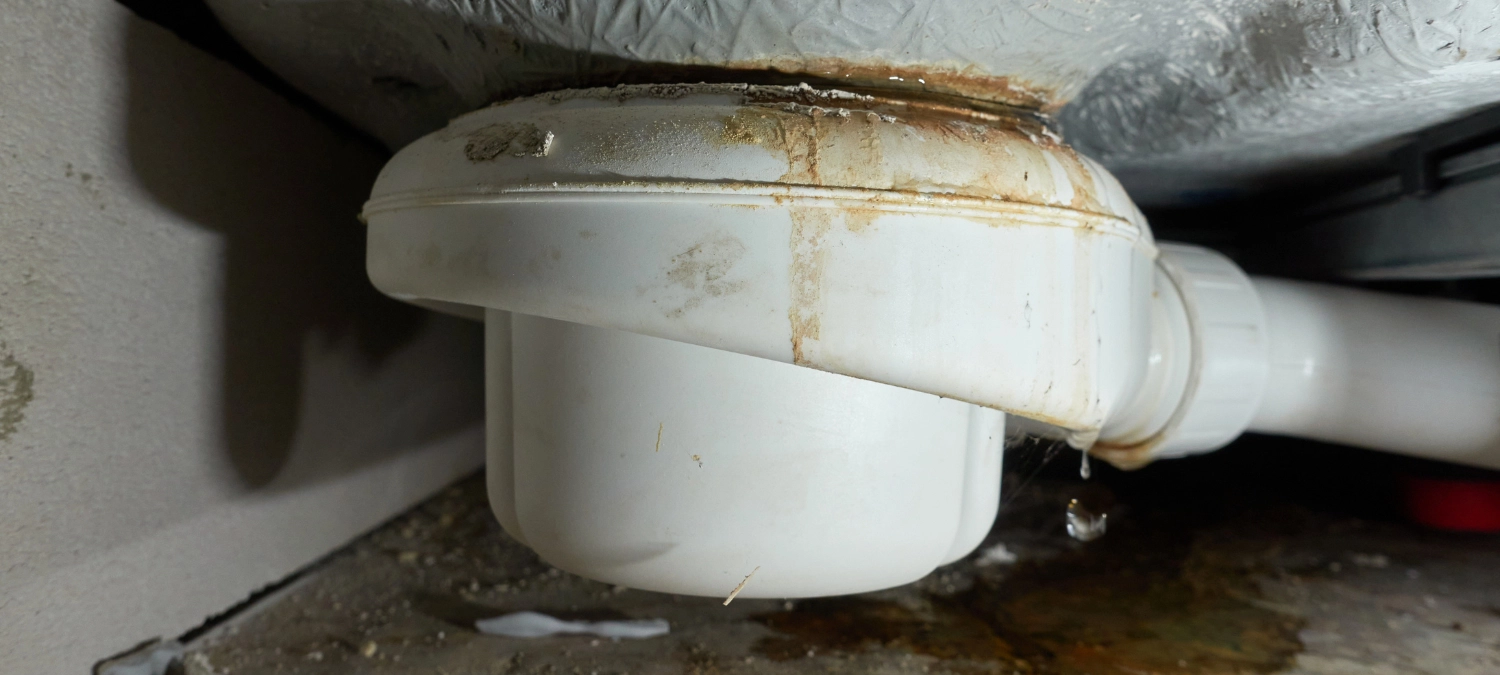
Sealing around kitchen and bath fixtures is a small step with a payoff of major protection. Faucets, drains, and trim are in constant contact with water from daily use, and without proper sealing, moisture can seep underneath or behind the fixture. Over time, this leads to corrosion, mold growth, and softening or warping of surrounding materials like wood, laminate, or drywall. Even small unnoticed leaks or water splashes can cause long-term damage beneath sinks or behind tubs.
A properly sealed fixture keeps water where it belongs—on the surface—and helps prevent costly repairs or fixture replacements. It also improves the fixture’s stability, reducing movement that can lead to further leaks. In bathrooms especially, where humidity is high and water exposure is constant, sealing is critical for maintaining a clean, hygienic space. Whether you’re installing new hardware or maintaining existing ones, using the right sealant ensures your kitchen and bath remain dry and helps you prevent leaky fixtures.
Where to seal around kitchen and bath fixtures
To protect your kitchen and bath fixtures from water damage, start by sealing the areas most prone to leaks and splashing. Around sinks, apply sealant at the base of faucet stems where they meet the countertop or sink surface. This will prevent water from seeping into the cabinet below. In bathrooms, seal the edges of escutcheons—the trim plates around shower handles and tub spouts—to block water from getting behind tile or wallboard.
Sink and tub drains are another high-risk area. Apply sealant around the flange where the drain meets the basin to create a watertight barrier between metal or plastic and porcelain or fiberglass. For undermount sinks, seal the seam where the sink contacts the countertop underside to stop moisture from collecting and weakening the adhesive.
Learn more about sealing undermount sinks.
Don’t overlook backsplashes or tiled walls where fixtures are mounted—these seams should also be sealed to prevent water from running behind the tile. Targeting these specific areas helps prevent mold, mildew, and fixture loosening.
Best GE sealants for kitchen and bath fixtures
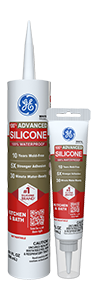
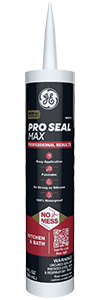
Waterproofing around kitchen and bath fixtures prevents leaky faucets and other costly water damage. Use a 100% silicone sealant like GE Pro Seal Max Kitchen & Bath or GE Advanced Silicone Kitchen & Bath Sealant to protect against moisture, mold, and daily wear. These products are permanently flexible and ideal for sealing around faucets, drains, and trim—keeping fixtures watertight and your surfaces protected.
When sealing around kitchen and bath fixtures, using the right product makes all the difference in long-term protection and ease of application. GE offers two top-tier silicone sealants specifically designed for these high-moisture environments:
- GE Pro Seal Max Kitchen & Bath is an advanced formula engineered for lasting performance. It delivers Class 50 flexibility—meaning it can expand and contract up to 50% of the joint width without cracking. This flexibility is ideal for areas with frequent temperature and humidity changes. It’s water-ready in just 30 minutes and offers lifetime mold-free product protection, making it perfect for faucet bases, drains, trim plates, and high-use wet zones. Available in clear and white, Pro Seal Max Kitchen & Bath blends easily with most fixture and surface finishes.
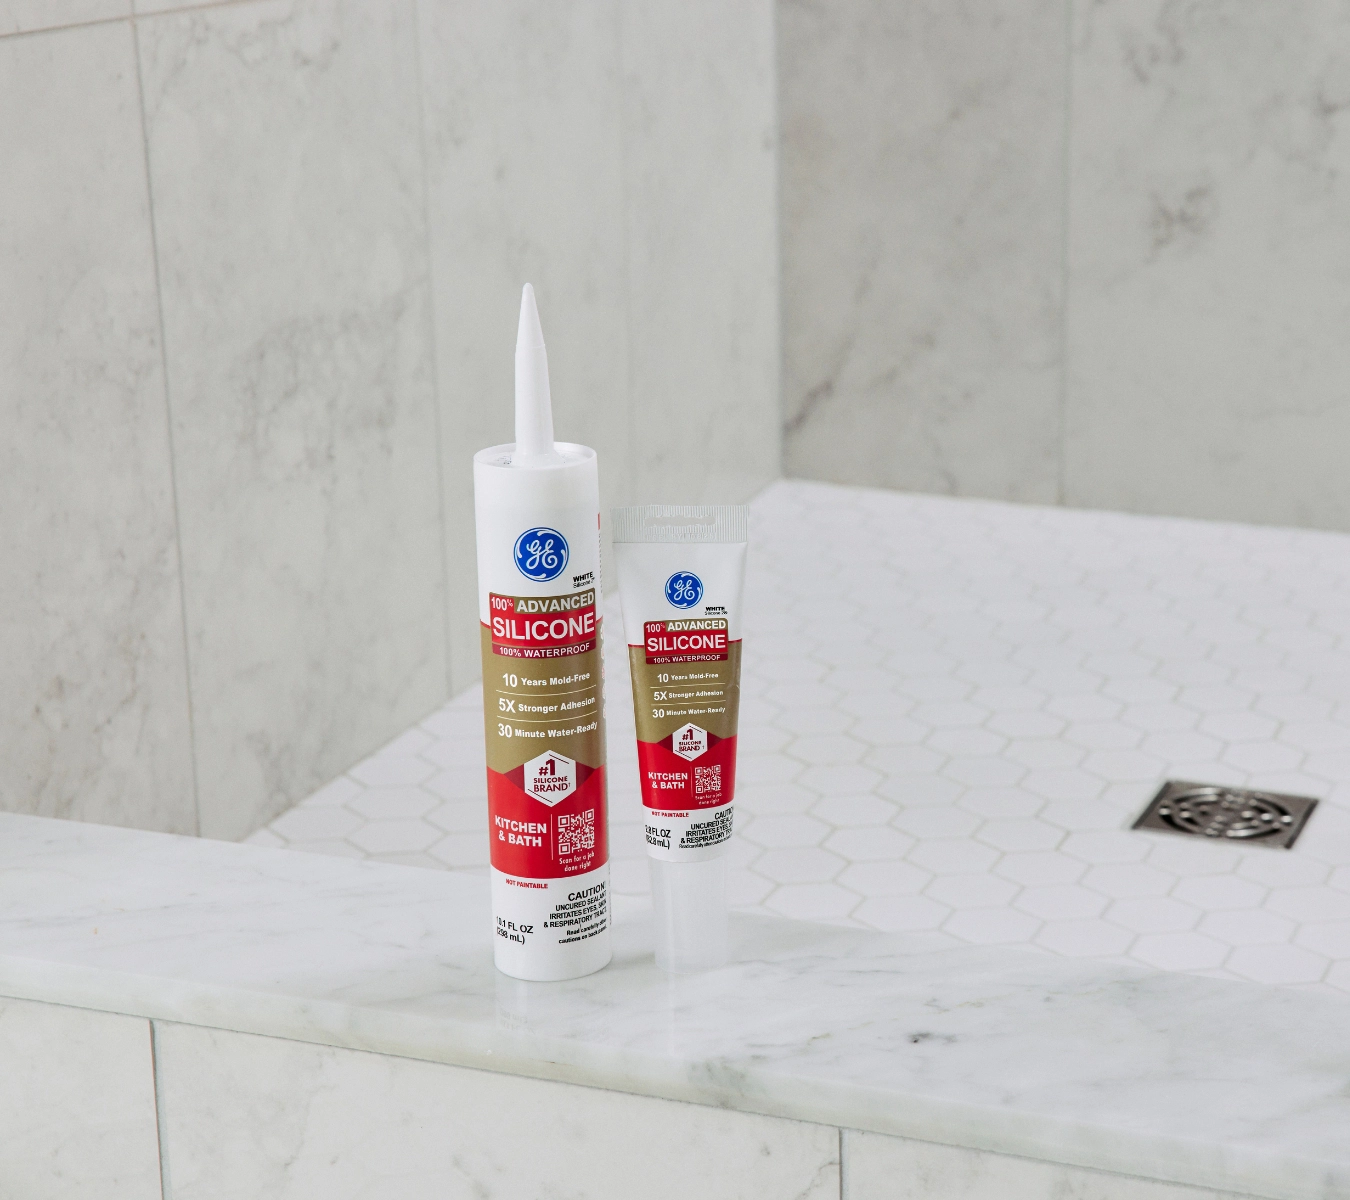
- GE Advanced Silicone Kitchen & Bath Sealant is another excellent choice for preventing leaky fixtures and maintaining waterproof faucets. This 100% silicone sealant is waterproof and mold-resistant for up to 10 years. It adheres strongly to nonporous surfaces such as porcelain, glass, laminate, tile, and metal—making it ideal for use around sink flanges, escutcheons, and undermount sink seams. Like Pro Seal Max, it’s permanently flexible and won’t shrink, crack, or degrade under daily exposure to moisture and cleaning.
Both products are low odor, easy to apply, and deliver professional-grade results for homeowners and contractors. Whether you’re installing new hardware or replacing old sealant, GE silicone sealants provide the durability and waterproof protection your kitchen and bath fixtures need to stay clean, secure, and leak-free.
Learn more about the superior durability of silicone sealants for a wide range of DIY home uses in our guide.
How to seal fixtures like a pro
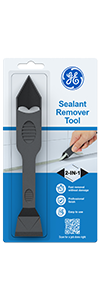
Sealing kitchen and bath fixtures is a pretty straightforward project when you follow the right steps and use quality materials. Start by removing any old sealant using a utility knife or the GE Sealant Remover Tool, taking care not to scratch the surrounding surfaces. Once removed, clean the area thoroughly with soap and water to eliminate dirt, grease, or mildew, and allow the surface to dry completely.
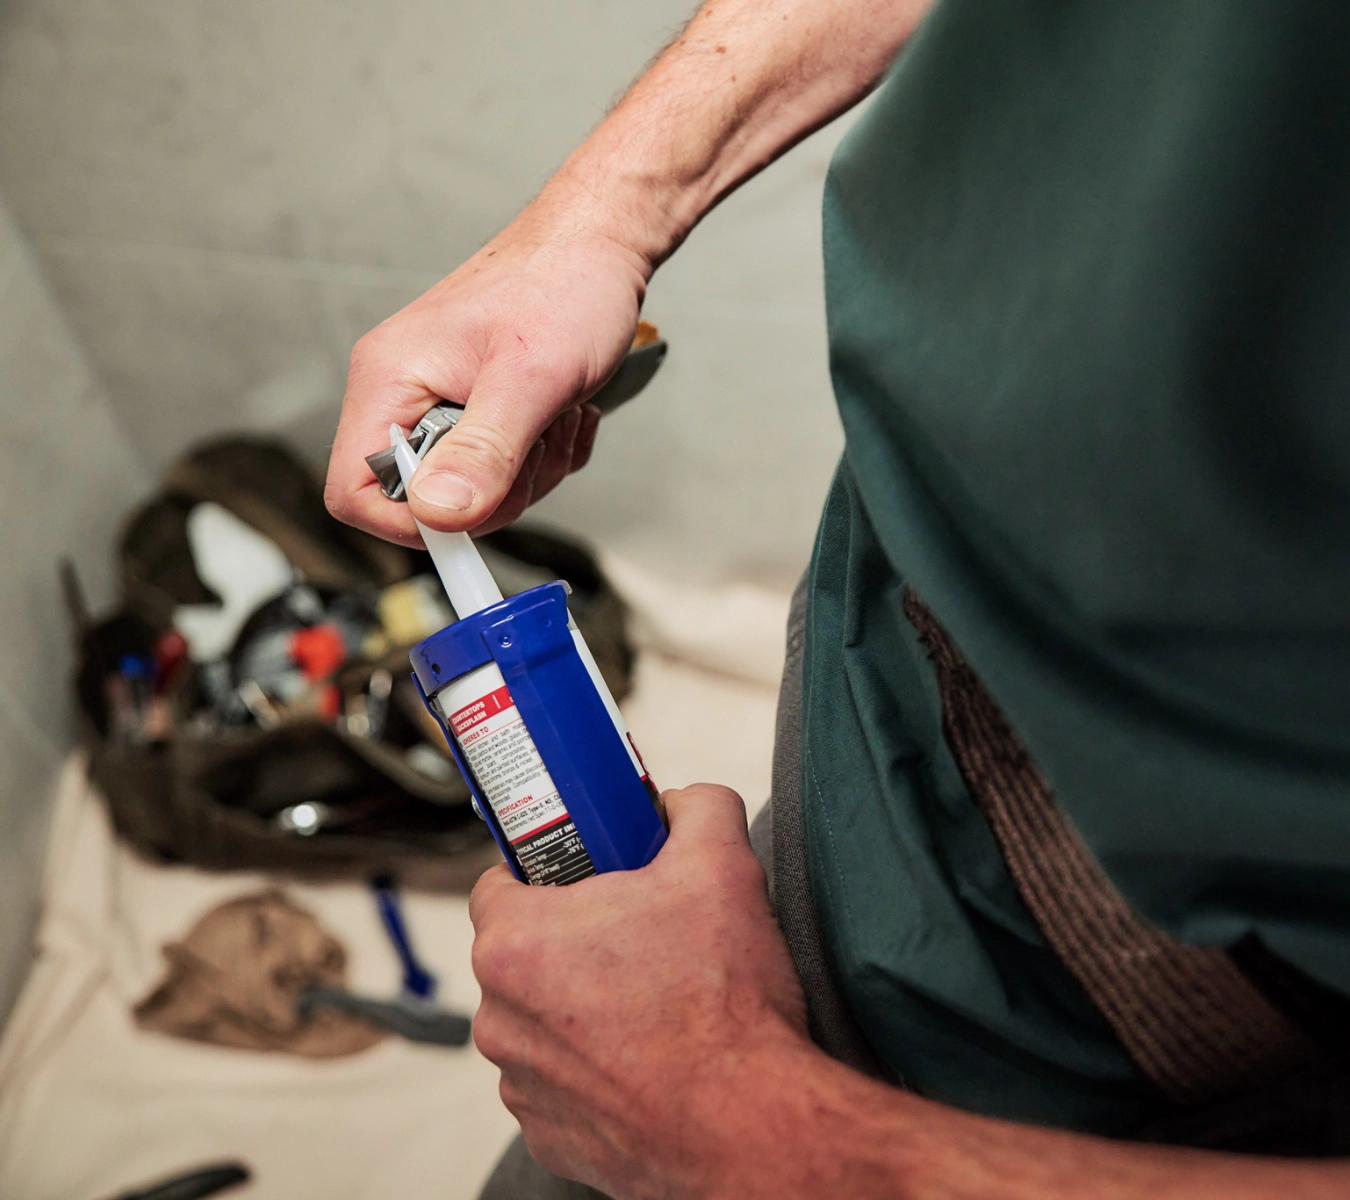
Apply painter’s tape on both sides of the joint to create clean lines and minimize mess. Cut the nozzle of your GE silicone sealant at a 45-degree angle, and puncture the inner seal. Load the cartridge into a standard caulk gun and apply a smooth, even bead around the fixture base or seam. Work in short sections to maintain control and avoid excess buildup.
Immediately smooth the bead with a gloved finger or GE’s Sealant Smoothing Tool to ensure full contact with both surfaces and eliminate air gaps. Remove the painter’s tape while the sealant is still wet to preserve clean edges. Allow the sealant to cure per product instructions—most GE products are water-ready in 30 minutes but require 24 hours for full curing.
To get GE Sealants’ products for your home improvement project, visit these fine retailers in the U.S. or Canada.

