Note: This DIY article is provided as a general guide only and is not intended to take the place of product-specific installation procedures; always follow applicable manufacturers’ instructions. Depending on your home’s age and condition, location within the home, and other potential factors, repairs and/or upgrades or other services may be necessary prior to the beginning and/or completion of your project that may involve the services of a home improvement professional. This article does not include advice pertaining to local building codes and/or any related inspections.
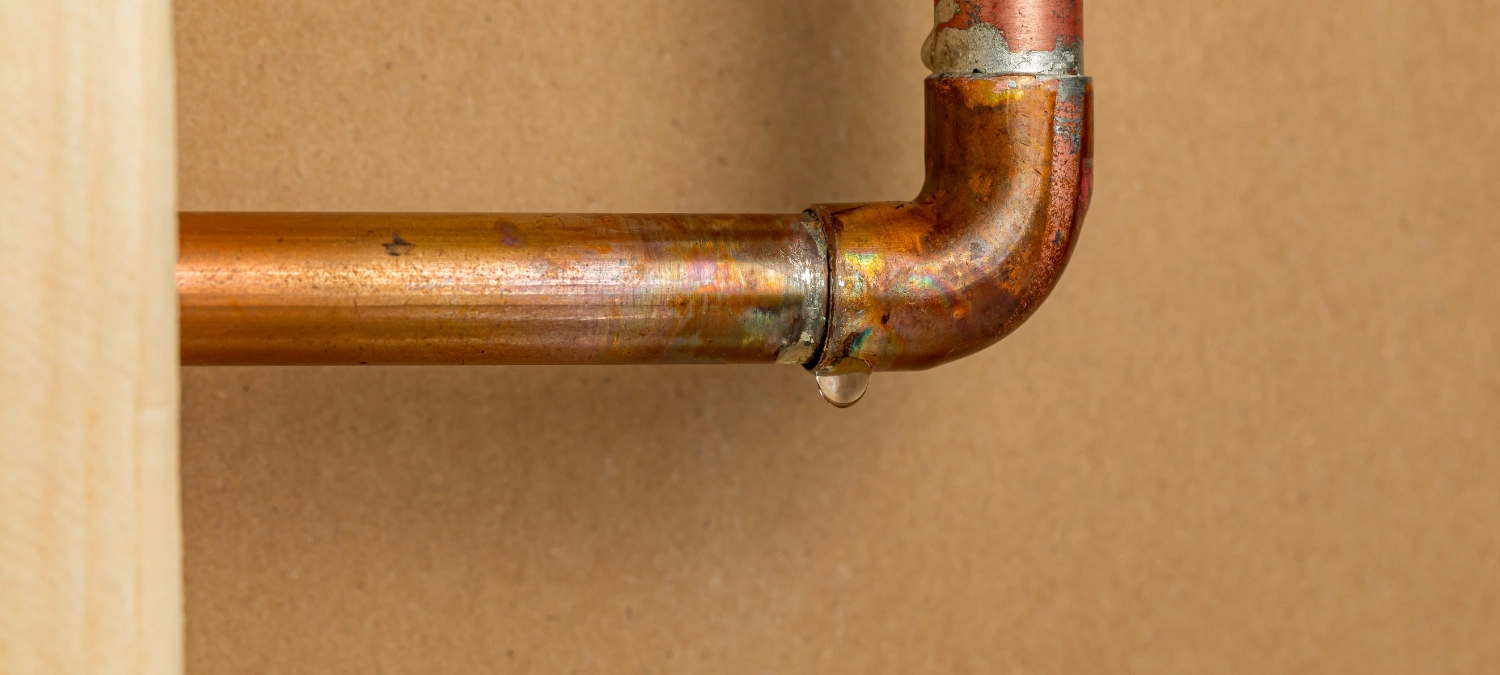
Not every pipe leak calls for a full replacement. With the right materials and approach, many small leaks—especially at joints or in copper and PVC lines—can be sealed safely by a DIYer. This guide explains how and when to seal leaking pipes and when it’s best to call a professional.
Hairline cracks, slow drips, and leaks around pipe penetrations often occur under sinks, behind toilets, or where pipes enter walls. If the pipe isn’t corroded or cracked through, sealing with tape, thread compound, or silicone is usually effective.
When can you safely seal a leaking pipe?
You can safely seal a leaking pipe when the leak is minor and the pipe is structurally sound. Common cases include:
- Hairline cracks in copper or PVC
- Slow drips at threaded joints
- Leaks around pipe penetrations in low-pressure indoor systems
These issues often occur under sinks, behind toilets, or where pipes enter walls. If the pipe isn’t corroded or cracked through, sealing with tape, thread compound, or silicone is usually effective. However, sealing is not a permanent solution for damaged or failing pipes. Avoid DIY repairs if the pipe is visibly deteriorated, the leak is forceful, or there’s evidence of past failed fixes. For high-pressure systems, gas lines, or leaks hidden inside walls, always call a licensed plumber instead of attempting a patch.
Tools and materials you’ll need
Before sealing a leaking pipe, gather the right tools and materials. In older homes with threaded copper or PVC fittings, you’ll need PTFE thread-sealing tape and pipe thread sealant—AKA pipe dope. A wire brush and a clean rag help prep the surface.
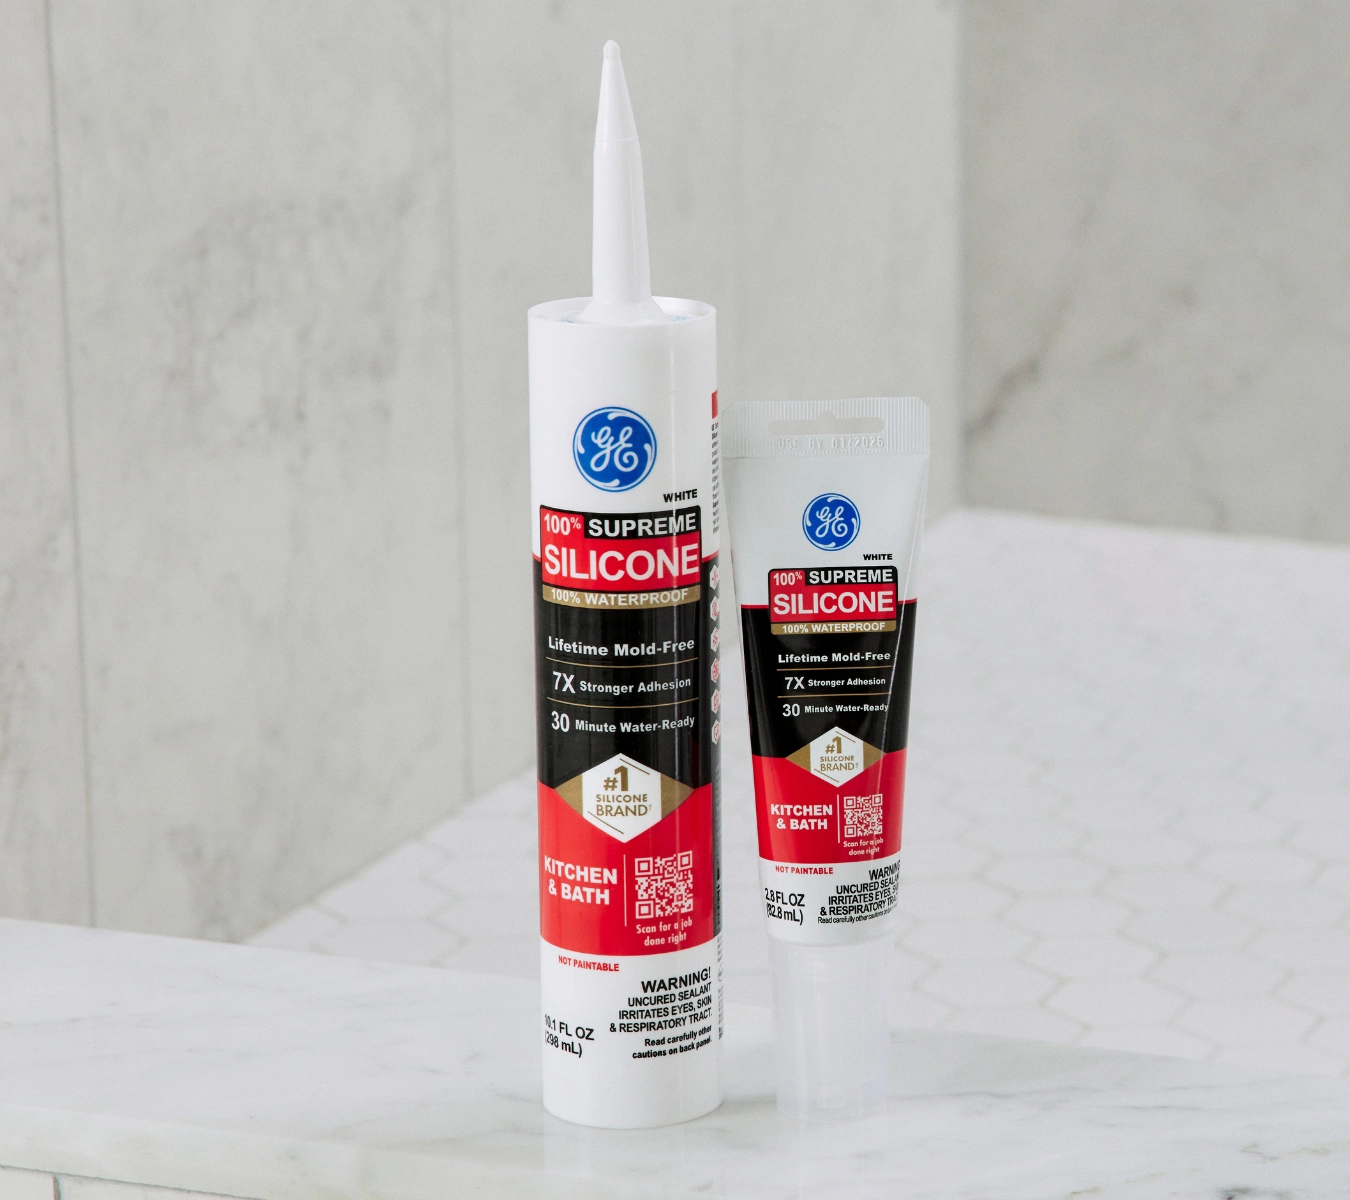
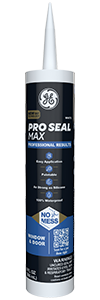
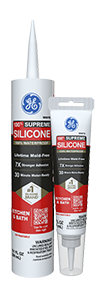
Keep an adjustable wrench on hand for tightening fittings without damaging them. For structural cracks that are not active leaks, use epoxy putty or a silicone-based sealant like GE Supreme Silicone Kitchen & Bath. In outdoor or utility areas, GE Pro Seal Max Window & Door is a better fit. You may also need compression fittings for temporary repairs, especially in hard-to-reach areas or emergencies. While homeowners commonly apply sealant with a gloved finger, consider getting a smoother application with GE’s Sealant Smoothing Tool or Cartridge Opener and Smoothing Tool.
Learn more about choosing the right silicone sealant for your DIY home repairs.
Step-by-step: how to seal a leaking pipe
- Clean the pipe thoroughly Before applying any sealant, remove dirt, rust, old tape, or debris. Use a clean rag and a wire brush to scrub the area. A smooth, dry surface helps sealants adhere to the pipe.
- Choose the right transition fitting If you’re connecting copper to PVC or replacing a leaking joint, ensure to use a specialty transition fitting designed for dissimilar materials. Copper and PVC expand at different rates and have incompatible chemical properties; a standard fitting won’t hold reliably over time. Use a male-threaded PVC adapter approved for copper connections, and confirm it matches your pipe size and is pressure-rated for household plumbing. Failing to use the right transition can lead to leaks or premature joint failure.
- Wrap with PTFE tape or Apply Pipe thread Sealant
Use high-quality PTFE thread-sealing tape only on threaded connections and not on joints intended for soldering. Wrap the tape around the male threads 6 to 10 times in the direction of the threading to prevent unwrapping during tightening. Avoid using thin or inexpensive tape, which may tear or compress under pressure.Instead, choose professional-grade, thicker PTFE tape for a more secure and long-lasting seal. For soldered copper joints, skip the tape entirely and follow proper soldering procedures.
You can also apply pipe dope over the threads on its own or in combination with tape. The combination of tape and dope provides both coverage and flexibility under pressure. For pipes leading to drinking water outlets, you must use an NSF-certified sealant approved for potable water.
- Don’t overtighten Tighten the joint with an adjustable wrench just until snug. PVC is softer than metal and can crack if overtightened. Let the sealants do the work, not brute force.
- Use schedule 40 PVC unless otherwise needed Schedule 40 PVC is sufficient for most residential water lines and easier to work with than schedule 80. Unless you’re sealing a high-pressure or commercial line, schedule 40 is the standard.
- Thread the pipes together carefully First, line up the male and female fittings and hand-tighten. Make sure the threads catch evenly—cross-threading can ruin the joint and lead to future leaks.
- Let sealants cure Follow the manufacturer’s instructions for cure time. Many sealants are set in 30 minutes, but a full cure may take longer depending on temperature and humidity. Don’t pressure-test the line until the seal is fully set.
- Pressurize and check for leaks Once cured, slowly turn the water back on and inspect the area. Look for dripping, seepage, or movement in the joint. If dry after a few minutes under pressure, your seal is likely good.
- Consider temporary or backup solutions If you’re short on time or need a stopgap fix, epoxy putty, mechanical pipe clamps, or push fittings can provide a fast, tool-free seal—just make sure to monitor the area regularly.
When to use epoxy putty or compression couplings
Epoxy putty and compression couplings are useful when you need a quick or low-tool solution. Epoxy putty works well for sealing pinhole leaks or hairline cracks, especially in hard-to-reach areas or when shutting off the water isn’t practical. It molds around the pipe and hardens in place, creating a waterproof barrier.
Push fittings are ideal for joining copper, CPVC, or PEX pipes without soldering or gluing. They’re especially helpful for emergency fixes or temporary repairs. Both options can hold up well but should be checked regularly and are not substitutes for addressing major pipe damage.
When to call a plumber
Call a licensed plumber if the leak is anything more than a slow drip, the pipe is cracked or corroded through, or repairs have failed in the past. Professional help is also necessary for high-pressure lines, gas pipes, or leaks inside walls or foundations. If you see signs of water damage, mold, or structural wear near the pipe, don’t risk a temporary fix. A plumber can assess the full extent of the issue and recommend a lasting solution.
To get GE Sealants’ products for your home improvement project, visit these fine retailers in the U.S. or Canada.